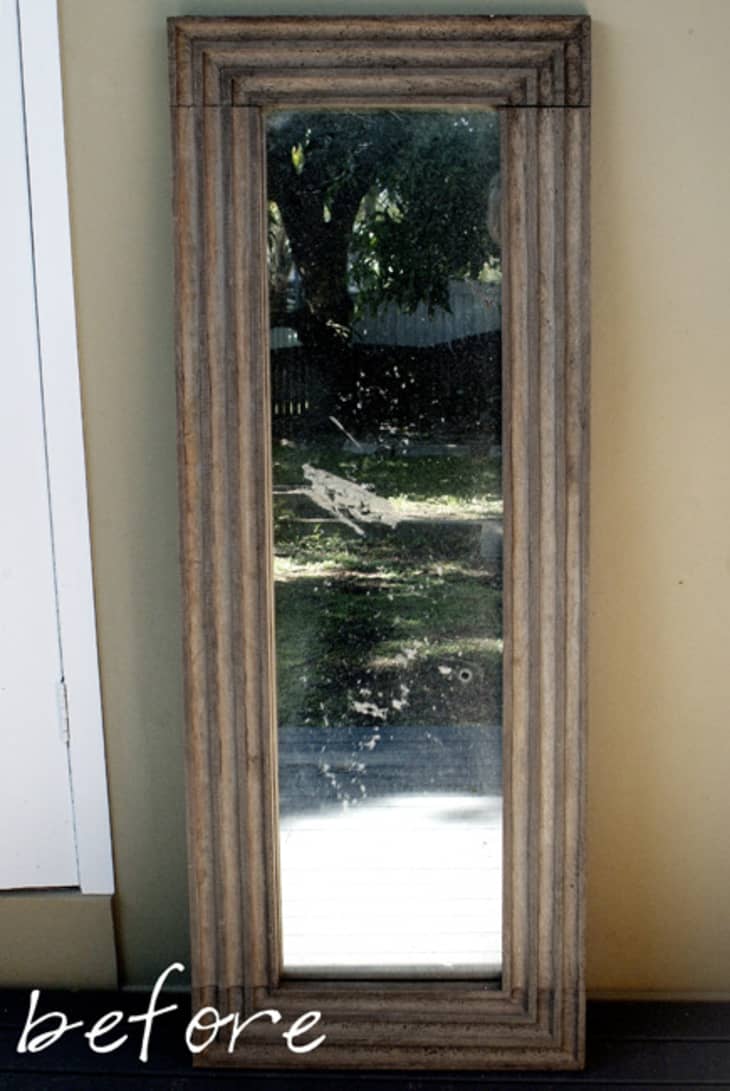
Before & After: A Revived Wooden Mirror

After spending four muddy days under flood water this mirror was on top of a pile of trash, destined for the tip. Then I got sentimental and retrieved it. It was too wet and filthy to bring inside so it spent the next 6 months outside before I finally decided it was time to make it work or let it go. I toyed with the idea of painting it bright yellow but in the end I couldn’t do it, so I kept it simple and tried to return it to its former glory.
I know it’s not as dramatic a change as we’re used to seeing, and I actually had the paint ready to go but I just couldn’t bring myself to put paint to mirror. Although it doesn’t look too bad in these ‘before’ pictures the mirror was in really bad condition. The front of the mirror had turned grey from the sun, it was dry, rough and starting to splinter. All the sun and water and mud had taken its toll and the mirror was in a bad way.
To revive it I:
- Took the panel off the back of the mirror.
- Removed the rusty nails.
- Removed the paper backing and glass mirror.
- Brushed the wooden frame to remove the leaves, dirt, dust, mud and other loose debris (I used a toothbrush for the smaller corners).
- Wiped the frame with a vinegar and water mix to get rid of stubborn grimy bits.
- Left the frame to dry.
- Cleaned the glass with vinegar, water and newspaper (the best way to clean glass!).
- Oiled the wooden frame by combining oil and vinegar and applying it with a rag.
- Then I reassembled the mirror (with a staple gun not nails).
It’s probably a bit generous to say that I restored it to its complete original condition. The mirror has been through too much to ever be like new again, but it is gorgeous and lustrous and if it’s possible for a mirror to look healthy… well, let’s just say it’s once again allowed in the house, a more worldly version of its younger self.
Related Posts:
- How To Clean a Window with Newspaper
- Simple Green: Reuse Newspaper to Clean Mirrors
- How To Make Your Own Wood Polish
- Make Your Own Beeswax Wood Polish
(Images: Sarah Starkey)
