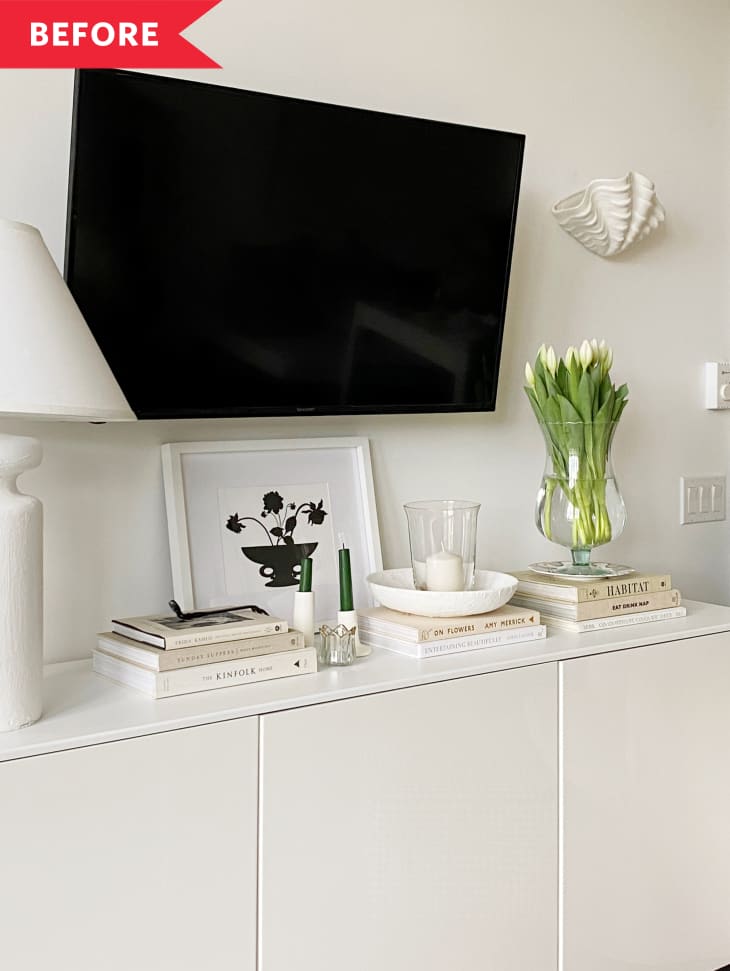
Before and After: An IKEA BESTA Console Gets a Glam Glow Up for Just $75 (No Tools Necessary!)

Graphic designer and lifestyle blogger Madison Hope loves burl wood pieces. However, rather than splurge on a pricey furniture find, she chose to DIY her dream burl console by covering her existing IKEA Besta unit with contact paper. ” I couldn’t fit anything I loved within my budget,” the Vancouver resident says. “So I decided to take my burl-patterned fate into my own hands!”
Hope struggled to find contact paper that would easily ship to Canada, so she took her chances and ordered a few rolls off of the US Amazon site. “I figured, worst-case scenario, it’s not right for a big piece, but okay for a smaller piece like a frame or a tray, and I’ll just slowly use it up with things like that,” she says of the contact paper she selected. “I felt it was a risk worth taking for $75!”
Luckily, the three rolls paper Hope ordered ended up being completely suitable to execute the project, which she completed by herself in about two-and-a-half hours one evening. “It was quite inexpensive,” Hope says of the endeavor. “The most expensive part was the IKEA BESTA unit.” After covering the unit, Hope placed an order for one additional roll of contact paper, which she plans to keep on hand in the event of wear and tear that may occur over time.
When applying the paper to the console, Hope was conscious to avoid air bubbles and notes that she smoothed things out with a coffee table book “instead of the tried and true credit card.” Her reasoning? “With larger surface areas, I needed something that applied pressure to more space,” she explains.
That said, Hope says air bubbles aren’t entirely avoidable. “The reality is that no matter how meticulously you apply your contact paper, they will show up,” she explains. “When I went to bed, my console looked amazing, but in the morning some had bubbled up so to speak.” She addressed the situation by popping the bubbles with a small sewing pin and flattening down the affected area. “Since it was just a pinprick, you couldn’t tell where I had poked the paper when it had flattened down,” Hope adds.
Hope encourages others looking to complete a similar project to “be patient and think of it as a fun experiment.” She states, “Contact paper can be so finicky to work with, and I think people tend to feel nervous when they start working with it.” The beauty of working with a pattern like burl is that there’s room for a bit of error,” she notes. “If you need to add an extra patch somewhere, it will all blend together at a glance.”
Plus, as Hope notes, real burl wood has flaws, too. “Actual burl pieces are also imperfect,” she says. “If you take a close look at the burl pieces on the market or on Pinterest, you’ll notice that lots of burl pieces incorporate different slabs of burl together rather than one giant continuous piece.” So don’t let the fear of making mistakes stop you from giving this DIY a whirl. Adds Hope, “It’s just contact paper! You can always rip it off and start again.”
