
Before and After: This DIYer Constructed a Stylish Rattan Nightstand Using an IKEA Piece and Saved $300 In the Process
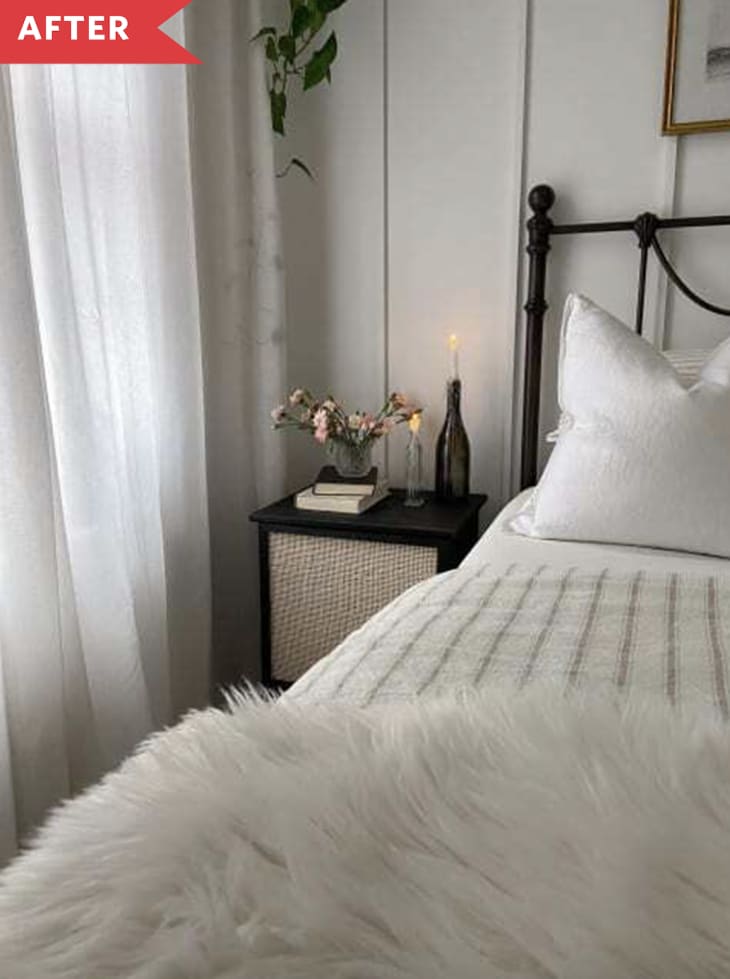
New York City resident Carly Fuller is known for sharing the clever upgrades she makes to her 450-square-foot Hell’s Kitchen apartment. And after swooning over a rattan nightstand online that would set her back over $400, Fuller was inspired to complete her latest DIY: reconfiguring an IKEA TARVA nightstand into the luxe-looking piece of her dreams.
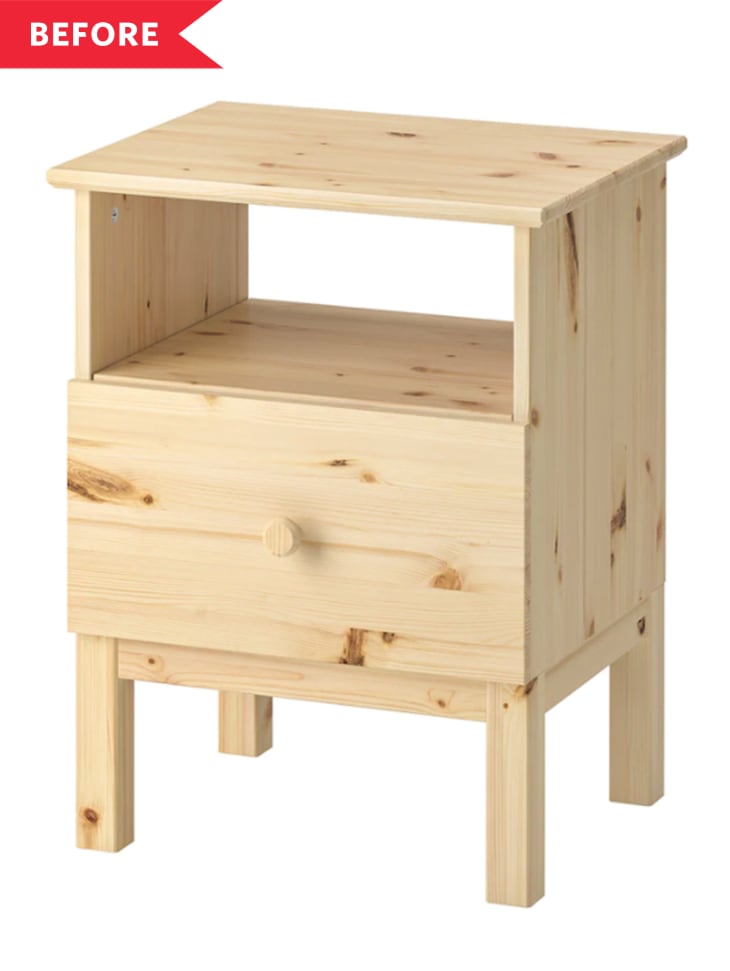
At just $39, the TARVA nightstand made for the ideal blank canvas. Fuller stained it a dark black — she opted against paint, because she wanted to let the wood grain shine through. Once everything was dry, Fuller assembled the IKEA piece minus the door, which she planned to construct on her own.
Fuller built the door frame out of pine wood. “Making the frame was the most challenging, since I had to cut the wood at a 45-degree angle with a hand saw and cross my fingers each end aligned perfectly flush,” she notes. (For ease, she suggests others use a mitre saw for this purpose.)
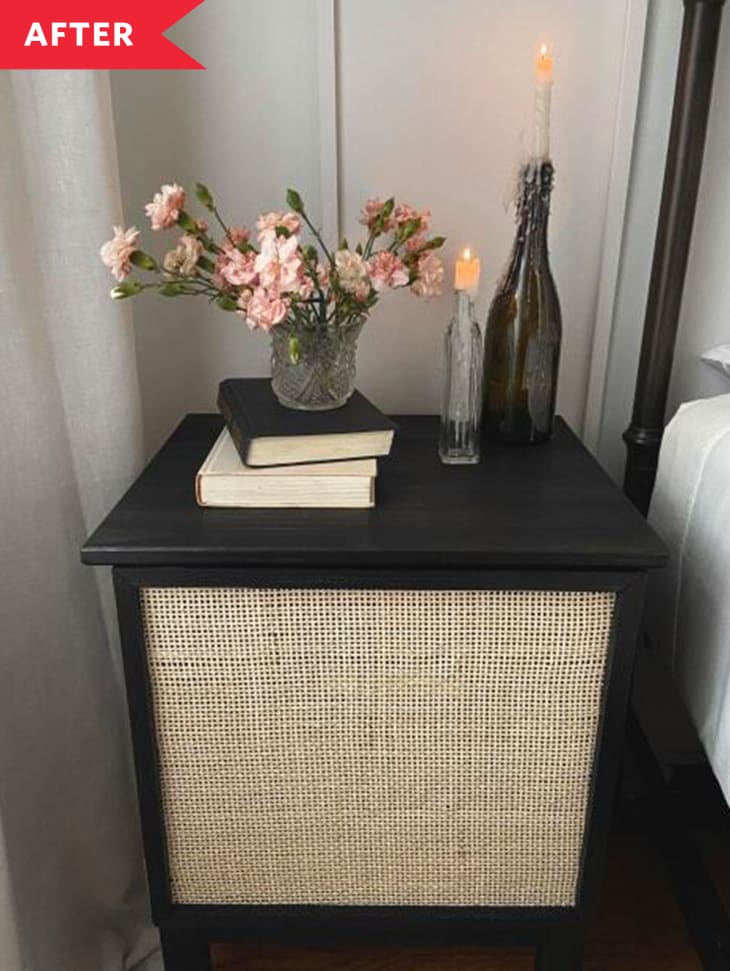
After cutting the wood into four pieces to fit the front of the nightstand, Fuller adhered them together with wood glue and let everything dry overnight before staining the finished product black. Then, she cut a piece of rattan webbing to fit the inside of the frame, soaking the material for an hour to make it more malleable. Using a staple gun, Fuller attached the rattan to the back of the frame and trimmed away the excess. “Attaching it while wet ensures it will be nice and taught in the frame after it dries,” Fuller explains.
Fuller offers a key piece of advice for those looking to undertake a similar project: “Check the color on each side of the cane material,” she recommends. “The rattan I bought was slightly more yellow on the front side and more bleached on the back. If you like the bleached look like me, remember to staple it to the frame backwards.”
Finishing touches include screwing in two small hinges to transform the framed piece into a functioning door. Fuller also added a magnet inside of the nightstand to help keep the door closed. “I skipped my initial plan of adding a gold handle, because I think it looks neater without,” she says.
Additionally, because the original TARVA nightstand featured a drawer, which Fuller removed, she added a scrap piece of MDF board to the back. This ensured the piece wouldn’t have a gaping hole and could provide valuable storage.
In total, Fuller estimates the project cost her $90 to $100. In between waiting for the wood stain and glue to dry and scheduling the DIY around her work hours, the nightstand took Fuller two days to complete — and she plans to construct another for the other side of her bed. “If you started early morning and have all your materials ready, then you could totally get this done in one day,” she notes. “Although this was my biggest DIY, it was still so easy. And if I can do it, anyone can!”
Get all the IKEA UPDATES
Sign up for The IKEA Edit, our twice-weekly newsletter with the latest IKEA finds, deals, and hacks.