
Before and After: An Easy $100 Hack Gives This Plain IKEA Dresser a Timeless, Sophisticated Look for Less
A large, sturdy dresser with tons of storage and timeless style can be hard to come by at a low price tag, but it’s not impossible, as shown by Jessica Belteau (@jessicabelteauhome).
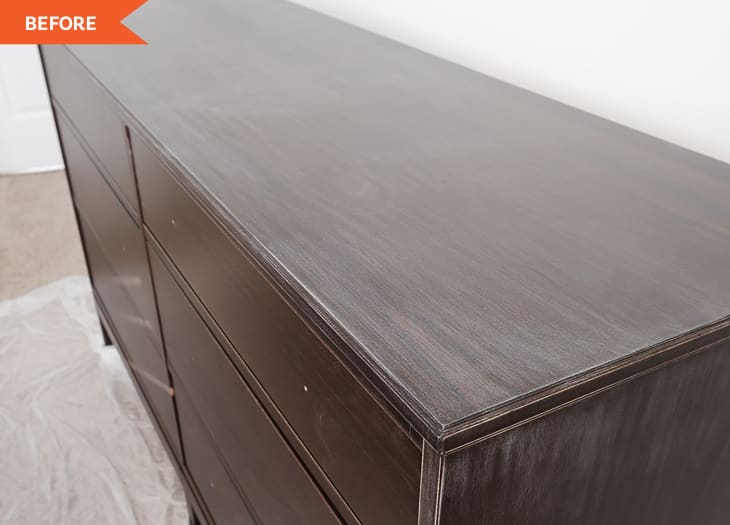
Jessica was looking for a black dresser for her son’s room but wasn’t finding anything she liked in her price range, so she decided to IKEA hack it instead using a six-drawer IDANAS, which retails for about $400 online. “I transformed the dresser by adding decorative moulding, painting black, and swapping out the hardware,” she explains.
Before starting, Jessica removed the hardware that came with the piece and sanded the entire dresser with 220-grit sandpaper. “I’ve found that when painting laminate furniture, like IKEA pieces, you don’t need to completely sand it down,” Jessica says. “What’s worked best for me is to sand just enough to roughen it up so the primer and paint will stick.”
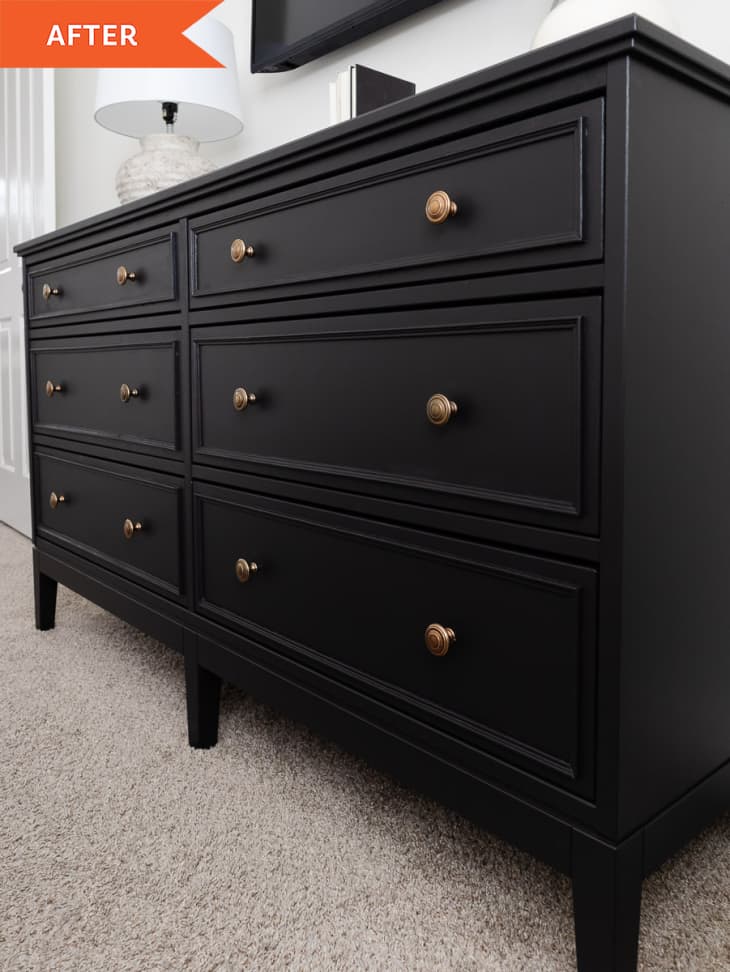
Using a miter box saw, Jessica cut decorative moulding (Colonial-style wood trim she got from Lowe’s) for the drawer fronts. She used glue to attach the pieces; once the moulding dried in place, she caulked around it. “I almost skipped this step, but I’m so glad I didn’t!” Jessica says. “Caulking around the trim helps fill in any gaps, which will make a huge difference when painting. This also helps the trim look like it’s always been part of the dresser.”
Next, she primed and painted the dresser using a Zinsser primer and painted it darker (in Sherwin Williams’ Black Magic). “My goal for this dresser was to create a timeless look, so of course I had to go with black paint,” Jessica says. “It really elevated the look and feel of the basic IKEA dresser. I love the black paint color, but it would be fun to try this style in a different color. Maybe in green!”
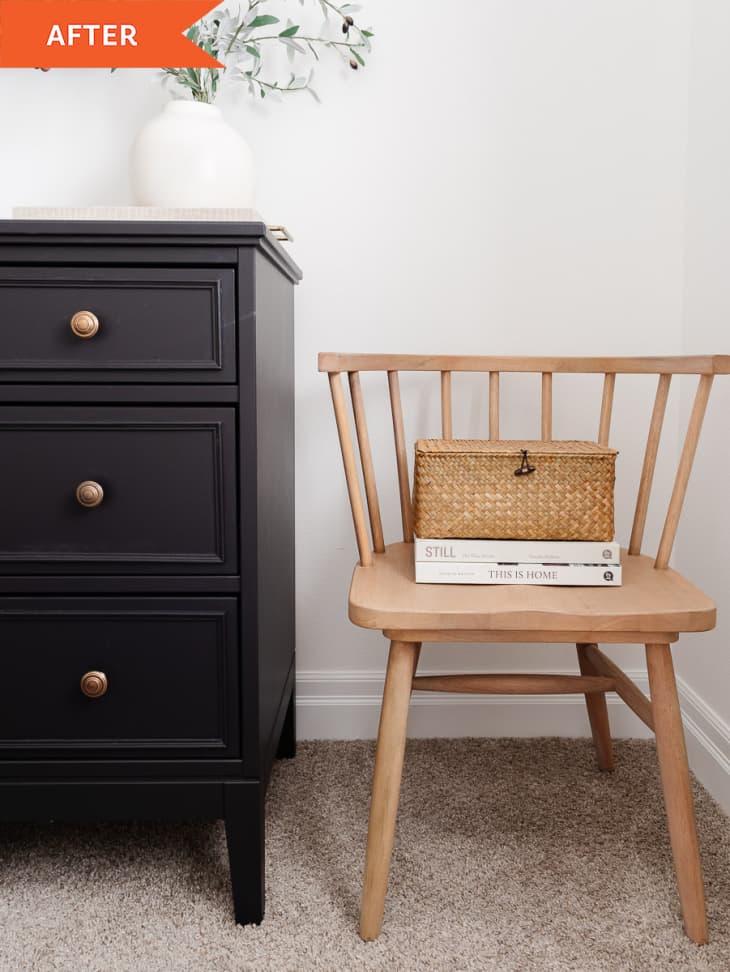
After paint, Jessica added classic-looking gold knobs, and voila! Dresser complete. “Although the changes were minor, they made a huge impact,” she says. The dresser went from being totally flat and a little boring to looking like a high-end piece of classic furniture.
Jessica says at $100 (not including the dresser) and four steps, this project is a totally approachable first furniture flip for a first-timer. “Just go for it!” she says.
Inspired? Submit your own project here.
Get all the IKEA UPDATES
Sign up for The IKEA Edit, our twice-weekly newsletter with the latest IKEA finds, deals, and hacks.