
This “Stuck in 2007” Kitchen Got a $600 Makeover (It’s So Boho!)
It’s an exciting feeling when you own a home and can graduate from colorful artwork to colorful paint on the walls, or upgrade from peel-and-stick tiles to the real thing without fear of breaking your lease.
While Kasey Repass (@nooks_crannies_furniture) had done peel-and-stick projects before, she had never installed real tiles with grout, and in her latest kitchen makeover, she finally got the chance.
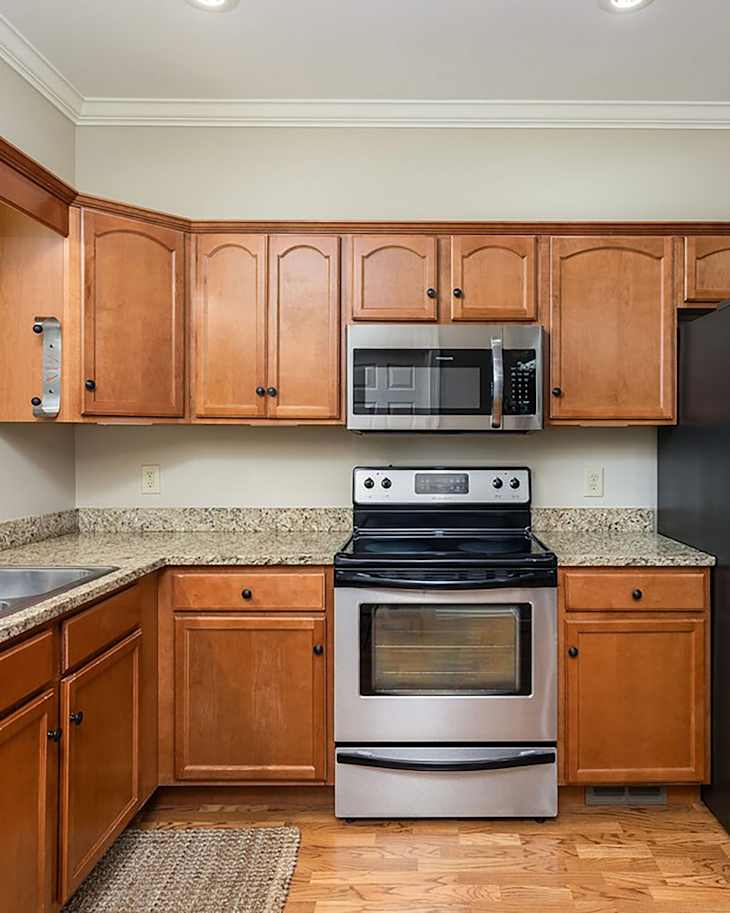
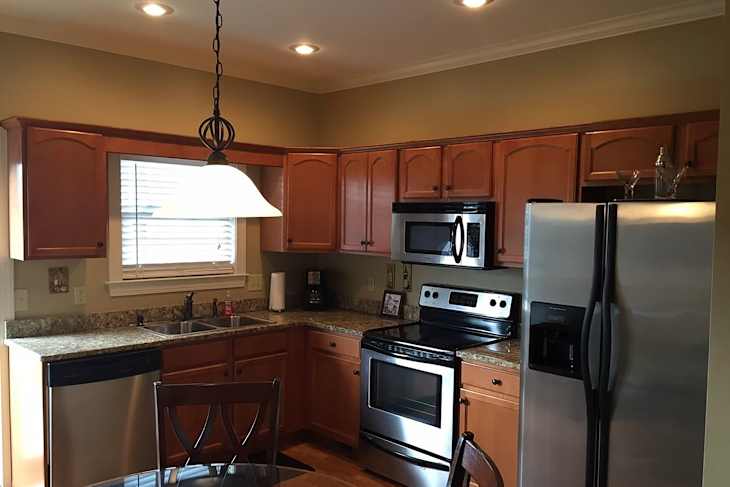
Tiles and cabinet paint made the biggest difference in the kitchen, which “before was very stuck in 2007,” Kasey describes. “The cabinets were the classic orange oak color, and the walls were a dark beige color. It felt like a nice space, but just very dated.”
Kasey liked the granite countertops and the crown molding in the space, but she knew about $600 worth of DIY projects could vastly improve the kitchen.
First, the cabinets got a coat of paint.
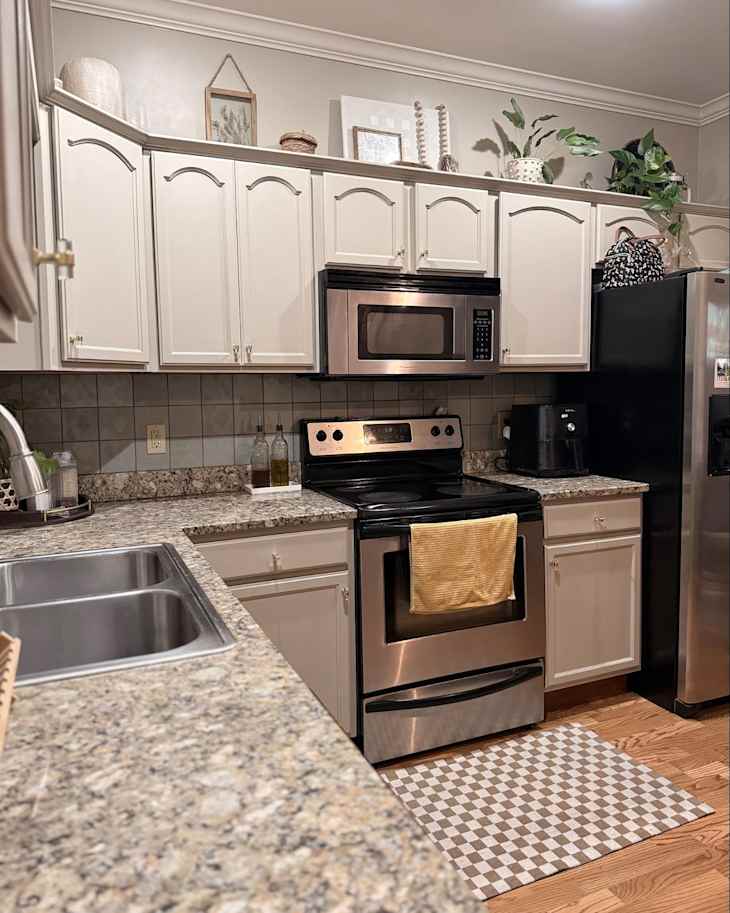
“Painting the cabinets made the biggest difference in this space,” Kasey says. “It really made it look like it wasn’t built in ’07!” She painted the cabinets inside and out in a warm beige, Magnolia’s Embossed Leather.
Kasey’s cabinet painting advice is to clean and scuff sand every surface, invest in liquid sandpaper for harder-to-reach areas in need of sanding, and make sure to buy the correct paint and sheen of paint. “My cabinets have held up perfectly,” she says.
One difficult part of the project was landing on the right paint color and tile color, she says. “Order the sample tiles and get the paint swatches!” she advises. “A lot of homeowners use neutral colors in their homes by preference, or because they fear what bolder colors would do for their resale. I chose this because it’s what I like, and I didn’t think about resale or how others would feel about my color or design choices.”
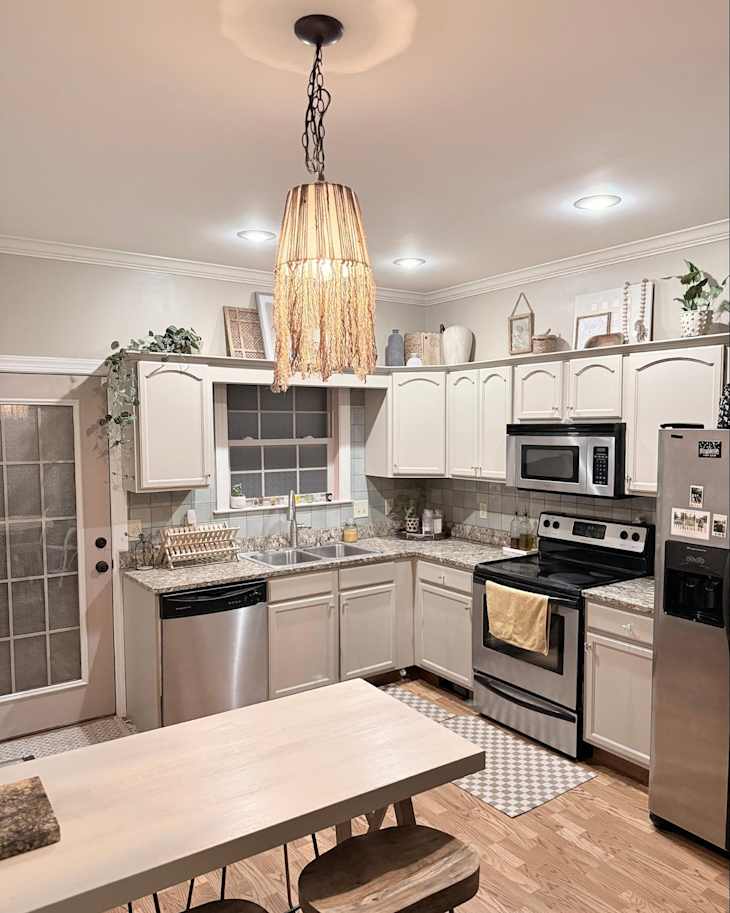
The square tile backsplash adds drama.
Kasey chose a light blue (but still neutral) color for her tile backsplash. “The backsplash was just what I needed to add some color that ties into my living area,” she says. “It felt like a brand-new space.” Her boyfriend, Hunter, who owns a home remodeling business, helped her install the backsplash.
In hindsight, Kasey says she might choose rectangular tiles instead of squares, but she’s proud of the overall look — and the hard work put into — the transformation. “Doing all of this ourselves made the cost of this project significantly less expensive,” she says.
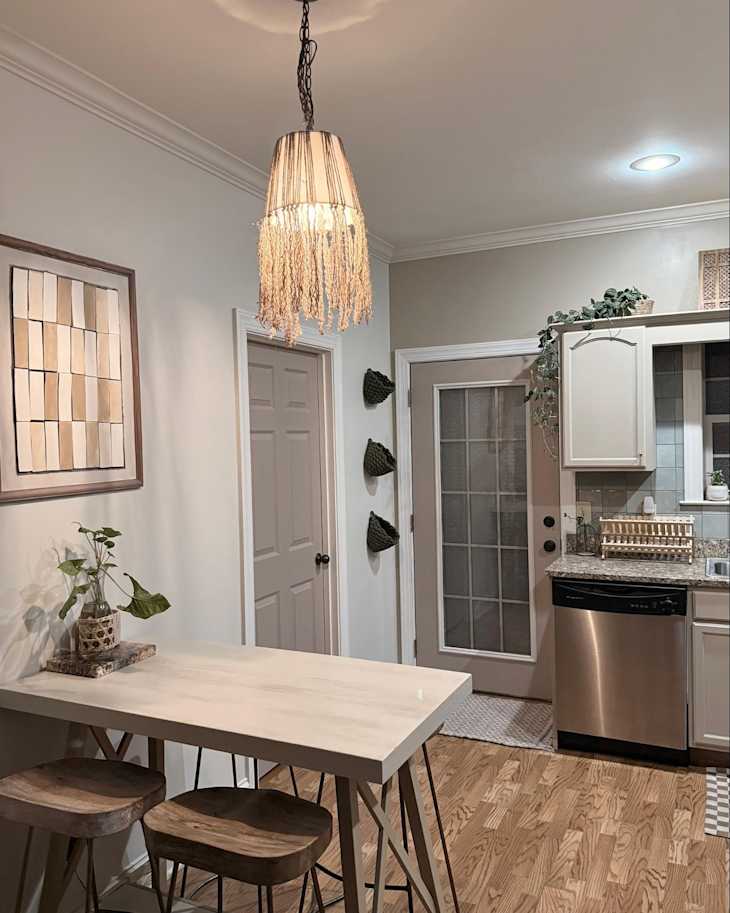
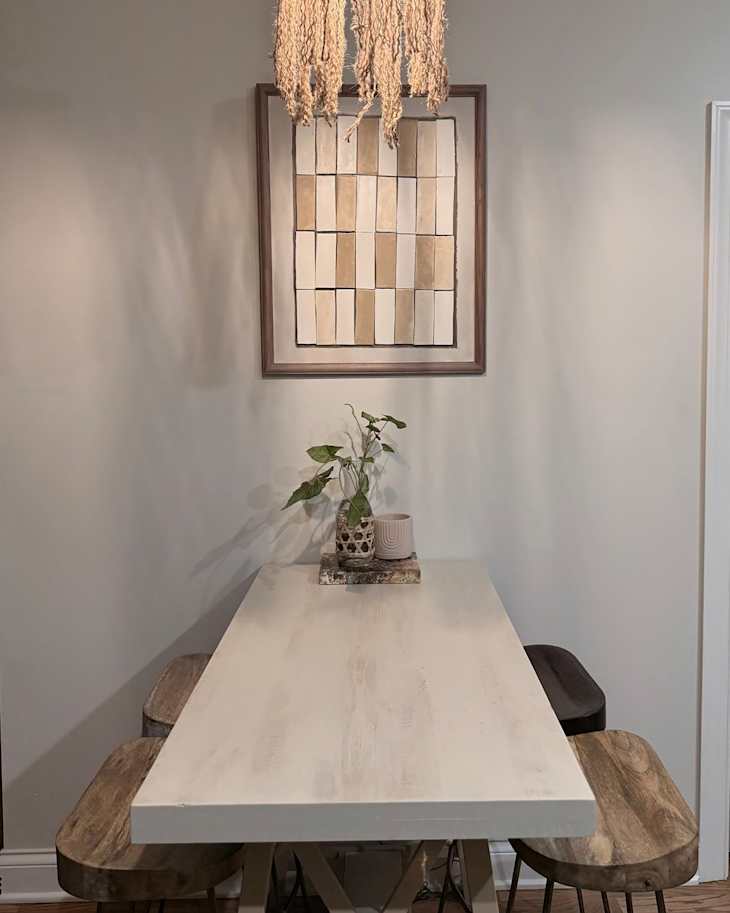
The pendant light got a new look.
Lastly, Kasey gave the pendant light fixture a DIY makeover. She used the same cord as before but added a lampshade she already owned and wrapped some jute she already owned around it for more of a boho look.
“I’m proud of how far this space has come with just minor changes and some paint,” she says. “It’s rewarding to walk in and see a project we completed that elevated my space and appeals to me … when I see this space, I feel like I am home.”
Inspired? Submit your own project here.