
Before and After: This $100 Bedroom Accent Wall Uses an Unexpected Building Material
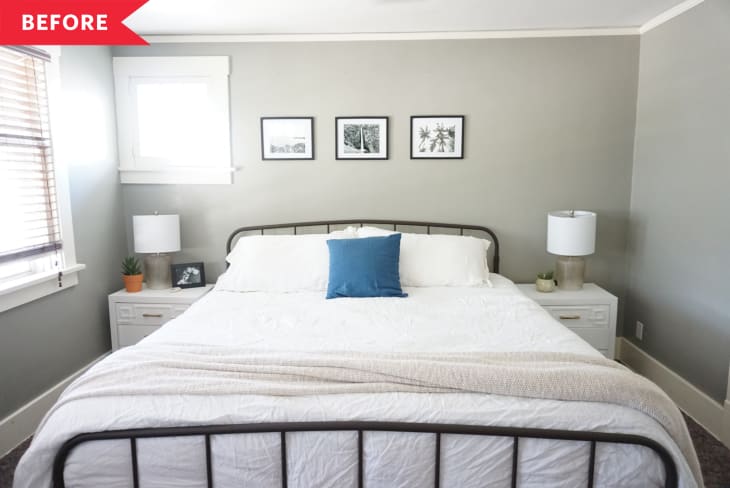
It doesn’t take a full-scale redo to transform the look a bedroom. Often, all you need is a well-placed accent wall. Syndey Lorence—on Instagram as @diysquid—knew that’s what she wanted for her master bedroom. Before, she says, “it was just your average wall. I had some pictures hung on the gray wall; nothing special. This house was built in the 1920s so it already had character, but it needed a little oomph.”
Sydney wanted an accent wall but wanted it to have a special feel—and she wanted it to be cheap. After some thought, she decided to take advantage of shims, which are sold at hardware stores and used in DIY projects to fill in gaps that are too big for putty. “Shims are super cheap and I thought they could definitely be used to make something cool,” Sydney says. “I wanted to use them to make an accent wall that had a boho feel and something no one has seen before.”
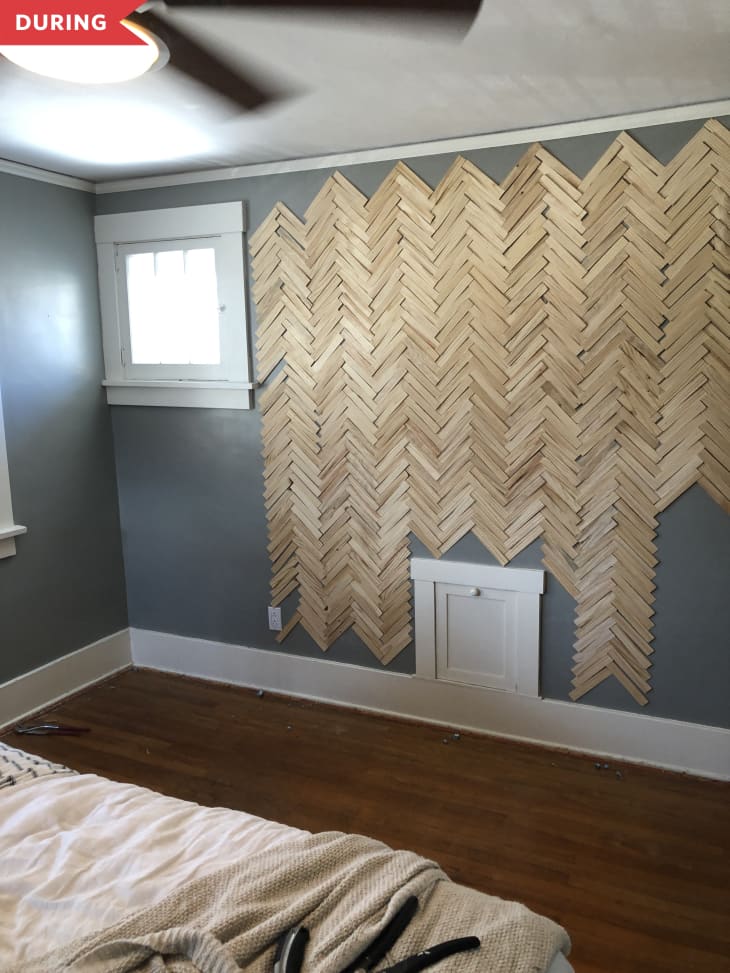
Sydney and her husband Max worked together on the project, placing the shims on the wall to make a herringbone pattern. Each shim got one nail—using a nail gun—to hold it in place; because the shims are wedge-shaped, the thin end would split if a nail went through it, so Sydney and Max placed their nails on the thick end. Total work time, Sydney says, was about six hours, but they did the project over the course of a few months as other projects took priority.
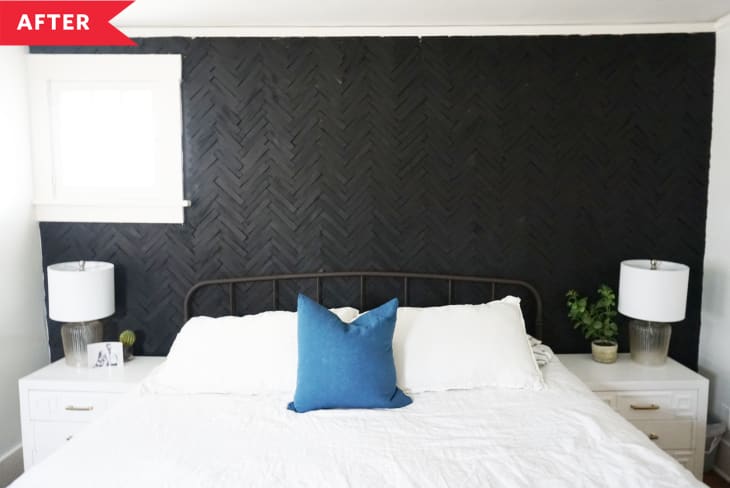
For the whole project, Sydney and Max used about 60 12-packs of shims, or 720 shims. Total cost for those was only about $90. “My husband made the cuts at the baseboards and ceiling at an angle but we weren’t worried too much because knowing it would be black, you wouldn’t be able to see every imperfection,” Sydney says. To make her painting job easier, she did a quick coat of black spray paint in the gaps before brushing a coat of flat black on the whole wall (Krylon ColorMaxx’s Flat Black). “I used a flat brush and jabbed the paint in all the creases the best I could,” she says. Painting the surrounding walls white helped the whole wall pop.
“The hardest part was probably the cutting and fitting the shims along the baseboard and ceiling,” Sydney says. “It was like a puzzle and you needed to find pieces to fit each spot. The easiest part was nailing them to the wall. It goes pretty quick with a nail gun and was actually kind of fun.”
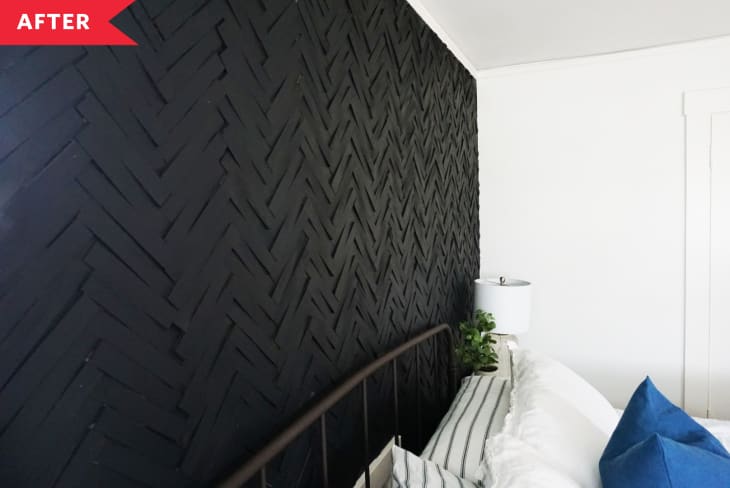
As for the effect? “It can be hard to tell in photos but it has so many shadows and highlights, it looks so chic,” Sydney says. “I love everything about it. I love the color. I love the dimension. I love that it was cheap. I love that we made it ourselves. I love that I’ve never seen one like this before. I wouldn’t change anything about it.”
Inspired? Submit your own project here.