
Before and After: A Chic $200 Refresh of a “Handyman Special” Bedroom
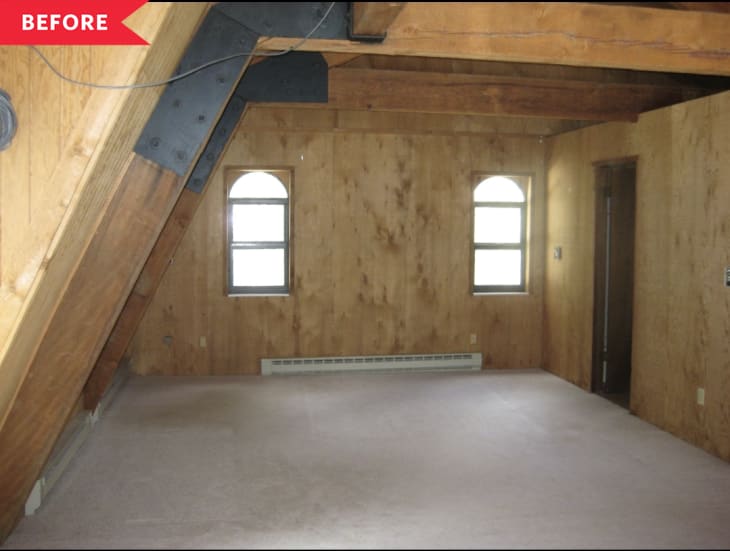
When Kellie Brown moved her family into their 1970s cabin in the mountains of Colorado, they knew they’d have a lot of work ahead of them. “It was truly a handyman special, complete with plywood walls and siding glass doors for windows,” she says. One of the worst offenders was the loft space, which was surrounded by wood walls and a wood-paneled gambrel roof. The effect could have been cool—but as it was, it felt more cave-like.
That might have been fine for a spare room, but to make space for the kids, the area became the master bedroom. It wasn’t exactly a relaxing retreat. “This room had sort of a living-in-your-mom’s-basement-after-college feel, but no one really ever saw it, so I always put time, effort, and money into other spaces,” Kellie says. “One day I woke up and realized how much happier I would be waking up in a room that felt like me.”
After doing a first-round upgrade of painting the wood walls white, Kellie knew there was more that needed to be done. So she teamed up with friends on Instagram to initiate a design challenge: a budget room refresh with a goal of one week and $300 or less to achieve the end product.
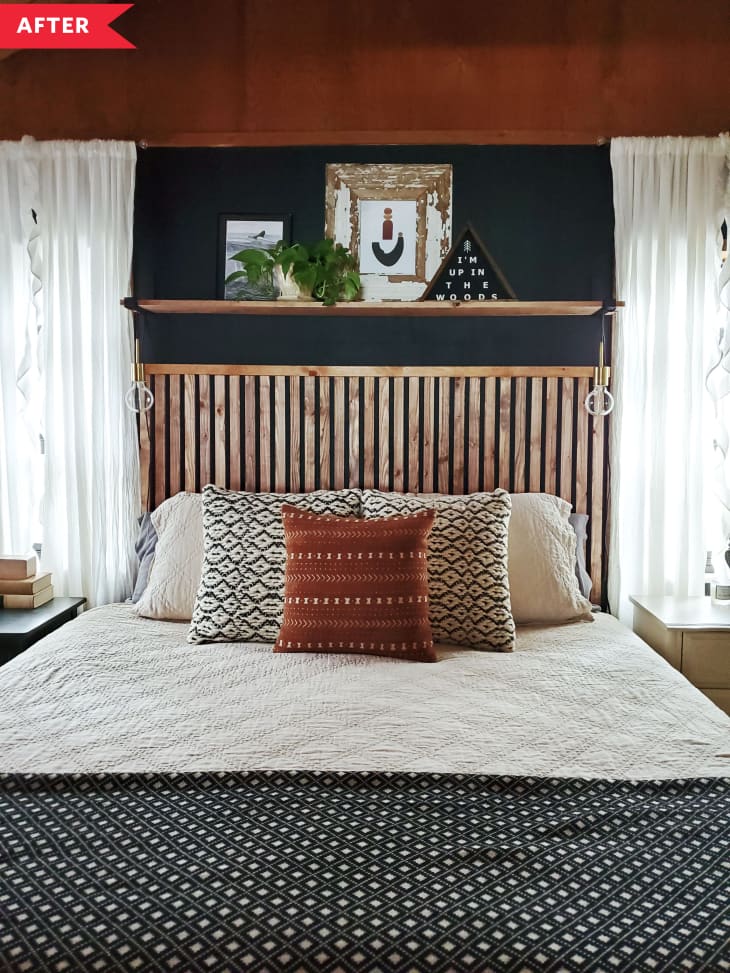
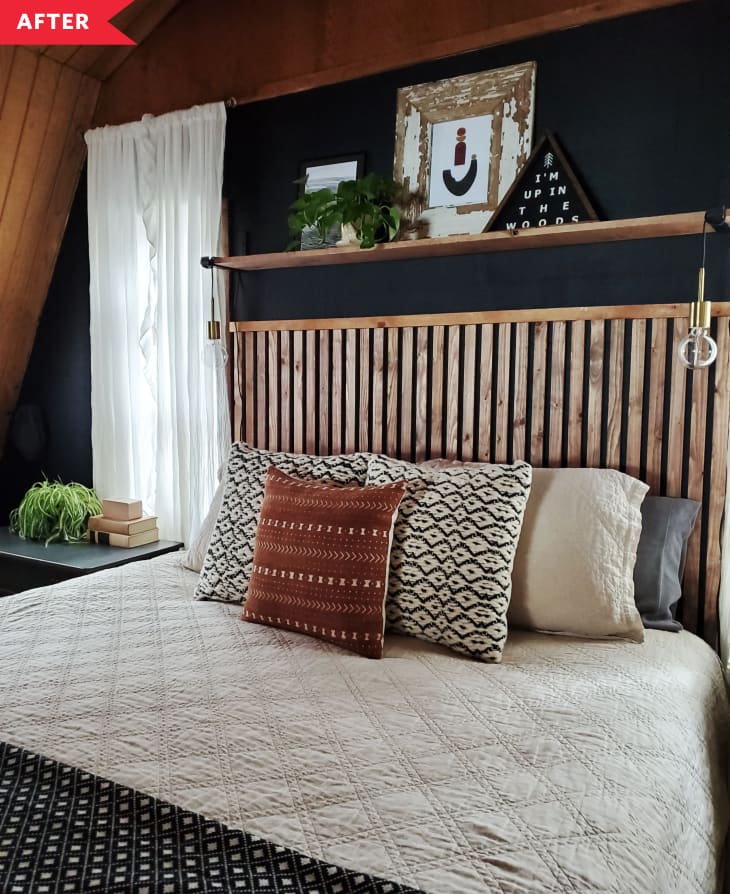
To give the room a cozier, warmer look, Kellie started out painting the wall behind the bed black (Behr’s Black). Then, she DIYed a slatted headboard for her once-naked bed—an instant game-changer!—and installed a shelf above it using wood from Home Depot and metal brackets from DIY Cartel. The lights on either side of the shelf are simple plug-in pendants from Amazon.
Total cost for the refresh? Just $197. “If money and time were no object, I’d replace the wall with shiplap and the carpet with wood floors,” Kellie says. “And I’m still scouring Facebook Marketplace and vintage stores for new nightstands.”
But she’s thrilled with what she achieved, especially on such a limited budget. “The black wall is moody and delivers a stunning impact and I love the look of the slatted headboard against it,” Kellie says. And, she adds, DIYing the entire project has given her new confidence: “I used a nail gun and drill for the first time on this project and I’m now ready to conquer the world… or maybe just a chop saw”
Inspired? Submit your own project here.