
Before and After: An Underutilized Closet Becomes a Creative Crafting Station for $150
Kids’ crafts — both where to do them and where to store and display them — can be a question mark for families with prolific young painters, sculptors, and illustrators. If this sounds familiar, check out these 20 ideas for organizing and storing artwork, and these 22 craft ideas made from recyclables (for adding to your little one’s body of work, of course). Then, take a gander at Elise Hay’s (@organizedsanctuaries) kids’ art “cloffice.”
WFH closets-turned-offices for adults were “so 2021,” Elise jokes on her blog. “Here’s an updated version that will keep your whole family happy this year and beyond: a kids’ art ‘cloffice,’” she says.
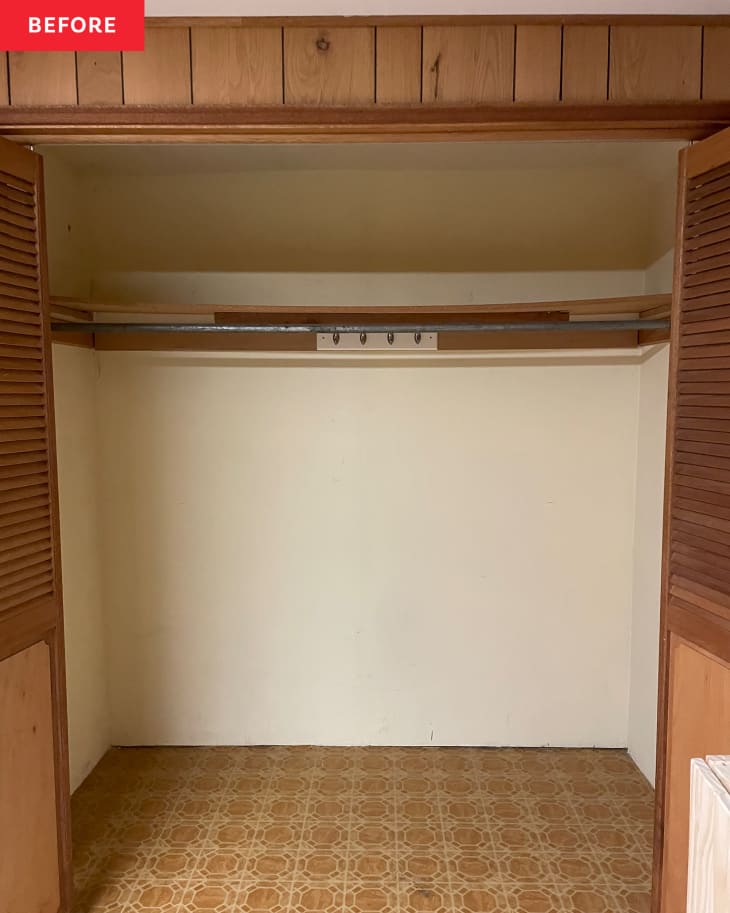
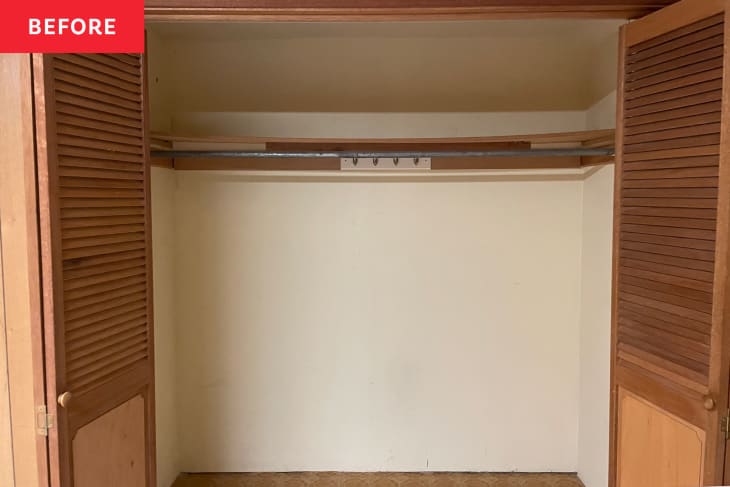
Before her project, this closet in her kids’ playroom served as an extra pantry. “But it was in the middle of the playroom, so that use really didn’t make any sense!” Elise says. It had one shelf, one long rod across the top, and a wire shelf that the Hay family used to store food.
In a two-week, $150 project, Elise took down the existing closet features and added a floating desk and a floating shelf to make the space much more functional — both DIY “firsts” for her, for which she relied on YouTube tutorials for help. She demoed the existing rod and bowing shelf, patched holes in the walls, painted the walls and ceiling white — to make the space appear larger, she says — and built the desks and shelves out of 2x2s and plywood. She stained the desk using a leftover wood stain from a previous project and followed it with a protective sealer.
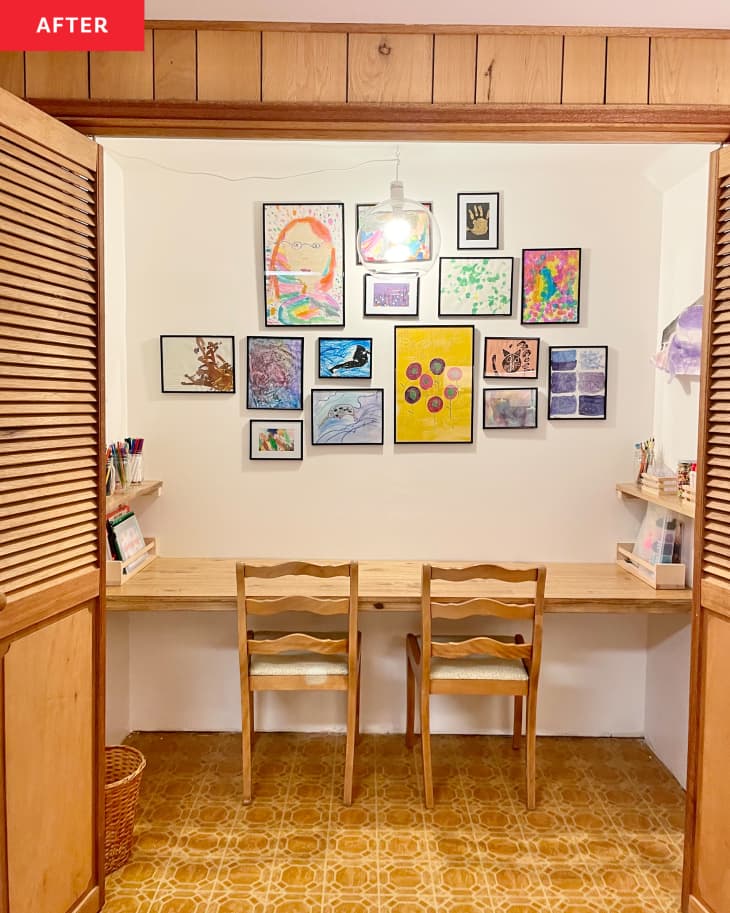
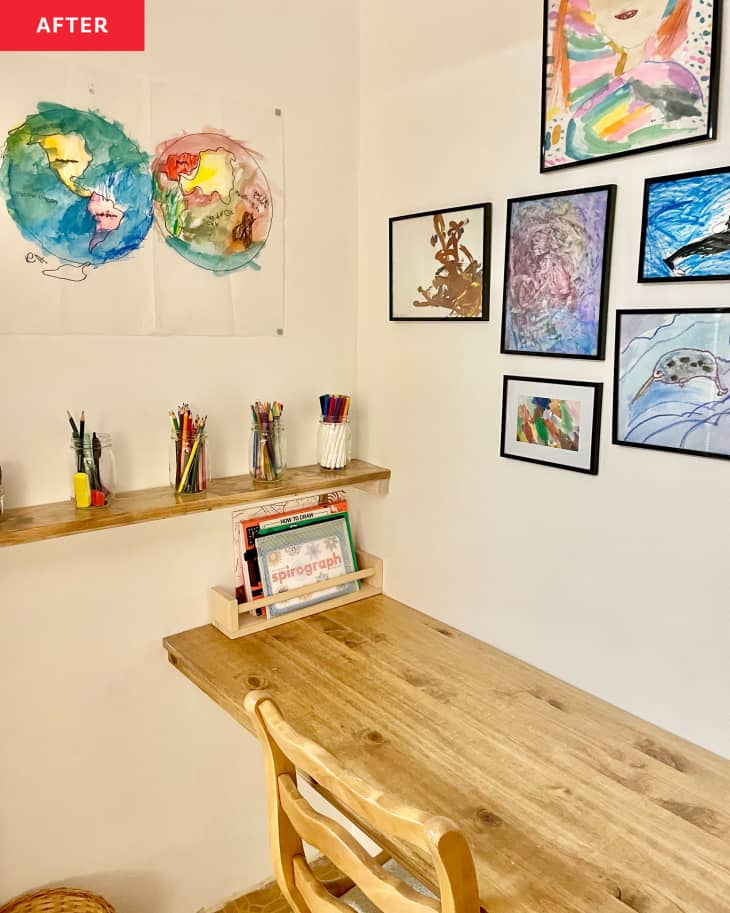
The most important part of the project was being exact with her measurements. “Building a floating desk and shelves requires some thought,” Elise says. She toyed with how high to place the shelves, especially knowing that this was going to be used by kids. “I didn’t want anything too high, but I also wanted this space to be able to grow with them,” she says. Elise knew she wanted the desk to be about 2-feet deep so the bifold doors would close with the chairs still inside the closet, and she ended up mounting the desk a little lower than halfway up the wall. For the shelves, she went with 5-inch depth, as she prefers shallow shelving for smaller items (like markers, pencils, and other craft supplies).
The most difficult part was dealing with previous water damage (and therefore lots of holes) during the demo stage, thanks to a bathroom on the other side of the closet wall. “That added a bit of extra work to the project to repair the crumbling wall,” Elise says.
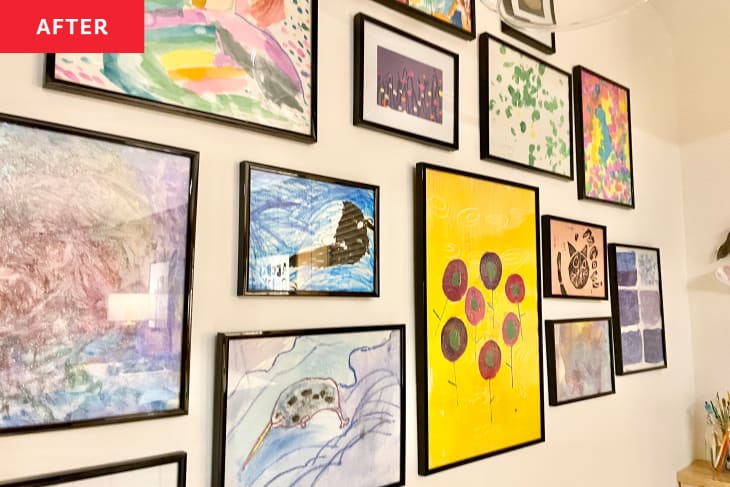
After the walls were repaired, the shelves were added, and the desk was installed, Elise added a gallery wall to finish off the space. “I wanted a place to display their art, so having big blank walls was a value add,” Elise says.
The “new” desk chairs are from Habitat for Humanity ReStore, and the storage for colored pencils and books on the sides of the desk are actually IKEA spice racks. Elise still plans to reupholster the chairs, but she’s proud of how far the closet has come. Her best DIY advice? “Don’t feel like your DIY needs to match anyone else’s or be Instagrammable,” she says, adding that she made plenty of mistakes as she went, like dripping paint during the painting process and making small cutting mistakes here and there.
“Embrace the imperfections, and know that your efforts are incredible,” Elise says. She loves this functional, DIY-friendly zone she’s created for her family, and her favorite touch is the framed artwork.
“Having them create more art filled with inspiration from past work is motivating and supportive,” she says. “It’s one of their favorite spaces in our house, and I love that I created it for them.”
Inspired? Submit your own project here.
Get all the IKEA UPDATES
Sign up for The IKEA Edit, our twice-weekly newsletter with the latest IKEA finds, deals, and hacks.