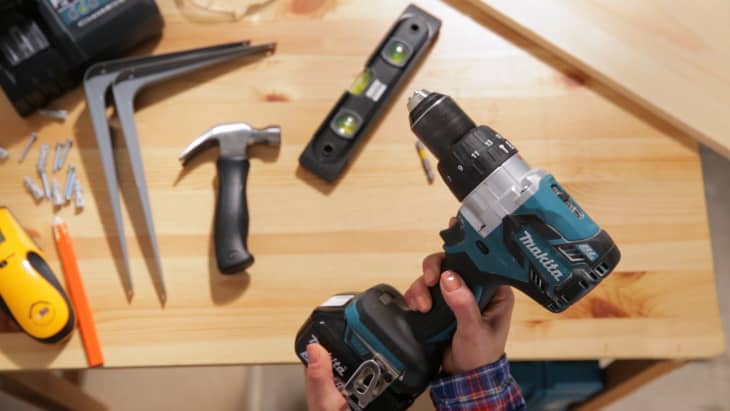
Don’t Make These 6 Common Cordless Drill Mistakes

If you only own one household tool, it’s probably a cordless drill. They’re pretty essential for even the most basic home improvement projects. But it’s not just a matter of grabbing one and getting to work. Drills may seem straightforward, but there are actually a lot of ways to mess up. Here are some common mistakes to watch out for.
#1: Don’t Plan Ahead
If you’re like me and sometimes wake up and decide you just have to do a project today, right now, this very minute, you may be disappointed when you grab the drill only to find the battery is dead. Or even more frustrating, you get started and it dies with the first screw. Cordless drills can’t be beat for convenience, but you have to think ahead and charge that puppy. Better still, have a back up battery, and be sure you get in the habit of putting the dead one on to charger every time you switch out.
#2: Skip the Pilot Hole
Always start with a pilot hole—a smaller opening that you can use as a guide for your nail or screw, or to gradually enlarge until you get the size hole you need. Starting small both prevents damage to the material you’re working with, and guards against making a hole too big. (It’s much easier to enlarge a hole that’s too small than to fill a hole that’s too big.) How do you know what size drill bit to use for your pilot hole? There’s a good rule of thumb; choose a bit the size of the inner diameter of the screw for your pilot hole.
#3: Select the Wrong Bit
There are an infinite number of bit types in the universe, and each kind serves a purpose. Use the wrong one for the job and you will potentially make things a lot harder on yourself. Using a wood bit instead of a masonry bit to drill into brick, for example, might break the bit and could even damage the drill’s motor.
There are also bits designed for specific purposes; hole saws, for example, are bits that you use to cut perfect circles, such as for locks in doors. Whatever the job, there is a bit that will be just right, and a whole lot of others that just aren’t going to cut it.
#4: Strip the Screws
The most dreaded words in the history of household projects? The screw is stripped. I hate hearing this because it means we just hit a speed bump. It essentially means that the head of the screw loses its shape and the bit can no longer hold onto it. In short? You’re screwed. If you find yourself in that unfortunate situation, you have to take a pair of pliers, grip the head of the screw, and manually turn it to remove it.
To avoid stripped hardware, keep the drill at a 90 degree angle and use enough pressure. If you don’t go in straight, your bit is not solidly inserted into the screw head and that can damage the screw. Also, watch your speed (usually marked by numbers on a dial on the drill), especially if you’re working with a soft metal like a brass screw. Start low and adjust up if you need more torque.
#5: Use the Wrong Drill to Begin With
When you think about a drill, the versatile ‘drill driver’ probably comes to mind first. It’s probably the easiest and least complicated one to use, and is a general all-purpose drill to have in your toolbox. But that doesn’t mean it’s the best one for your job.
Another alternative: impact drivers. More compact than regular drill drivers, impact drivers are great when you need more force to drive fasteners, but without the weight. Reach for one when hanging a light fixture overhead, for example.
There’s also the hammer drill, which is just what it sounds like—it adds a pulsating effect, essentially hammering your screw into hard surfaces. I don’t have one, and so my husband and I once spent an entire weekend installing shelves because it took so long to drill into the brick, and we had to rest every two seconds.
#6: Use the Wrong Drill for You
Drills have come a long way over the years. My husband and I had an older one that was nice, but it was big and seriously heavy, so we recently invested in a couple new smaller, lighter models. Think of it like shopping for a chef’s knife, and find one that fits nicely in your hands.
Or, if you have a hard time managing your battery situation (as mentioned above), it might make sense to buy a corded drill instead. There’s no rule that says you have to be cordless if you don’t need to be.
This is also not the time to bargain shop. With heavily-used tools like drills, you get what you pay for. There are cheaper versions that are fine for small occasional projects like hanging pictures, but you want a quality drill for things like mounting shelving in brick or concrete. There are several top brands, but my husband and I always buy DeWalt. We recently bought this combo kit, which featured niceties like a built-in flashlight.
Related:
- Power Tools & You: How To Mindfully Master Your New Power Drill
- 11 Things You Probably Didn’t Know a Dremel Drill Could Do
