The Painted Picture Frame Wall: A Unique, Affordable DIY Way to Add Architectural Interest
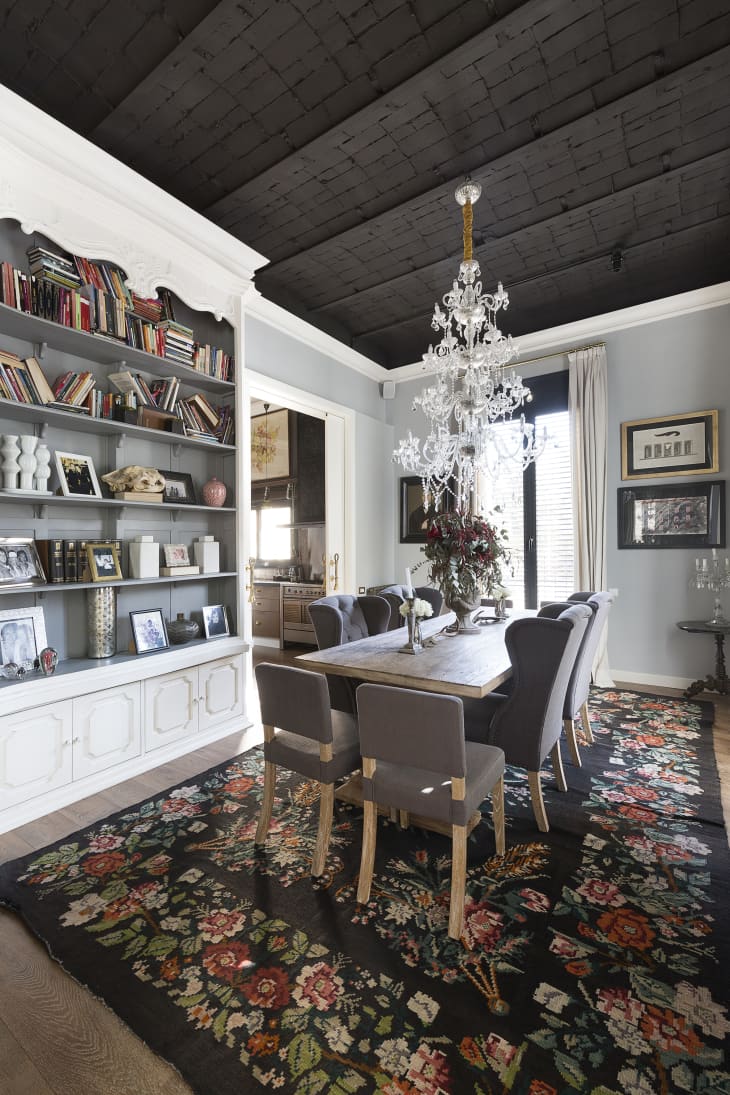
There was a lot to take in with this Spanish home tour. Like an amazing kitchen, stunning stairs, dreamy furniture and more. If you didn’t notice each incredible design detail of the home’s 7000 square feet, I wouldn’t blame you. So much to soak up! But while inspiration can be gathered from every room, there was one particular design idea I spotted in the nursery and loved…and it’s something I’ve never seen before.
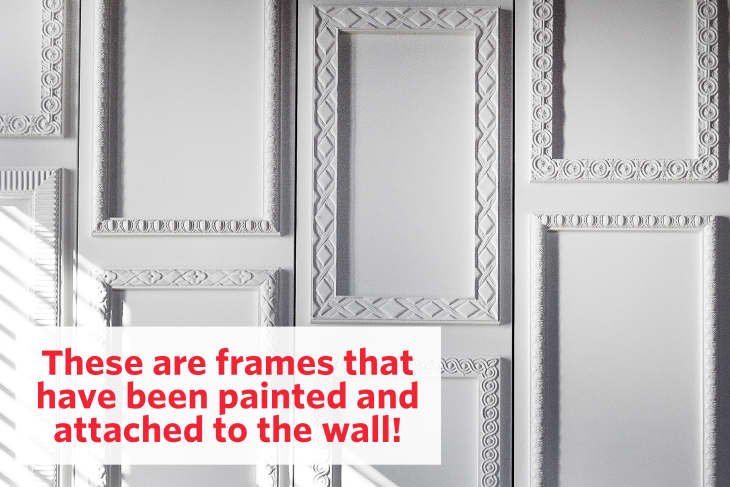
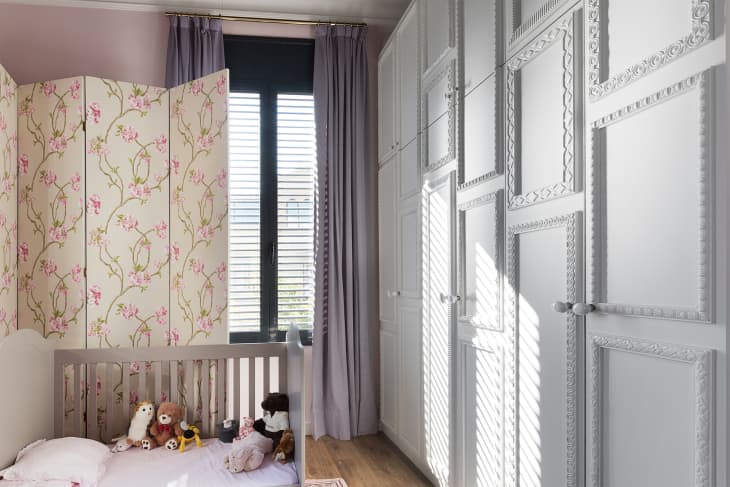
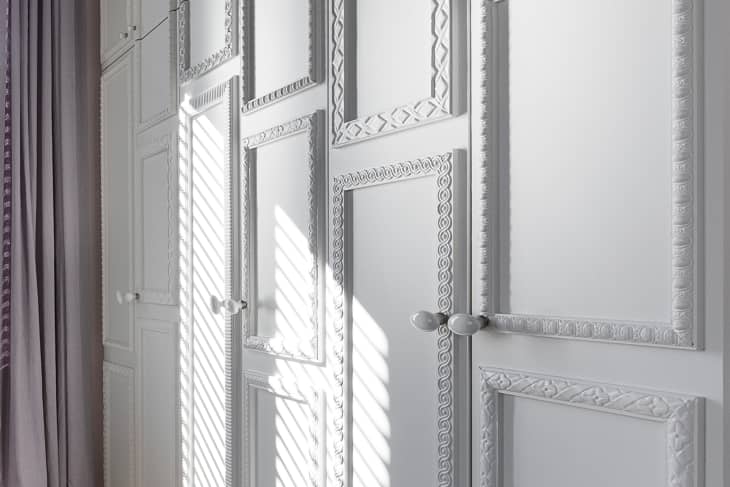
In the baby’s nursery, a wall of built-in storage cabinets are given quite the interesting treatment: Picture frames were attached to the wardrobe doors and then painted in the same color as the doors! It’s such a simple idea, easily reproducible and the results are professional and expensive looking!
The picture frames that were chosen for this project all have elaborately textured designs, some patterns traditional, some modern. Painted all the same color (and specifically all the same color as the cabinets themselves — white), they become a unified texture.
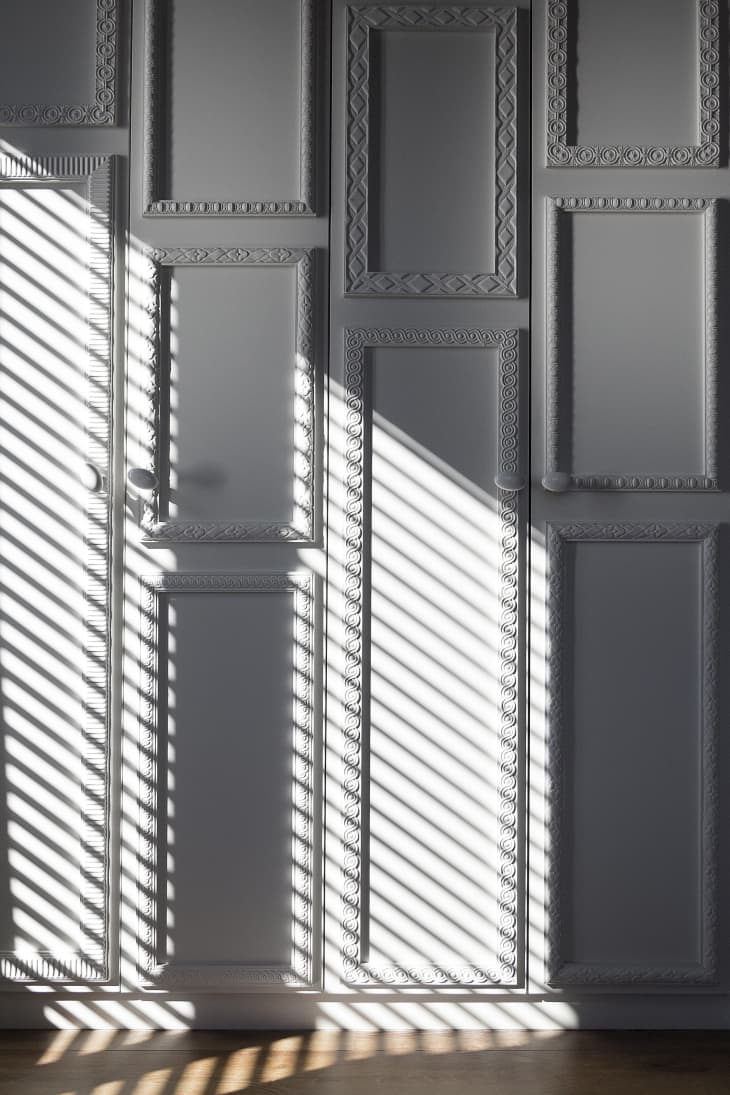
Another great reason why this DIY idea works so well is how light interacts with the frames. Like wainscoting, wall molding and plaster ceiling medallions, the painted frames immediately add an element of three-dimension to a space. This idea adds DIY architectural charm to a room in a way that a paint color or a even a wallpaper pattern can’t do alone.
How to make this look your own:
This idea could be applied to just about any solid vertical surface that you can attach things to.
Find frames:
Scour Craigslist and your local thrift stores for cheap (or free!) picture frames. Don’t worry about what condition the frames are in — you’ll be painting over them so some damage is fine. And be sure to not overlook cheap art that might have an interesting frame on second glance; it’s not just empty frames you should be on the lookout for.
Paint the frames:
If you want to mimic the idea above, then paint your frames the exact color of your wall or doors.
Attach the frames to wall:
A good old nail or two should work fine here if you’re able to put holes in your wall. You’ll just want to be extra diligent about how secure the frames are on the wall or door. Making sure each frame attaches to the wall at several different points will keep the frame in place, preventing your 3D texture from becoming crooked. You could use tape dots to help secure the frames after hanging them on the wall with nails, or you might even consider screwing the frames to the wall.
If you can’t drill or nail holes in your wall, don’t think all is lost. There are so many ways you can use adhesive strips and hooks to hang things in your home, it might be worth experimenting with!
Step back and enjoy:
Wherever you decide to use this DIY idea, you’ll be creating a fascinating focal point in your home.