
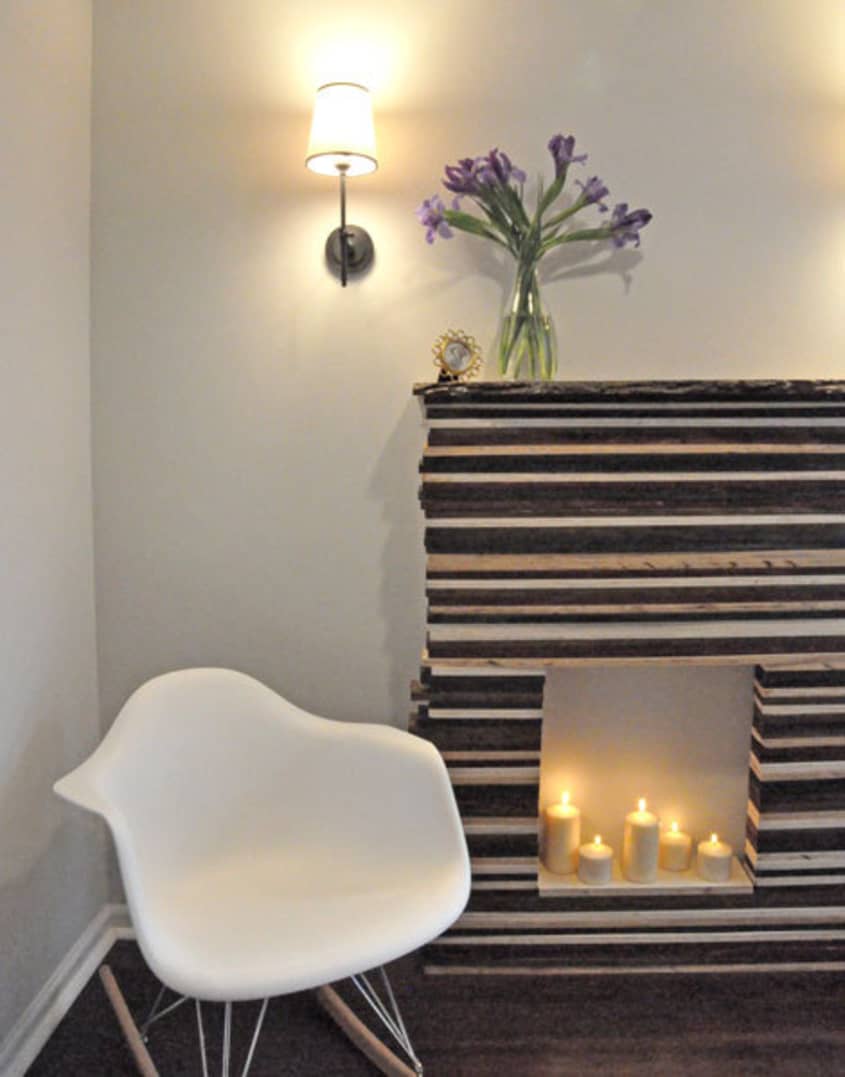
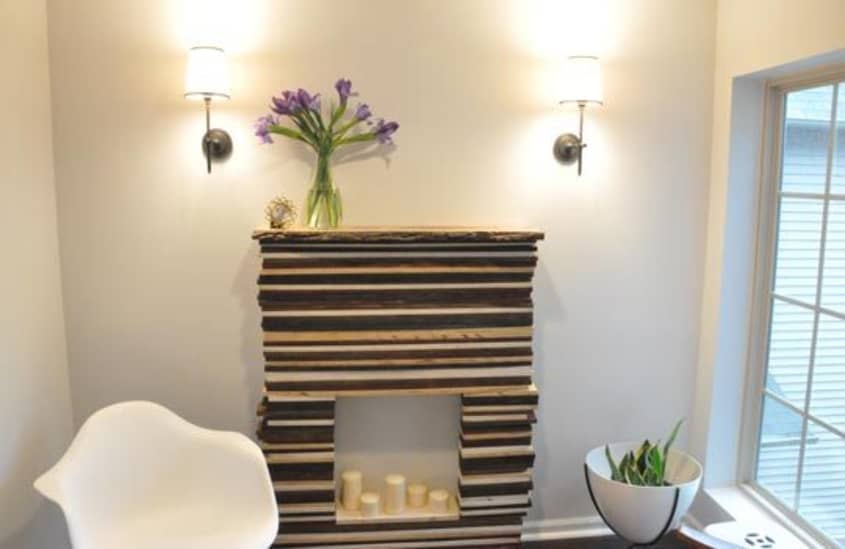
How To: DIY a Faux Fireplace

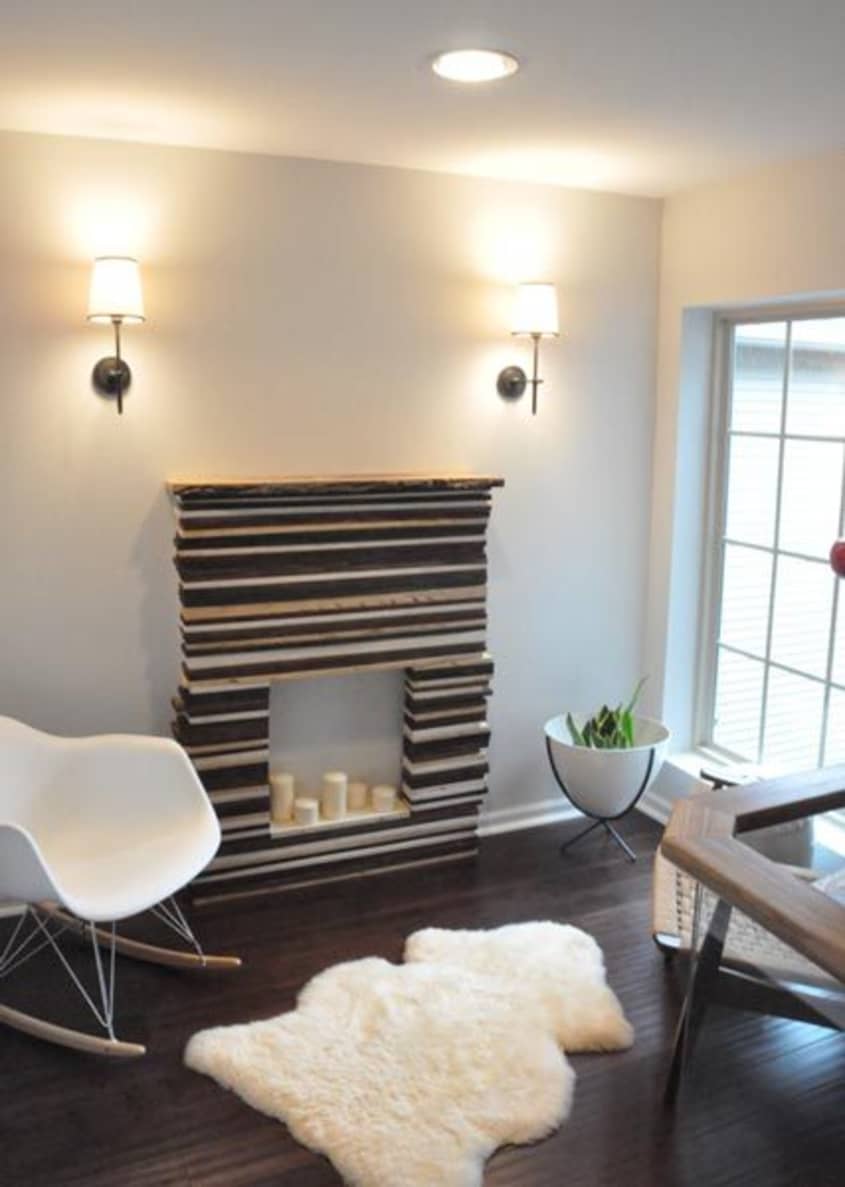
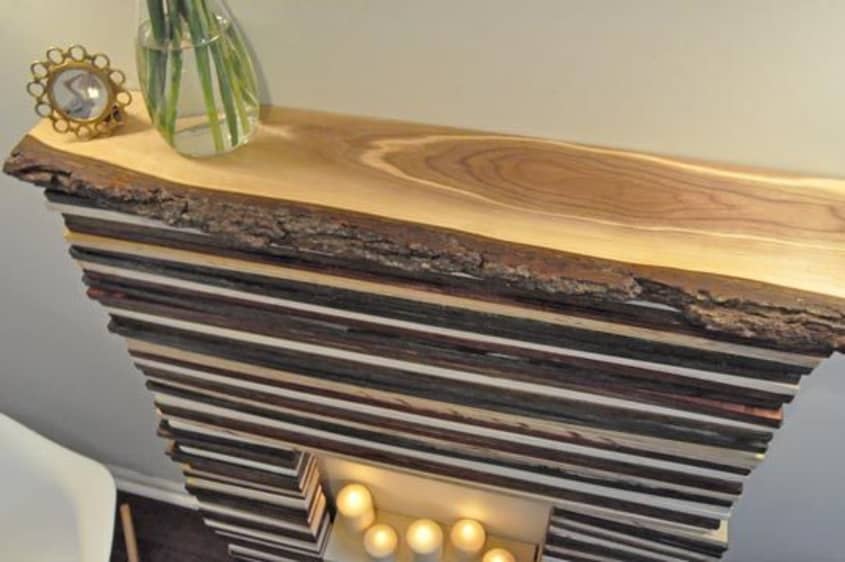
Hi! My husband and I just made a faux fireplace on our new loft. The top piece is sustainable salvaged maple from our local re-use shop. We cut it in half (going to make a coffee table out of the other piece) and stained it with a clear coat for protection.
Sent by Laura

The materials used for the fireplace were:
• Hardwood plywood for the main wood which we stained a few different colors
• The top piece is urban salvaged maple from our local re-use store
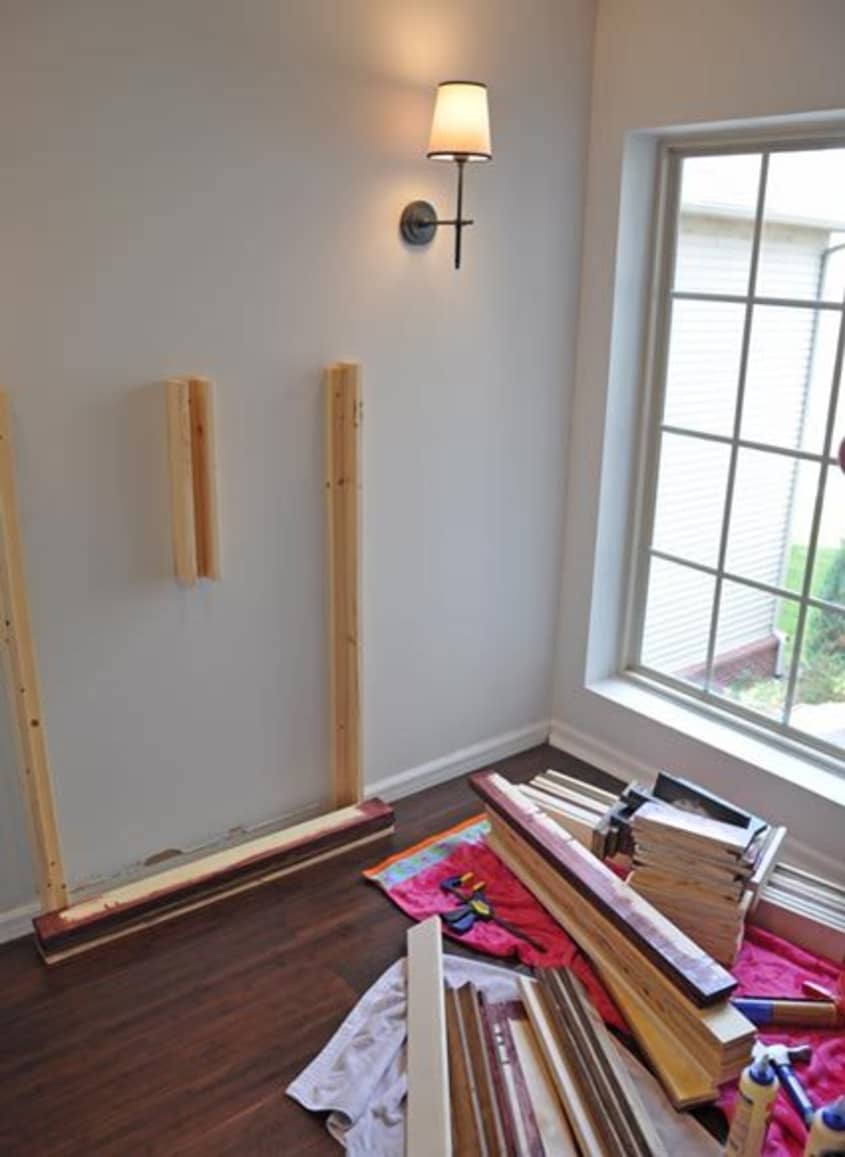
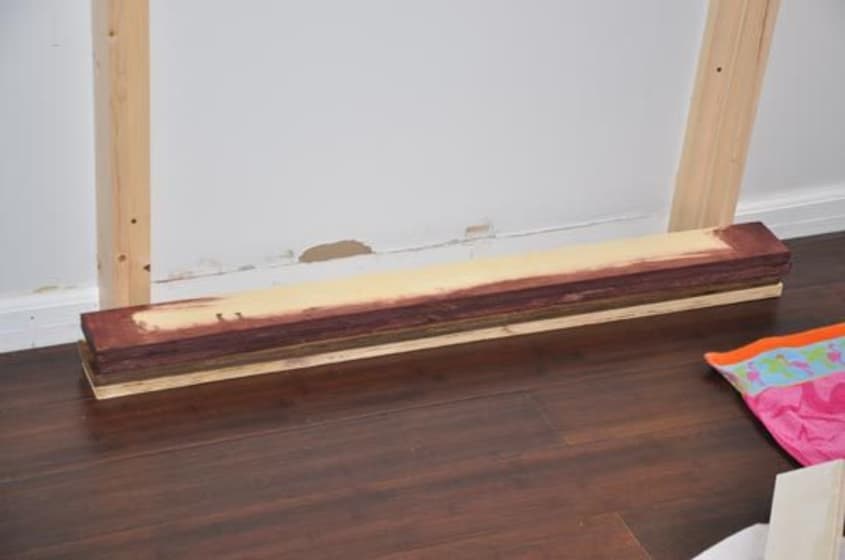
• Scrap wood for the base to attach the whole thing to
• Nails/Hammer
• Lots of wood glue!
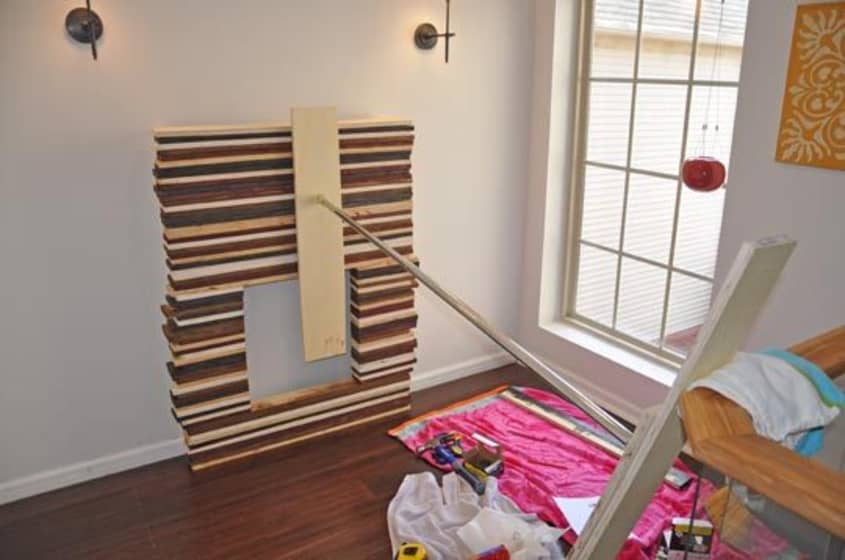
The process was pretty simple, we ripped the plywood to 3 inches wide and lightly sanded it to get rid of the rough edges. This would be used for the face of the fireplace. We built it out 6 inches with some wood first nailed to the wall. Once the stained wood had dried, we randomly stacked the pieces applying wood glue in between each piece. Every so often we would hammer a nail into the little pieces to keep them neat and so they wouldn’t be tempted to slide around while gluing. We also jerry-rigged a way to make sure it was staying upright while drying — with a shower curtain rod.
It was really a weekend project, mostly waiting for things to dry! The cutting part was probably the most difficult. You definitely need a table saw and maybe a chop saw. We borrowed both of these tools from friends. I would estimate we put about 8 hours total into this project.
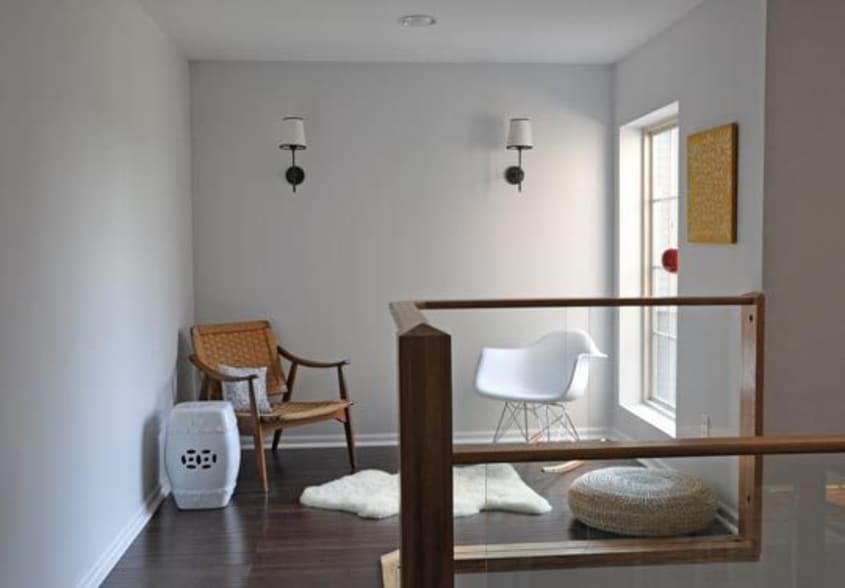
We’d like to ask your readers what would look good over the fireplace in between the sconces? I am unsure what would look best — round? square? 2 pictures? a metal sculpture? I don’t want something that’s going to compete with the sconces. Thanks so much! Laura
Thanks for sharing, Laura!