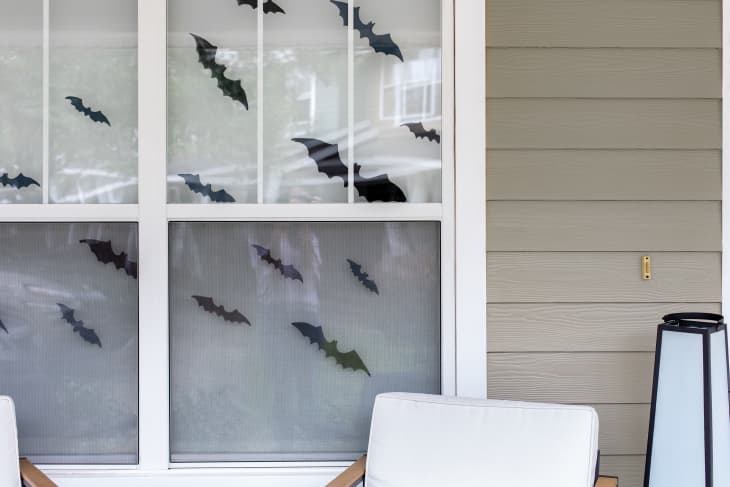
How to Give Your Windows an Easy Halloween Upgrade

You might not be hosting Halloween parties in the same way as usual this year, but that doesn’t mean you can’t go all out on decor. In fact, adding Halloween touches to your windows is a great way to get in the spirit of the season, since it’s a spooky touch that can be seen by anyone passing by.
This batty project has a big payoff with a shockingly small time commitment—and an even smaller budget. In fact, you might be able to get away with not buying a single new thing. Really! Here’s what you’ll need to get the look, and how to do it.
What you’ll need to make bat-accented windows
- acrylic craft paint (NOT the kind intended for glass) or tempera paint
- small craft paintbrush
- paper plate or cup for mixing
- paper
- painter’s tape
1. Print bat images in various sizes, then tape them to the outside of your window
Reach for clip art for this task, and adjust your bat silhouettes so they come in a small, medium, and large size. Tape the bats to the outside of your window so that they look like they’re flying across in one direction.
If you’re unable to reach the outside of your window to safely do this, you can also cut out the silhouettes of the bats to create stencils. Tape these stencils to the inside of your window so that the bats look like they’re flying across the window in one direction.
2. Mix your paint
If you want to use a color that’s not pure black, mix your paints on a paper plate until you find a color you like.
Make sure that you don’t use acrylic paint that is intended for glass. If you do, the paint will permanently stick to the glass and you will have a very hard time removing it (if you can at all). Instead, use craft paints that are labeled as washable and intended for wood, canvas, and paper.
3. Paint the bat silhouettes
With your small craft paintbrush, trace the shape of the bats and paint in the outline fully. Repeat until the whole window is full of bats of various sizes all flying in one direction.
Help set off your decor by lowering the shades and turning on the lights, which will help illuminate the bats in the evening. Spooky!
Once Halloween’s over, you can use glass cleaner and a gentle scrubbing sponge to remove the dried paint.
If you’re looking for more decorating ideas for Halloween, we have four more DIYs that pack a big punch for not a lot of money or time. Happy haunting!
