
This Guy Built a Farmhouse Table & Redditors Ate Up The End Result
Mark Haggerty shared his DIY table project on the social media platform earlier this week and people are really loving it — both for the amazing end result, and for the price tag: $850, including lumber, hardware, tools, glue, and stain.
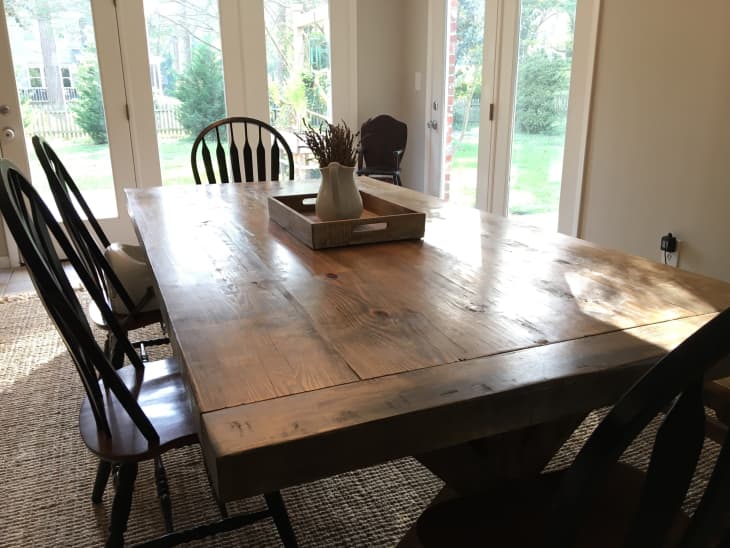
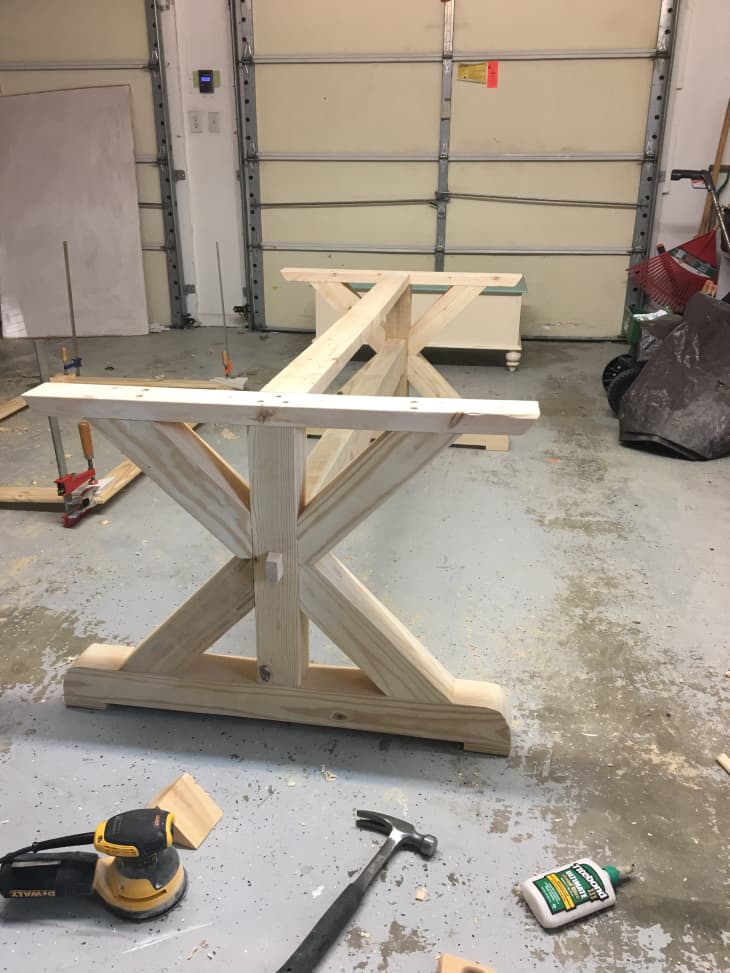
From Mark: I have always wanted a farmhouse table, and when I bought my first house, the space next to the kitchen was begging for it. Buying a table wasn’t in the budget— plus, what’s the fun in that!
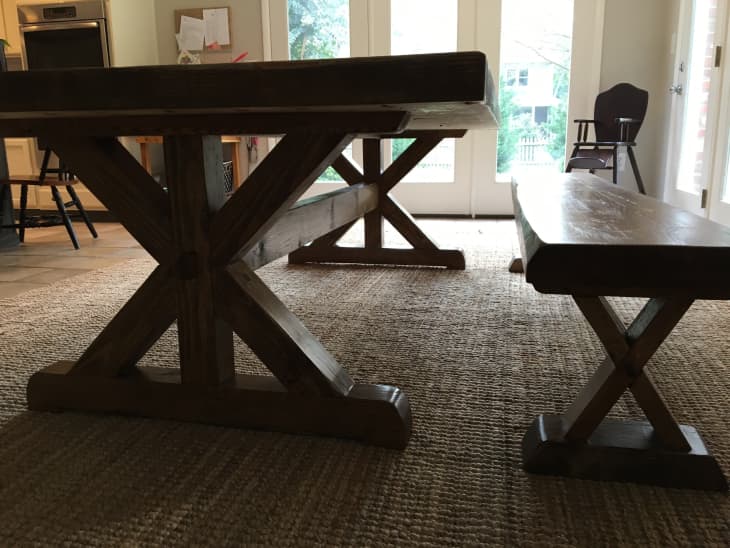
Mark used pine wood from a lumber yard, and kept some of the raw edges on the ends for a nice natural look. The finished table is an absolute beast and measures 94″ long x 45″ wide x 29.5″ tall. The top itself is 3″ thick. He’s already hosted a birthday party and was able to fit thirteen people around the thing!
Mark details the whole process step-by-step, sharing both the success and the headaches of building it over on Imgur. The fun included driving down the highway with eight 7-foot boards strapped to the top of his Mercury Mariner — in the slow lane with emergency lights on — for 45 minutes of terror. He has since bought a truck.
Mark readily admits he’s not a professional, and this was his first big furniture project. Besides an avalanche of support, there’s some discussion (because, commenters) about the technique used — Mark used pocket screws to join the top boards together— and whether or not the wood will shift and warp over time due to humidity.
Yeah, I tend to shoot from the hip, so for my next project I will do some more research and try to use more appropriate methods. I didn’t even know they were called breadboards! Haha. In my defense, there was a disclaimer that I’m a novice.
Potential problems aside, it’s an impressive first project, and there’s a lot to learn from reading the post and comments, before you try a similar project yourself. Thanks to Mark for sharing!