
A Modern Copper Kitchen Hanging Rack You Can DIY
Add Us
See more Apartment Therapy stories when you search on Google.
We independently select these products—if you buy from one of our links, we may earn a commission. All prices were accurate at the time of publishing.

(Image credit: Lana Kenney)
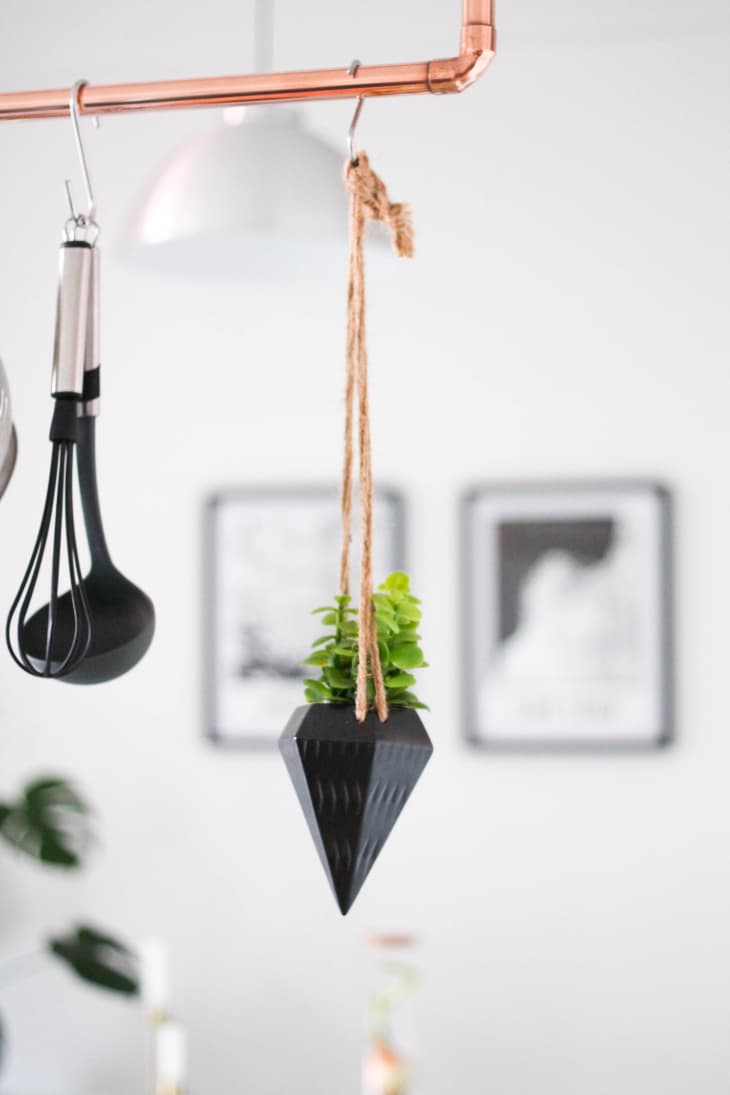
Melissa and James are just renting this cozy Cape Town apartment, but as avid entertainers (and Melissa a soy candle maker), updating the kitchen was a necessity. Old, dark wood cabinetry was given a crisp coat of white paint. And an eye-catching cut vinyl piece above the stove adds pattern and drama to the room. But while the whole kitchen features lovely elements, there’s one item that stood out the most to me: the hanging copper pipe rack. It was a DIY project James made when they first moved into their home, and they’ve shared how it’s made below. “It has been quite the conversation piece!” says Melissa.

(Image credit: Lana Kenney)
What You Need
Materials
- 4 copper pipe pieces (2 cut to the same size for your length and 2 cut to the same size for your width)
- 4 90 degree copper angle pieces
- 4 steel cable crimping sleeves
- Steel cable
- A few “S” hooks
- Copper glue
Tools
- Crimping tools or pliers
(Image credit: Melissa Lawrence)
Instructions
- Once you have decided on how big you would like your utensil hanger to be, get the copper pipes cut to the right length at your local hardware store. There are tools you can buy to cut copper but if you plan to only make one of these then buying that tool is maybe an expense you would prefer to avoid.
- Lay out your four pipe pieces in the shape of a rectangle.
- Decide where the top of your utensil hanger will be; in our case it was one of the longer lengths.
- Create two small holes on the top pipe. These are the holes that you’ll use to suspend the hanger, so make sure they are evenly placed to carry the weight.
- Thread your steel cable through the holes and crimp the ends with a crimping sleeve.
- Add a small dot of copper glue into each 90 degree copper angle and plug in your lengths of copper connecting it all.
- Allow to dry.
- Next, loop the top end of your steel cable and crimp the ends (this is where you will hang your utensil hanger from). We luckily had hooks installed above our kitchen counter already.
- Add the “S” hooks and you are done!
See their whole home → A Contemporary & Classic Cape Town Apartment
Have a really great DIY project or tutorial that you want to share with others? Let us know! We love checking out what you’re making these days, and learning from our readers. When you’re ready, click here to submit your project and photos.