
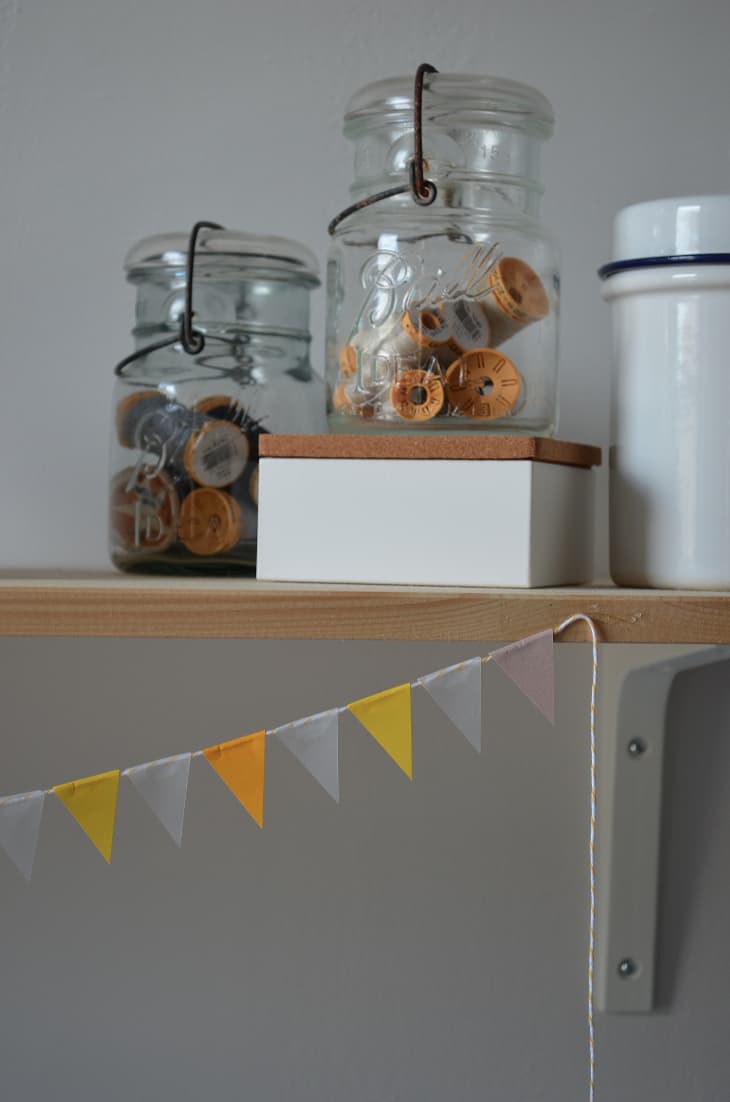
DIY Party Decorations: How To Make a Mini Pennant Banner

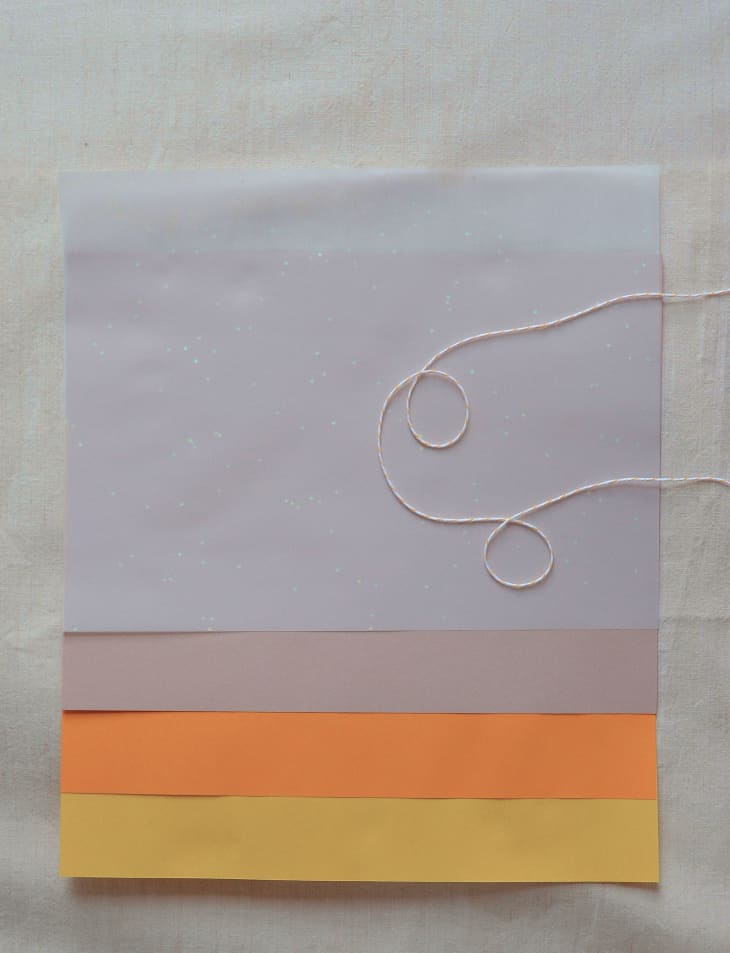
This miniature banner is a birthday gift for my crafty sister-in-law, so I chose a toned down palette of warm yellows and a pretty mauve in order to make the banner suit her home décor. The banner was so fun and fast to make that I’m tempted to make lots more to perk up my whole house and all of my gifts this year!
What You Need
Materials:
- Light to medium weight paper, in an assortment of colors (My paper came from Paper Presentation, but fun paper isn’t difficult to find these days!)
- Two yards of fun twine or embroidery floss. I’ve been a big fan of Whisker Graphics’ Divine Twine since using it for my wedding invitations several years ago.
Tools:
- Scissors or rotary cutter, straight edge, and mat
- Ruler
- pencil for marking measurements
- glue stick
Instructions
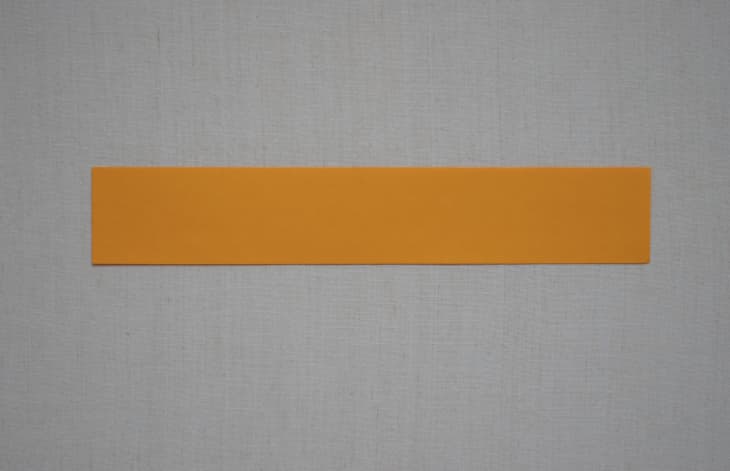
1.Cut a 1.5-inch strip from the shorter edge of your paper.
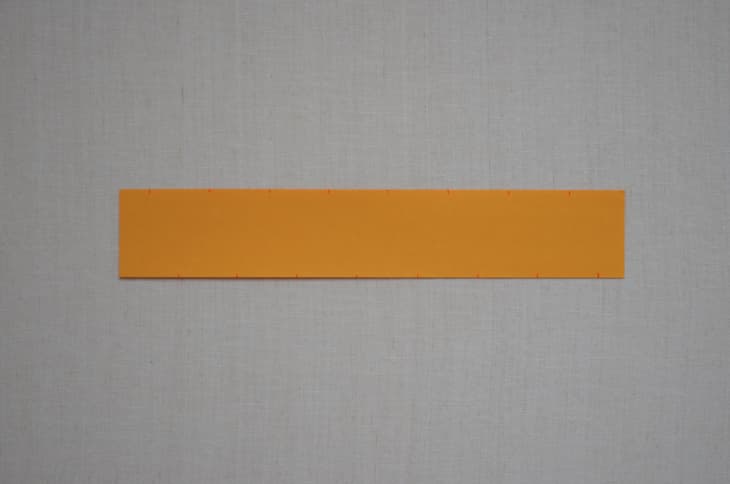
2. Starting .5 inches from the top left corner, make a small mark every inch along the top edge of the strip. Then, starting 1 inch from the bottom left corner, make a small mark every inch along the bottom edge of the strip. The marks will appear to be alternating top, bottom, top, bottom, etc.
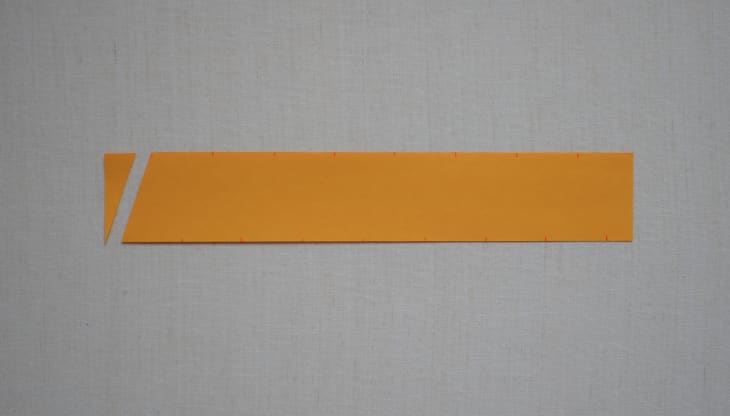
3. Using your rotary cutter or scissors, make a cut from the bottom left corner to the first mark on the top edge of the strip.
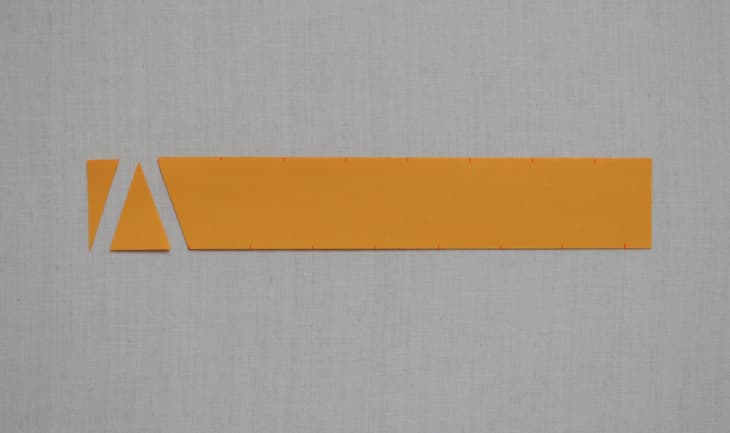
4. Next, make a cut from the top left corner to the first mark on the bottom edge of the strip. You have your first triangle flag!
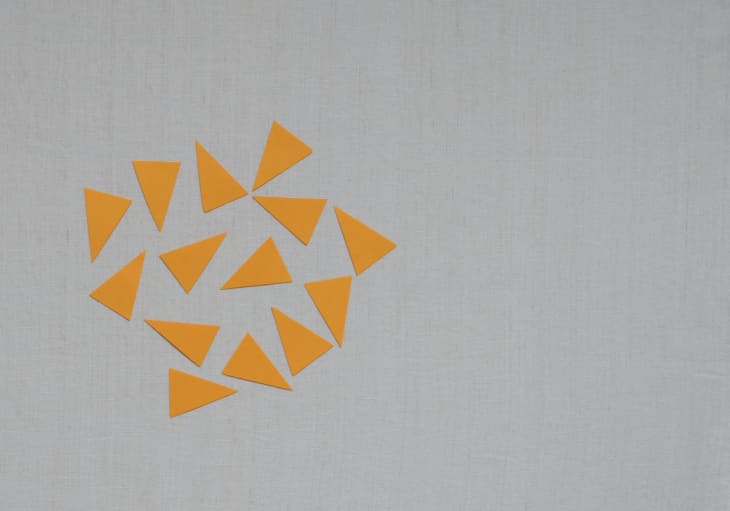
5. Continue in this manner until the entire strip has been cut into triangles. Discard the first and last pieces so you’re left with only the matching triangles. Repeat steps 1 through 5 until all of your paper has been cut.
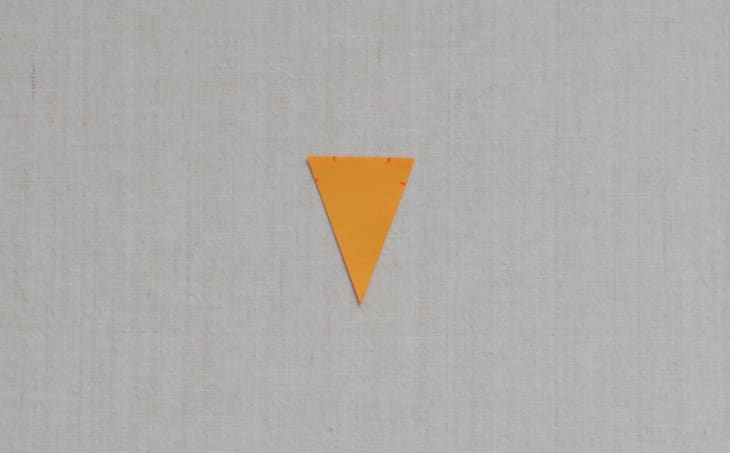
6. Mark .25 inches in along the top and side edges of each triangle.

7. Cut the corners off the triangle from .25-inch mark to .25-inch mark.
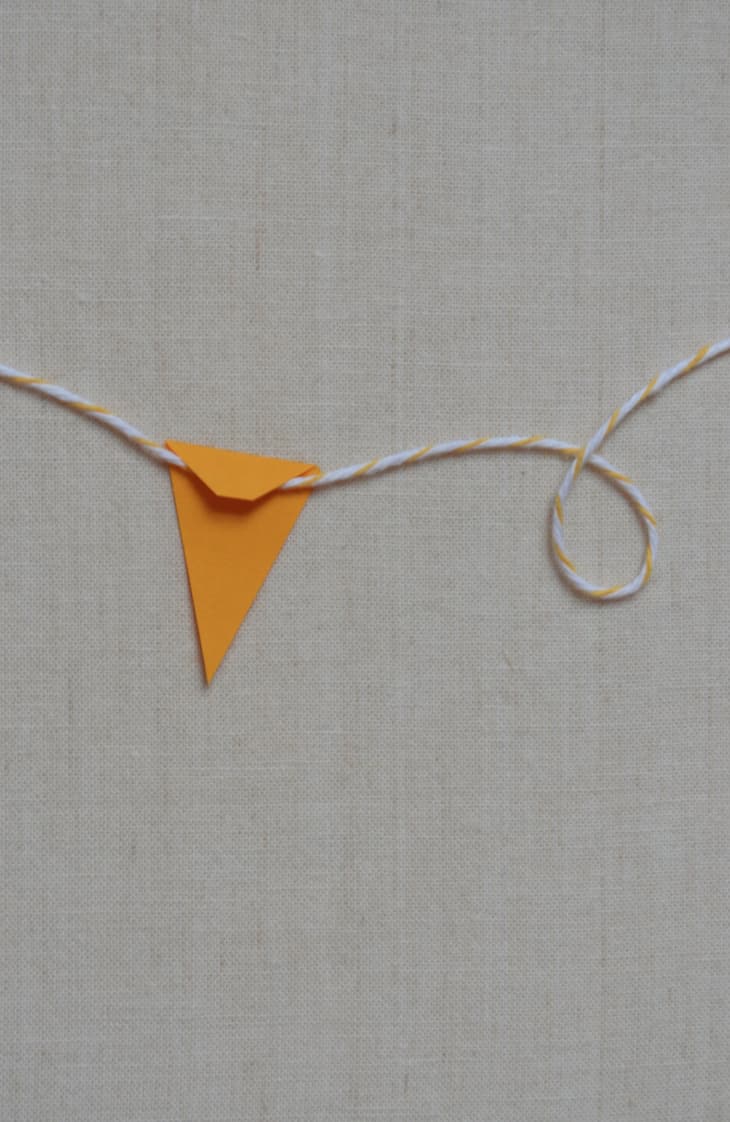
8. Fold the newly created tab at the top of the triangle over your twine, leaving 18 inches of twine at each end for tying. Dab a little glue on the inside of the tab and press down for several seconds to secure.
9. Repeat steps 6 through 8, spacing each triangle flag .5 inches apart, and being certain to leave an 18-inch twine tail at the end for tying.