
DIY Project Idea: How to Make Easter Baskets from Sugar String

These simple and sweet Easter baskets, made from sugar and string, are a great DIY project for the upcoming holiday. Reader Krys shows you how her grandmother used to make them when she was growing up. Read on to learn to make them yourself:
What You Need
Materials
- 3 cups sugar
- Acrylic spray
- Lace or ribbon (optional)
- 1 spool crochet thread (350 yards)
- 3-9 inch balloon
- Approx. 9 drops of food color for pastel sugar (optional)
- 1 cup water
- Mixing bowl
- Small plate for drips
- 4″ section of toilet paper roll
- Straight pin
- Sharp scissors
Instructions
1. Blow up a standard 12″ balloon.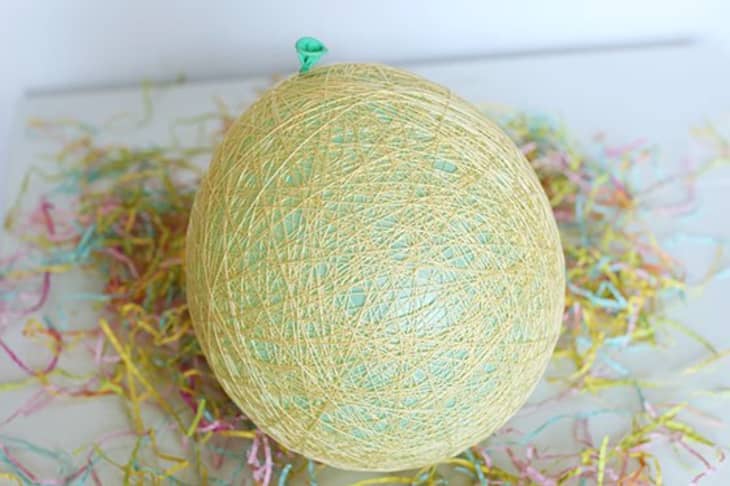
2. Take your spool of crochet thread and start to wrap it firmly around the balloon. Alternate directions as you wrap, so the string runs both vertically, horizontally, and diagonally around the balloon. Continue until you have used the entire spool of thread. When you get to the end, either leave the string loose, or tuck it in slightly behind the wrapped thread.
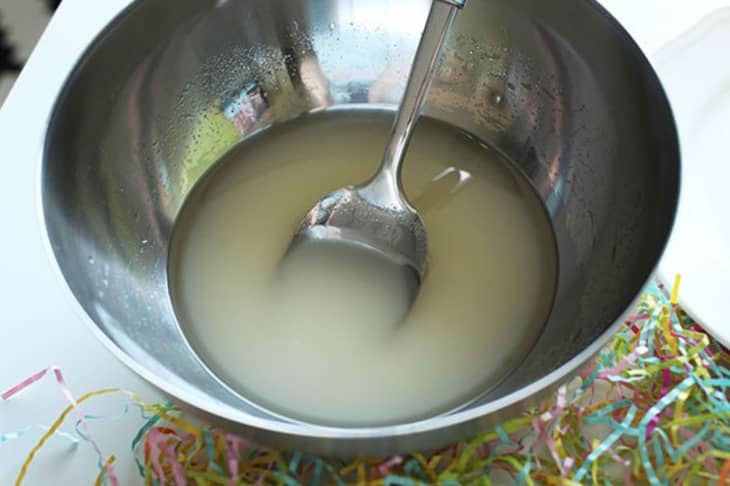
2. In a bowl, mix 3 cups sugar with 1 cup warm water (and food coloring if you like). Then, slowly spoon the sugar mixture over the balloon so it drips down the sides. Once you have a good amount on the balloon, take your hands and spread it evenly to coat the entire balloon.

3. Once the balloon is thoroughly covered, set it upon the toilet paper roll, and let it sit to dry at least 24 hours.
Tip: Leave a plate underneath the balloon to catch all the sugary drips.
4. Once the top is dry, the bottom will still be a little soft. Pierce it with a straight pin, and set it down to flatten and create a level base. You want to egg to stand upright on its own.
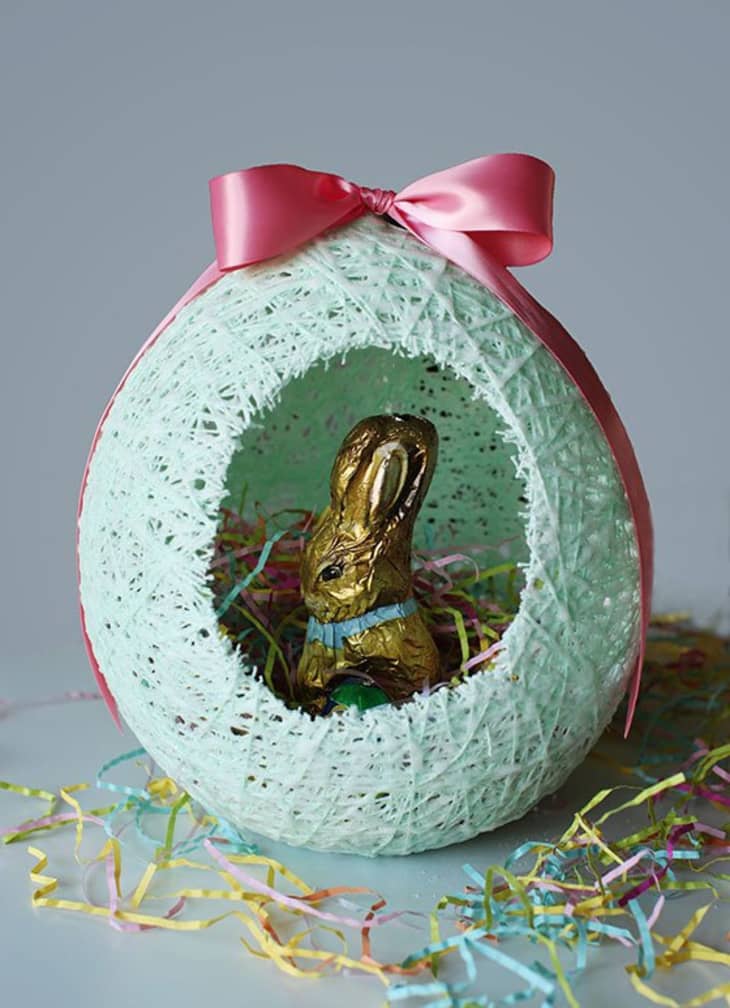
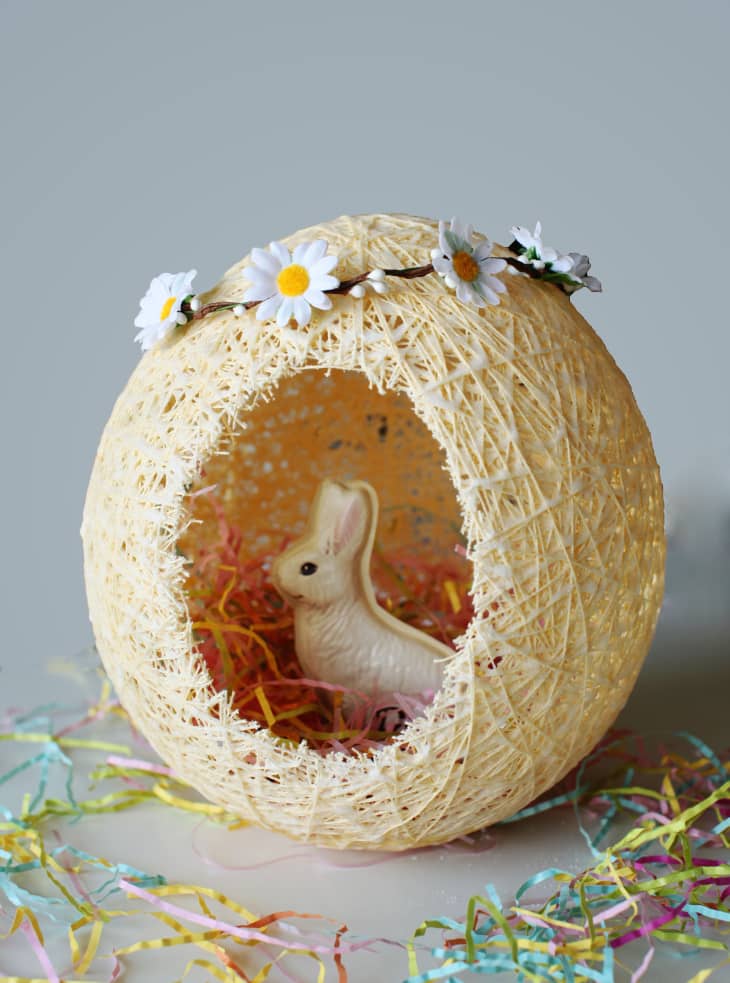
5. Carefully cut a hole (about 5″ wide) into the side of the egg.
6. Spray completely with clear acrylic spray.
7. Lastly, decorate with flowers or ribbons if desired, and fill with your favorite candy and chocolate!
Many thanks to Krys (and her grandmother of course)! You can see more photos over on her blog, along with a project on how to make birds nests out of similar sugar string.
Have a really great DIY project or tutorial that you want to share with others? Let us know! We love checking out what you’re making these days, and learning from our readers. When you’re ready, click here to submit your project and photos.