
We Had a Pro DIYer Test This Viral “Lazy Paint Hack” — and It Actually Works
There’s no denying that painting can be a laborious process. Whether you’re refreshing a room or giving a piece of thrifted furniture a glow up, the work involved in prepping (and cleaning up!) your paint is almost more time-consuming than the project itself — and often much more annoying.
It makes sense, then, that avid DIYers are always on the hunt for shortcuts that speed up the process and make painting a smoother, more enjoyable experience (not to mention one that garners you better results). That said, there’s plenty of noise out there when it comes to painting “hacks,” but there’s one hack that’s definitely worth it — and you’ll thank yourself later during cleanup.
The Elastic Band Hack
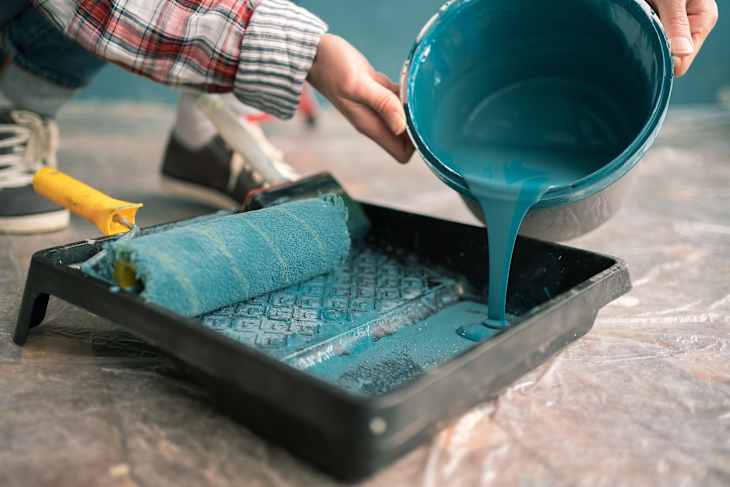
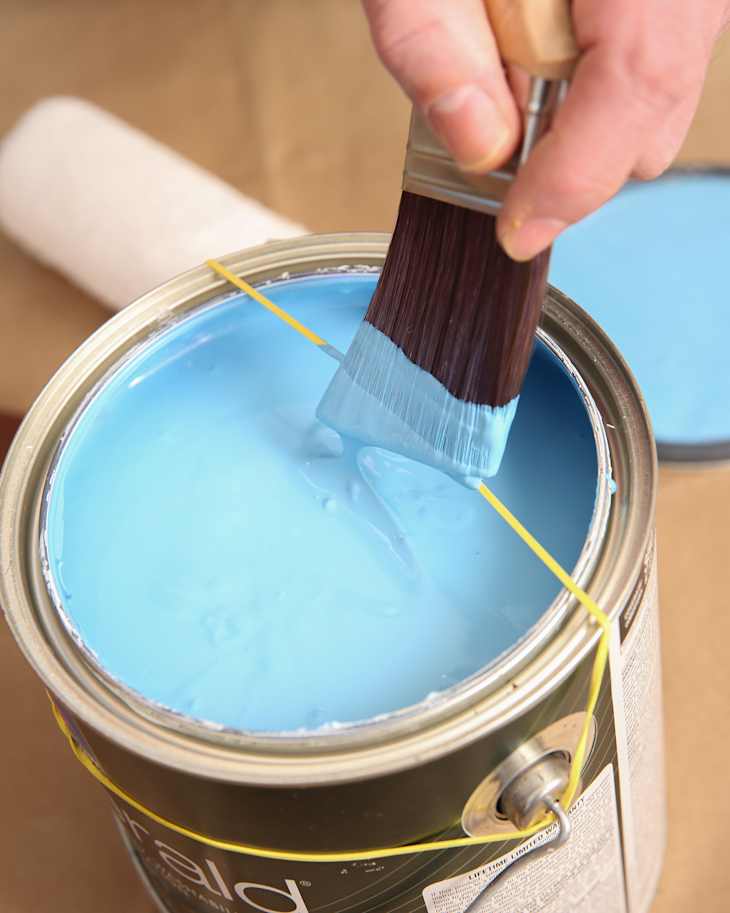
The first task? Finding a way to minimize the mess when cleaning off your brush after dipping it in your paint can. Real ones know this is often the messiest moment of any project, and the lingering effects of a gunky rim (dried paint crumbs on your brush, an ill-fitting top, and even permanently sealed cans) can impact paint quality and projects far beyond what you’re working on in the immediate moment. You may have seen people suggest stretching an elastic band over the can to clean your brush on instead of using the rim — but is relying on such a simple junk drawer staple something that will actually work?
To help, DIY pro Ashley Poskin put the method to the test. “DIY Pro” might seem like an oxymoron, but Ashley has over 15,000 Instagram followers who tune in for her fun furniture upcycles and colorful paint projects. She’s no stranger to a paintbrush, and she gave her honest thoughts on how useful an addition a rubber band could be to your painting arsenal. Spoiler alert: You’ll want to head to Staples to stock up.
Does the Elastic Band Hack Actually Work?
“This is actually a great little tip,” says Ashley, who tested the hack during a recent painting session. “At first, I was worried about wiping the brush too hard and flinging paint around the room thanks to the elasticity of the band, but that didn’t end up being an issue. This little addition keeps the rim super clean and clear of pooling paint.”
Ashley noted that finding the right rubber band thickness is key, explaining that wider is better to give you more of a sturdy surface to drag your brush against. She also placed her rubber band under the handle of the paint can versus stretching it around the entire can vertically, which can cut down on the tension and eliminate the risk of you splattering your walls Jackson Pollock-style.
Since this method is all about keeping things just a bit neater, it’s important to note that removing the rubber band cleanly plays a major role in your success with this technique. “When taking off the rubber band, it’s easy to get all that excess paint on the rim or yourself,” says Ashley. “One swipe with a towel to clean off the band before removing it will lessen the chance for a mess afterward, and you can reuse it again and again. This tip is definitely worth it, and I’ll be using it from here on out.”