
5 DIY Tricks for Faking Marble, Leather, and Other Expensive Finishes for Cheap

Some finishes just feel rich. Think: honed marble, buttery leather, polished granite, or even the textured plaster you’d associate with a European countryside estate. And if you want these sumptuous finishes in your home, you better be willing to pay the price — that is, unless you’re willing to invest the sweat equity into tackling a DIY rendition.
If there’s an expensive finish out there, you can almost guarantee there’s a DIY design expert who has come up with an affordable hack. Some might be easy, and others may take a little bit more skill and time, but all are going to come in far less cost-wise than their “real” counterparts. Whether it’s your laminate countertops that you wish were marble or an old plastic stool that would be so much more sophisticated in stone, you don’t have to simply wish for expensive finishes any longer. Now, you can replicate them on the cheap. Here, five ways to do it with confidence.
Mimic marble with paint and a feather.
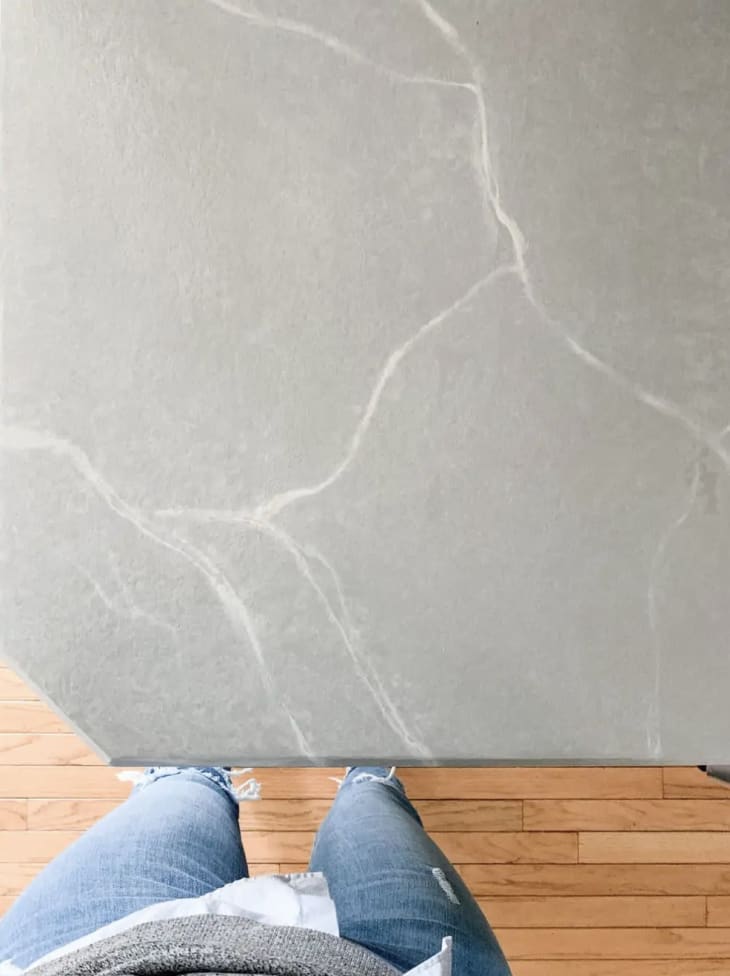
Replacing countertops is one of those kitchen upgrades that’s almost always on the wish list — but the high price tag of both material and installation can make it tough to fit into the budget. DIYer Brittany Robertson has the answer for everyone who’s dreaming of marble and living with laminate: paint it.
After she primed the counters, Robertson rolled on a base color of light gray. Once dry, she used a craft feather to create her delicate veining to mimic marble. Sealing it with a water-based polyurethane (this is important, do not use oil based!) helped protect the finish from wear and tear.
Robertson says the trick is to be brave. Painting countertops seems like a one-way road, but, fun fact, she painted and then sanded hers down twice before getting the desired result. “To help it look organic, look at sample pieces of marble to see how veining runs in a natural piece,” Robertson says. “You can get cheap samples at any major home improvement box store or smaller tile shop.”
Over a year later, she has no regrets. Robertson says, “We love our countertops and they have held up super well. We’ve had zero scratching, chilling or peeling,” but super hot items can melt through the topcoat, so make sure you use a trivet when pulling items out of the oven.
Robertson recommends letting the counters cure for seven days to ensure maximum durability. You can read her full tutorial (and mistakes to avoid!) here.
Simulate leather with paint and fabric softener.
A fabric thrift store find, latex paint, and fabric softener. That’s all it took Drew Scott, @lonefoxhome, to create a leather focal point chair. He painted the mixture directly onto the fabric chair and added depth using three different colors. Twenty-four hours later, the paint dried, and he has a “leather” accent chair that cost only $20 and feels just like fabric.
Replicate old world architecture on a new-world budget.
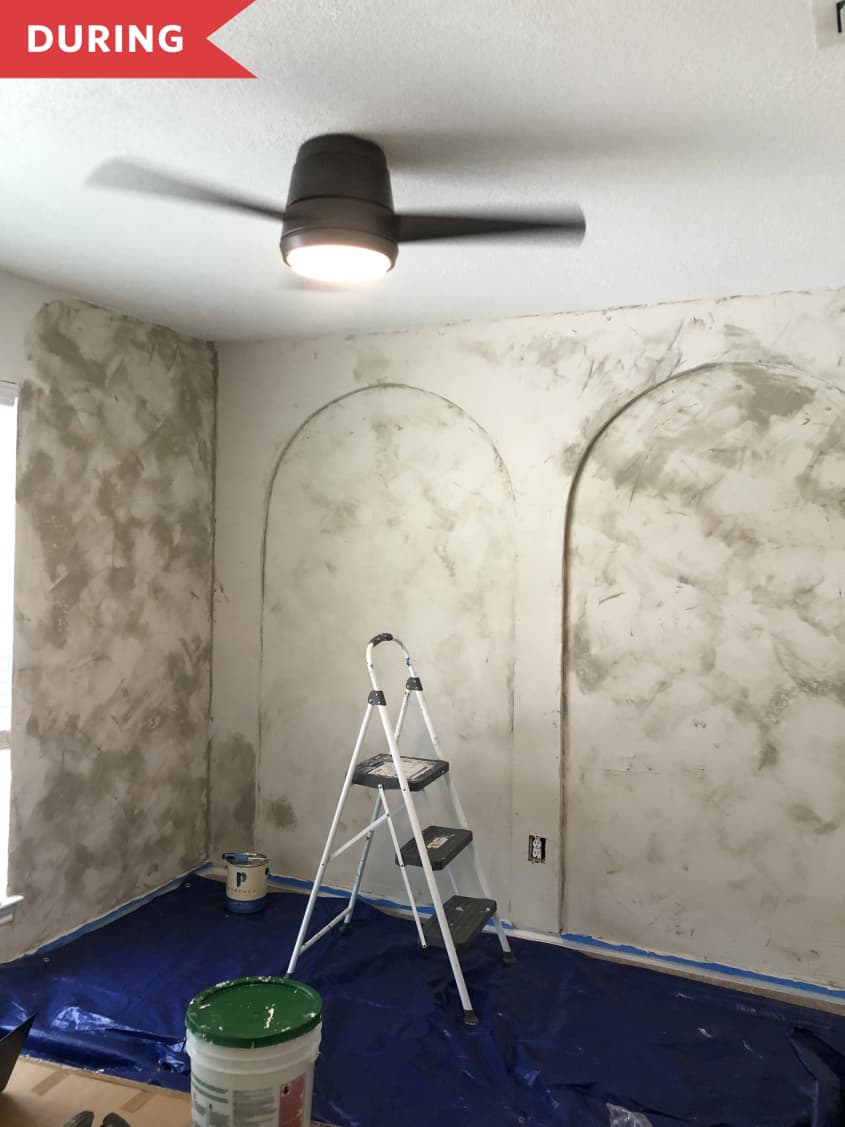
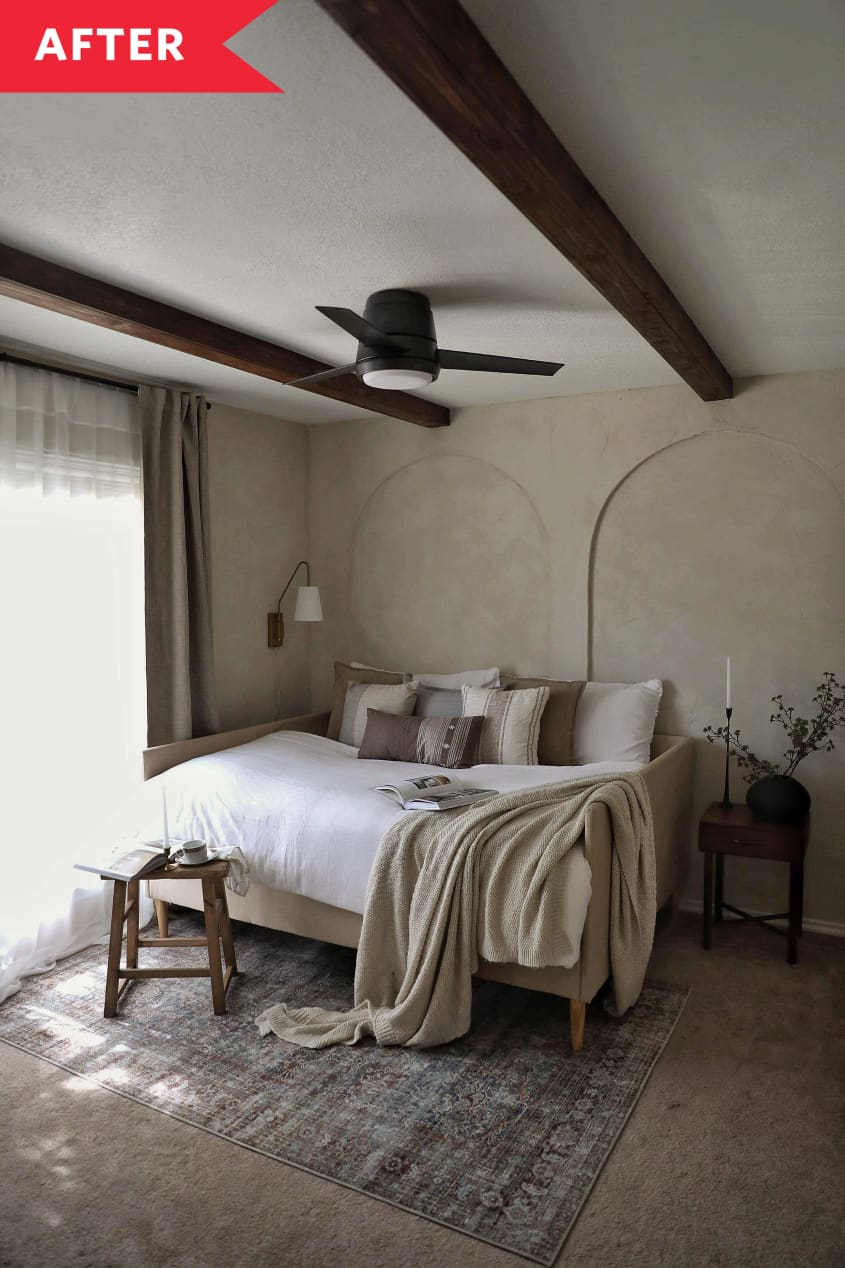
For the DIY ambitious, there’s no limit to the architectural elements you can recreate. Nida Rehman, (@lovenida__), took a blank canvas guest room and gave it an old-world makeover. She cut plywood to form curves designed to mimic rounded arches, and secured each with adhesive, a nail gun, and drywall screws, before using joint compound to create a textured effect. She then lime washed the walls to recreate the look of plaster and installed beams overhead.
The entire project took some math skills, a second set of hands for the beams, and just $500, and the result feels as if you’ve been transported centuries back to an incredible European villa. Exactly what you want in a guest room getaway, right? Read more about her wall transformation here.

Use a concrete hack to get the look of aged stone.
The rustic, aged look of stone is all over high-end home shops, but who wants to shell out several hundred dollars for that? Luckily, Jenna LeBlanc of Jenna Sue Design Co. has an affordable, easy, and, yes, even kind of fun DIY that you can tackle with just a few supplies. Using just ready-mix concrete or stucco and peat moss, LeBlanc replicates the expensive look of real stone planters — and she’s even extended the DIY technique to lamps.
She advises would-be DIYers to select colors wisely: “For the planter made with stucco patch and paint, make sure to use a putty brown/beige color — NOT pure gray or black and white, as it will look blue-ish when it dries. If you want the most realistic look, go for the hypertufa with the real concrete mix.” Check out all LeBlanc’s faux stone tutorials here.
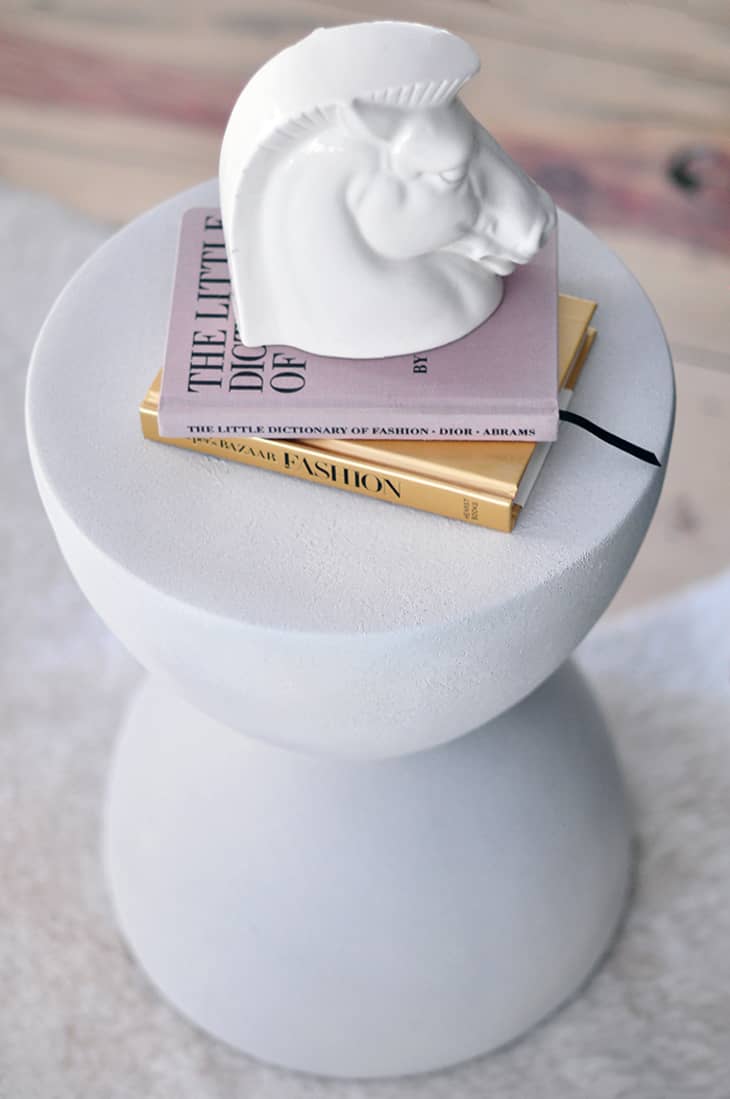
Spray on a stone finish.
Maegan Tintari, of ...love Maegan, took two plastic tables she’s had around her house for years and transformed them into what she likes to call an “‘80s contemporary meets old world” vibe with a stone look and a textured finish.
She bypassed spray paint that’s actually marketed as a stone finish, which can be expensive, and instead opted for a textured spray paint. She cleaned, sprayed, and then simply took a paper towel to rough up the surface. A few coats later and voilà, her old tables got a new life.
Tintari would tell others tackling a similar project to just go for it and have fun, don’t get caught in trying to make it look too perfect. “It’s funny, but we’re so used to making sure everything is perfect, that it does take a little work to allow for the imperfections,” she says. “I probably went over them more times than I needed with the paint thinking I’d make them look “better” when in reality, just a few steps gave me the look I was going for.” Find the full tutorial here.