
Before and After: An Under-$300 Project Brings Charisma to a Dull Kitchen
Sometimes a space just needs a little something to make it feel like home — a little change in lighting, or maybe a fresh piece of furniture, or maybe a new wall color. A slight change can make all the difference in the overall feel.
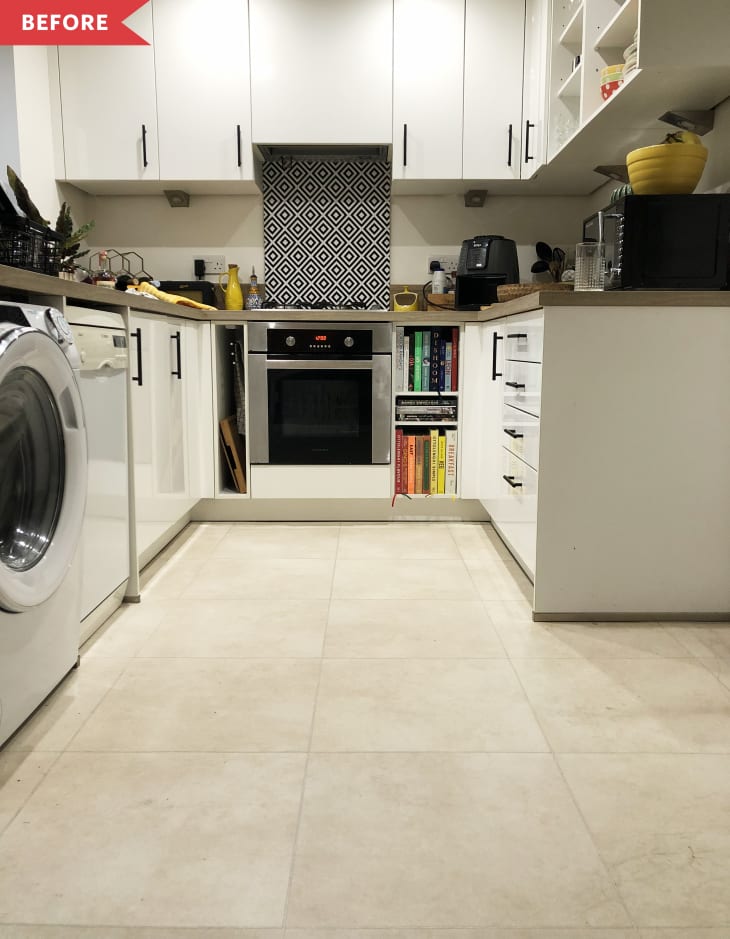
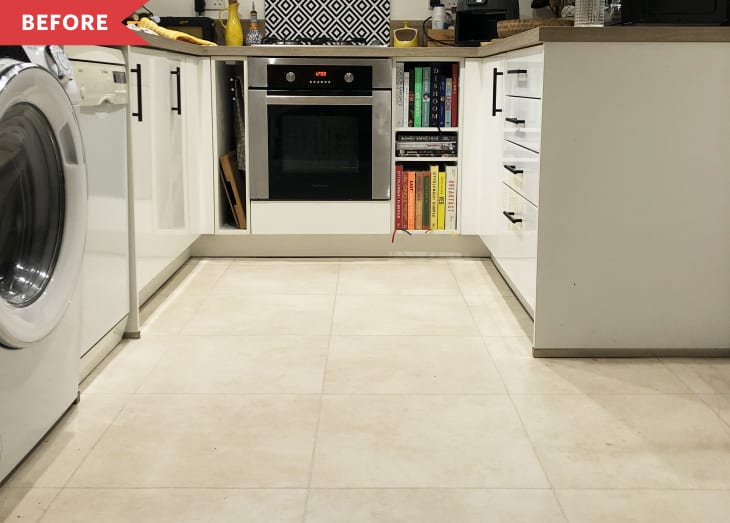
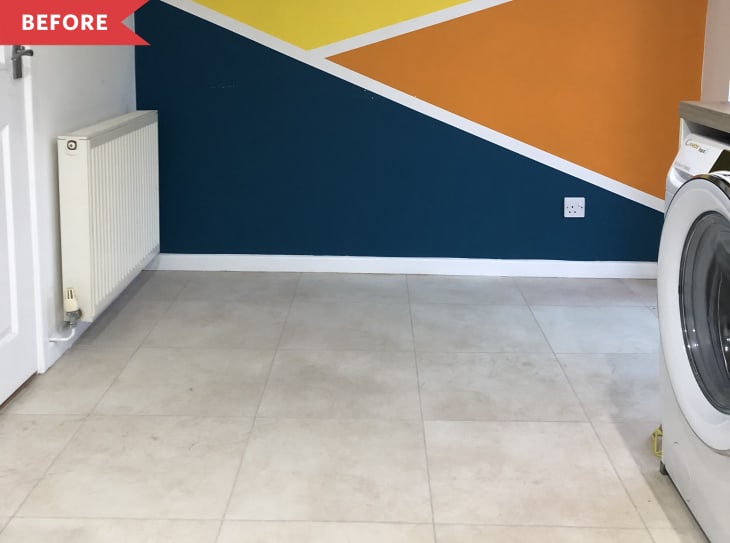
For Carla Elliman (@carlaelliman), the “something” was a transformation of her kitchen’s floor. While the old vinyl tiles were fine enough, and their neutral color went with everything, Carla wanted something that felt like a better fit with her colorful personality. Plus, she says, the tile “had a slight texture to the color which always made it look dirty which I hated!”
Carla saw some tiles online that she “instantly fell in love with,” but the price was out of reach. “I started to research ways of achieving a similar look on a budget which is when I looked into stenciling my floor with paint,” she says.
And while she knew stenciling would be a challenge, the kitchen was relatively small — just 15 square meters, or about 161 square feet — so the project felt achievable.
Over three days, Carla and her partner Fraser completely changed the look of the entire kitchen with a project that only focused on what was underfoot. They started by giving the floor a good scrub to remove any residue, which would prevent paint from properly adhering; then, they primed the floor to help their paint job really stick.
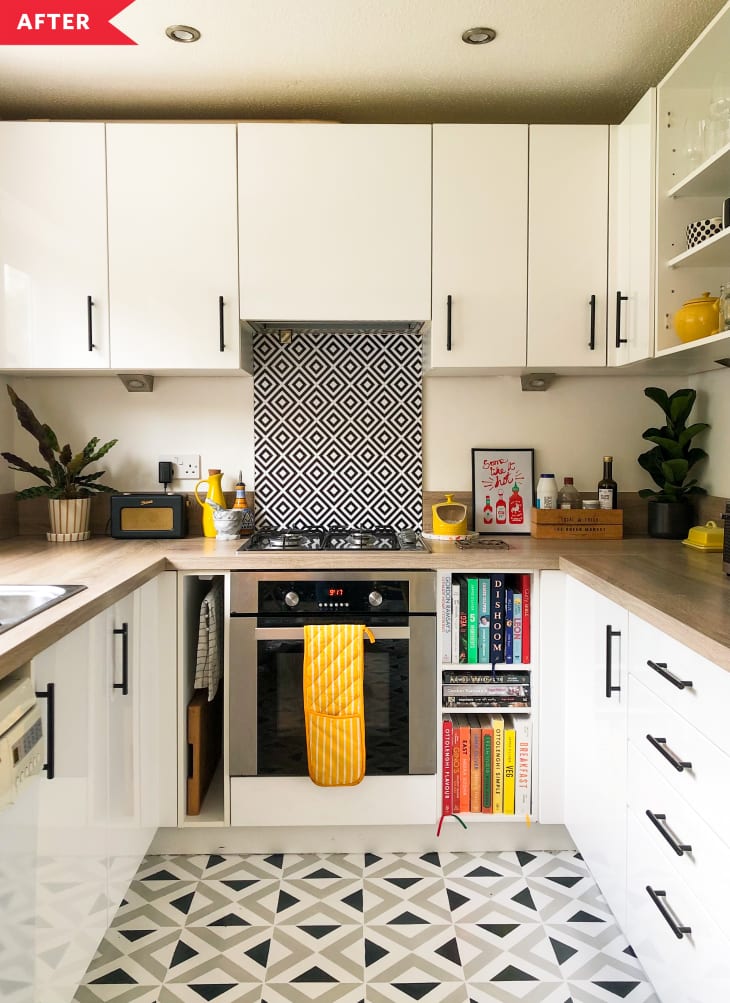
The couple started with a white painted base before using their stencil (from Dizzy Duck Designs) to create a geometric pattern, applying gray and blue paints with a small foam roller for precision. “The key thing we learnt with stenciling is less is more,” Carla says. “It’s better to do multiple thin coats rather than one thick one to avoid the paint bleeding through the stencil. It’s also important to tape the stencil down every time to stop any movement.”
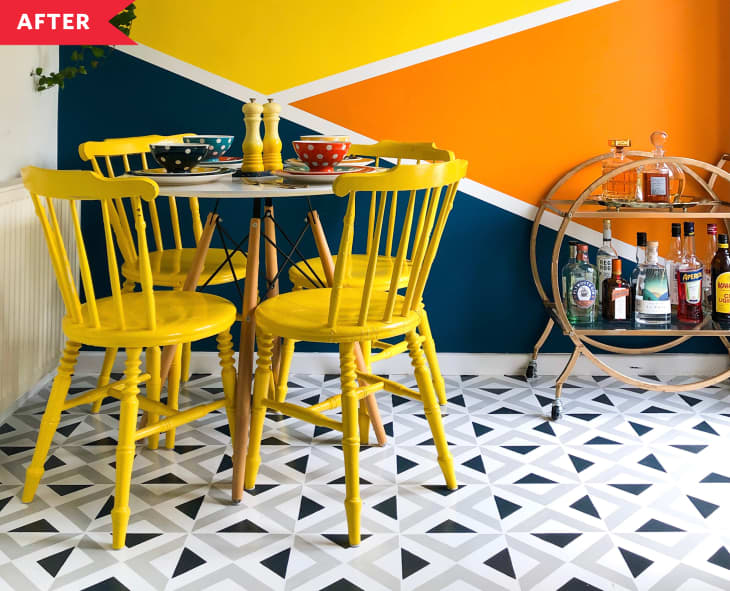
To get the super polished look, Carla and Fraser started with the center tiles before moving to the sides, where they cut down the stencil for a perfect fit. They also fixed any mistakes with an artist’s brush, so they were left with only clean lines.
Finally, the couple sealed the floor with a few coats of a water-based varnish so that their paint job would hold up to foot traffic. All in, the project cost under £200, or about $270 — and made a huge difference in how the kitchen looks overall.
“The end result gives everything in the room such a lift,” Carla says. “It’s really changed the feel of the room for the better.”
Inspired? Submit your own project here.