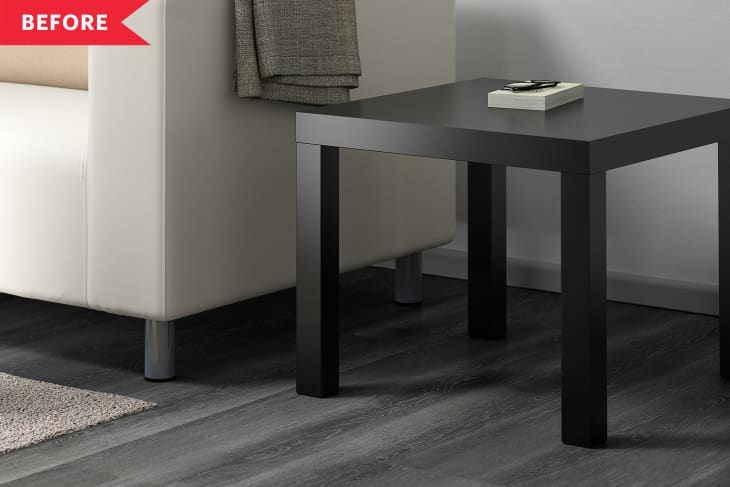
Before and After: A Glam Hack Makes This $10 IKEA LACK Table Unrecognizable

Nightstands can be tough to get exactly right since dimensions and heights often need to be just right to squeeze beside the bed. Plus, there’s the matter of bedside storage — nightstands need to be functional, after all — and style. All those factors mean that hunting for the perfect fit can take ages.
In the case of intrepid DIYer, Yurie, she actually did find one she liked — but the linen-wrapped beauty came in at a staggering $1000. She didn’t want to spend that kind of money, so came up with a smart solution: “When I saw that the IKEA LACK table was a similar size I knew I could hack it into something similar!” she says.
Yurie started with four $10 LACK tables, two for each nightstand. She started by filling the legs with 2×2 boards so that she could drill into them, then cutting down the legs of two of the tables (one for each nightstand).
Yurie made each of the nightstands by stacking one normal-sized LACK on top of one chopped-down one to create a table that has a built-in lower shelf. Then, she added 1×5 boards underneath the upper table’s top to create a nook in which to slide a drawer.
Yurie made her drawer out of 1×3 boards fitted with drawer slides that she then fastened in place.
Once the structural work was done, Yurie smoothed out all the seams of the project with joint compound to help camouflage the different parts. “The most time-consuming part is smoothing all the seams with joint compound because you have to apply thin layers, wait 24 hours to dry, and then sand, then repeat,” Yurie says. But the wait was worth it: The smooth surface made the application of her light blue textured faux grasscloth wallpaper totally seamless. Yurie finished off each nightstand with a ring pull she scored on Amazon. Yurie ended up spending just $70 per nightstand — way less than the $1000 it would have cost to buy her dream piece.
Now, it’s hard to believe the luxe-looking nightstand started as a humble IKEA table. “I love the look of the textured wallpaper and the color it adds to my bedroom,” Yurie says. “It turned out even better than I imagined!”
Inspired? Submit your own project here.
