
Before and After: This 20-Year-Old Kitchen Gets a Room-Brightening Redo and a Surprising Paint Color
Natural light is a gift in a house or apartment because it’s something that’s difficult to add in later without doing a bit of construction (adding a window, widening a window, knocking down a wall to stop blocking a window, and so on). There are ways around that, though, to avoid any major demo — so if you don’t want to swing a sledgehammer, check out these five tricks for amplifying or faking that sweet, sweet sunlight in your space. If you are open to a renovation — or just want to live vicariously — check out Sean Doherty’s kitchen reno, which embraces natural light in several ways.
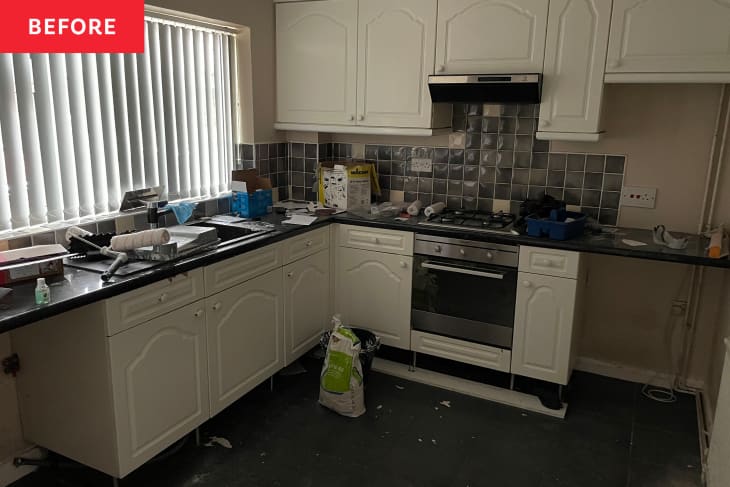
“The kitchen itself is about 20 years old and had only had a new sink, oven, and lick of paint added within that time,” Sean explains of the dingy kitchen in the “before” photos. “The room was painted a beige color with faded, peeling white cabinets, and a faux marble laminate countertop.”
Sean didn’t like that the black tiled floor made the room feel darker and smaller, and in addition, the room itself had a bad flow; it was closed off from the entryway.
“With the position of the original door leading into the kitchen and the position of cabinets, there was no real space to for a dining table or to entertain guests,” Sean says. “The kitchen’s small size — and its poor ventilation and the dirty oven — meant “the kitchen smelled awful and felt grubby,” Sean says.
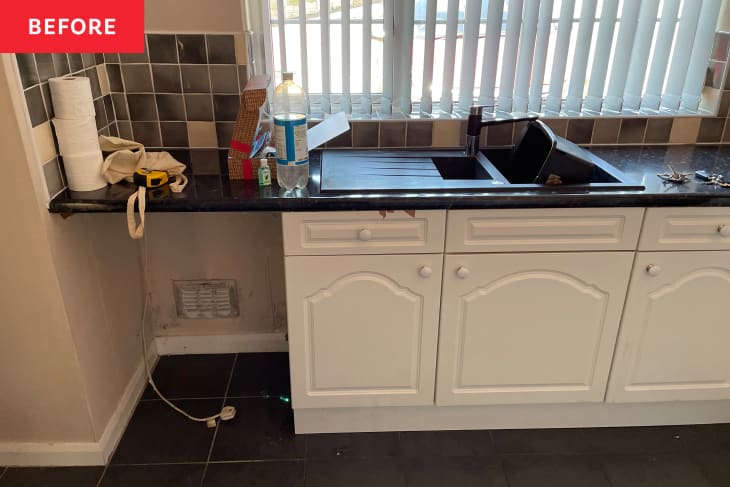
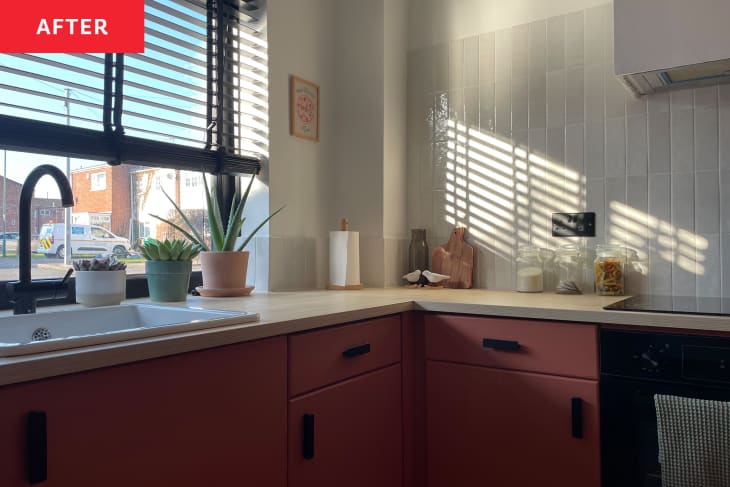
The one thing Sean did like about the space? The natural light pouring in through the big window above the sink. His goals in his approximately £5,718 (or $7,000 USD) reno were to amplify that natural light, add a spot for guests to sit, and “create a space which worked practically, was visually stunning and unrecognizable to what was there, and which suited a tight budget,” he explains.
Sean had studied interior design, and this kitchen redesign was his first real-life project. “It’s also my first house, so naturally I felt compelled to give it my all,” he says.
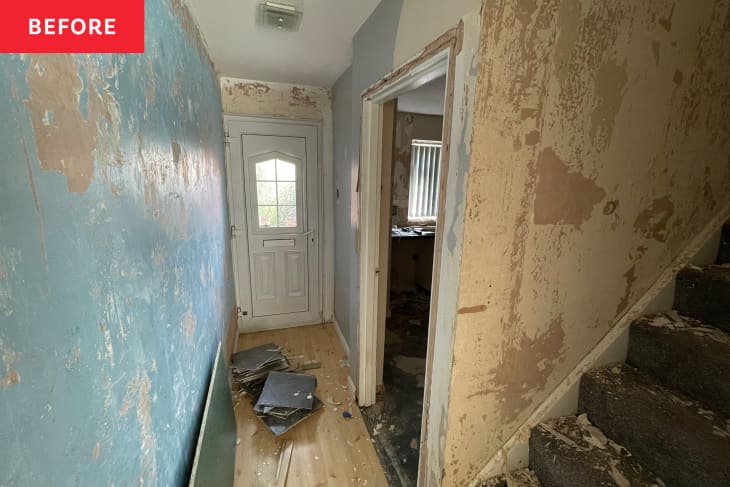
Phase one for Sean was the demo. A plumber removed the existing radiator and made sure the pipes were up to standard for new fittings. An electrician relocated some outlets for new appliance (and light fixture) locations. Sean removed the old wallpaper and tiles, and his friend Sasha demoed the upper cabinets and the wall between the entryway and kitchen.
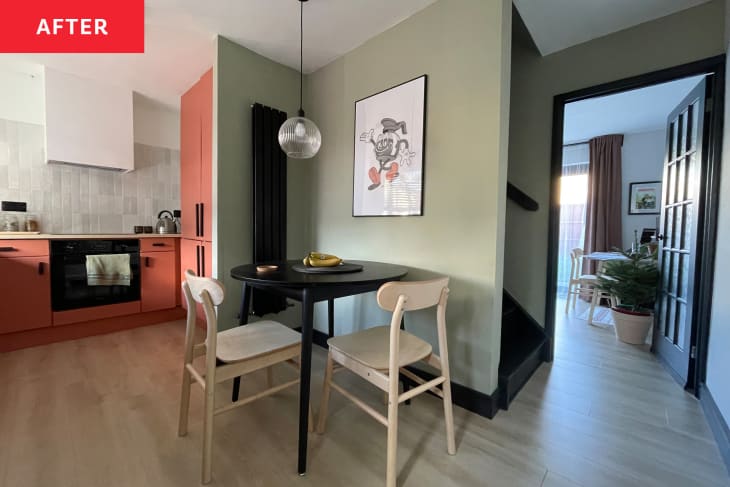
“Originally, I wanted to knock the wall down next to the stairs so I could create a dining space underneath,” Sean says. But he soon learned it was a structure-supporting wall and was going to cost about $4,000 to take out safely. Instead, he says, he decided to knock down the wall between the kitchen and the hallway (a non-supporting wall), and that only took an $18 sledgehammer — plus it let in more light via the front door’s window.
After demo, Sean built a small vertical dividing wall between where his tall cabinetry would go and where his dining space would go. He also added a new extractor hood for his stovetop. “Building the extractor hood was nervewracking,” he says, because the wood for the frame was fairly thin. “Once the frame was drilled into the wall, I then added the plasterboard, then it was plastered, and finally the extractor was fitted. At each stage I was relieved it held, and six months later, it’s looking pretty great,” he adds.
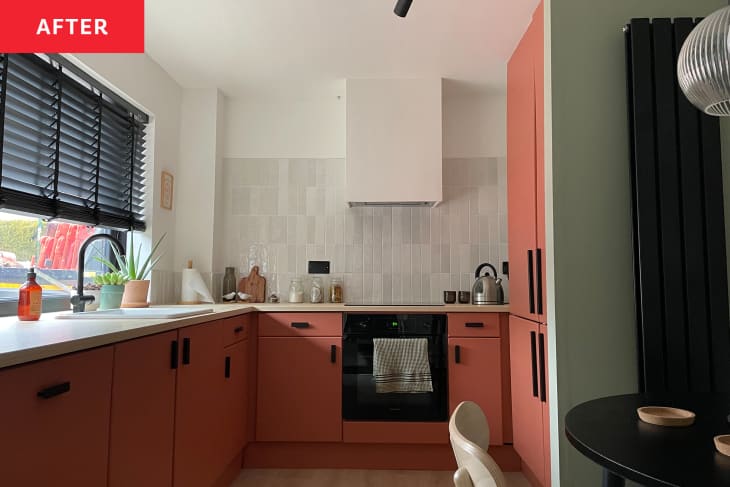
One of the most important, room-brightening changes Sean made was adding a larger window above the sink, which set the stage for a larger countertop — and more plants in the windowsill! — later on, Sean says. (For full context, he had to bump the front door of his home forward just a bit to do this.)
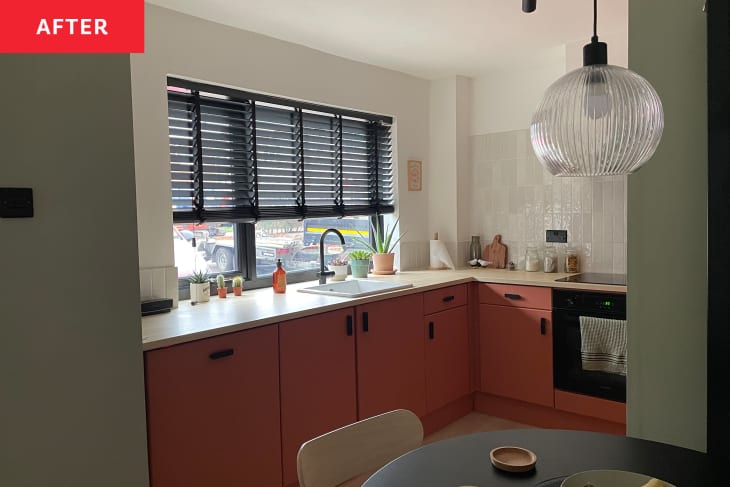
Sean painted the walls and ceiling white (also great for making the room lighter and airier) and installed new laminate flooring. As for painting, he suggests that DIYers “be bold in areas that are easily changeable.” His bold-color paint choices (Farrow & Ball’s Red Earth for the cabinets and UK brand Little Greene’s Normandy Grey for the accent wall) cost around $60 for both colors. “If I end up hating it or selling, I could easily paint this a new color,” he explains. “Changing tiles isn’t as easy.”
Sean had new countertops professionally installed, and he installed new IKEA cabinetry to the right of the stove for vertical storage. Later, he outfitted the outside of his fridge and freezer to match the tall IKEA cabinetry. “I may have put it off for two months, but integrating the cabinets with the fridge and freezer was really simple,” he says. “After watching a YouTube video, it took me a total of 30 minutes to do and gave the kitchen a feel of quality once done.”
One way Sean cut costs in his kitchen reno was by saving the old lower cabinetry and just replacing their front doors with plywood. A local hardware store made the cuts for him — for free! “So I just needed to install them (using the original hinges from the old doors), paint them, and fit the door handles,” Sean says. That said, looking back, he says he would have selected birch or MDF if he were to do the project over again. “There is an issue with the larger cabinet doors bowing slightly in the middle,” he says. “It does bug me slightly that they bend slightly, although it’s not noticeable unless you are looking for it.”
Lastly, Sean added the tile backsplash, choosing subway-style tile with a zellige-inspired textured finish. “After that, it was just a case of adding the finishing touches,” Sean says. His petite black dining table is from Dunn Elm, while his light birch chairs are from IKEA (as is his matte black hardware throughout).
Sean says his new kitchen is a mix of low and high cost items. “For areas which are hidden, you don’t need to fork out loads of money,” he says, citing his IKEA cabinets as an example. “But it’s good to buy unique items for your kitchen no one else has, like the tiles for instance,” he says. Sean adds that his final result feels both spacious and bright. “I’m never going to get bored of the color combination,” he says.
Sean has a few other bits of reno advice he’s learned through this process. First, use a spreadsheet to make sure your budget is on track. Second, YouTube tutorials will become your BFF. Third, if you only measure once, you’re going to end up cutting twice. And finally, having a hand in DIYing the space will result in a special pride in the final product.
“The time and effort you put in can often outweigh a tradesperson’s experience,” he says. “They are there to get do the job, get paid, and leave, but as it’s your space, you’ll happily stay up ’til midnight ensuring its done properly. Take your time!”
Inspired? Submit your own project here.