
Warm Up This Winter with This Wood-Burning Hot Tub That Doesn’t Require Plumbing
Although there are many benefits to installing a hot tub — relaxation, massaging jets, warmth in the middle of winter, etc. — the downside is that your electric bill will spike (and sometimes quite drastically). GOODLAND, a Vancouver-based startup company, designed a hot tub that requires no electricity whatsoever. In fact, all you need is a few logs and a match.
GOODLAND specializes in creating “outdoor living objects for a slower, more considered life,” and its first product is already creating a splash. It’s a wood-burning hot tub that doesn’t require electricity or plumbing and is made with sustainable and 100 percent recyclable materials.

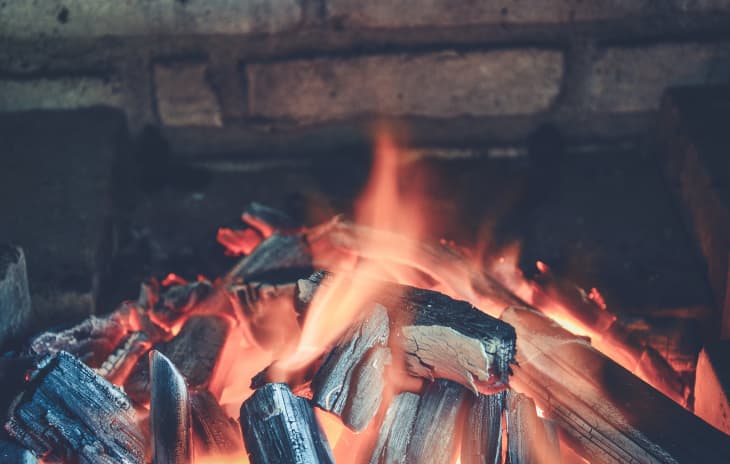
To use the tub, simply fill the stove portion with an “armful of fallen limbs or brush” and fill the tub with water. After lighting the fire, the tub will take about 90 minutes to heat. Once it does, sit back in one of the two reclining chairs and soak.
The wood-burning hot tub isn’t just about the end result, GOODLANDS says. It’s about creating an authentic outdoor bathing ritual that pays off. “If you’ve ever soaked in water heated only by wood, you’ll know it’s much richer than just the bathing: it’s the splitting and stacking of firewood, the methodical stirring and preparation of the water, the sound of the crackling fire, the anticipation of the heat,” the website reads.
“These moments of simple pleasure remind us that when life moves half as fast, we notice twice as much.”
The tubs are made in Canada and sell for $7,295 CAD ($5,795 USD). If you pre-order now, you can expect your tub to ship out in January or February of 2022.