
How To Clean a Fan
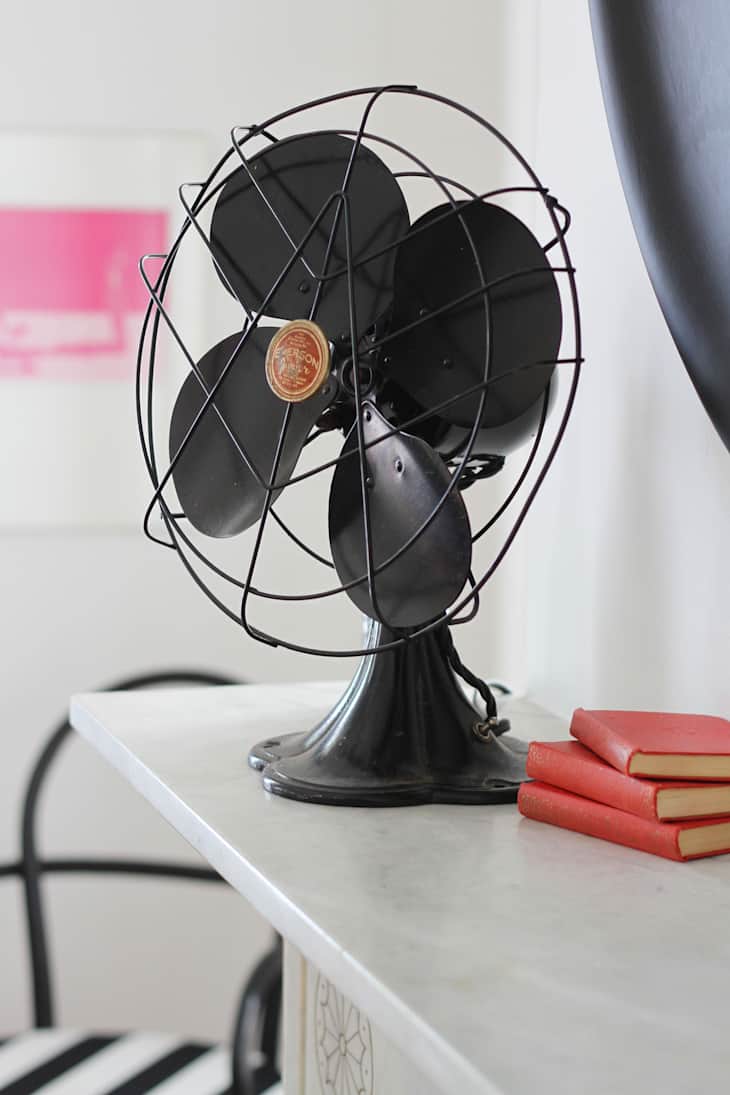
In anticipation of spending the warmer months with our oscillating fans on to keep us cool, now is a good time to pause and take a few minutes to give them a quick clean. They’ve got a lot of work ahead of them and could use a little bit of attention. (Plus it will keep your fan—and your lungs—in better shape!)

Small toiletry items like cotton swabs, makeup brushes, foam craft brushes, or toothpicks are great for jobs like this. They are just small enough to get caked-on dirt out of tiny crevices that are hard to tackle with a basic rag.
What You Need
Materials
- Cotton swabs, cotton balls, toothbrush, tissues, or toothpicks
- Clean rag
- Warm soapy water
- Large towel
Instructions
1. Using the appropriate screw driver (usually Phillips), unscrew the front grill from the back grill. Likewise, if your fan doesn’t use screws, look for grill clips that can be snapped apart to allow the grill to be released.
2. Unscrew the blade cap from the blade and take it off.

3. Slide the fan blade off.

4. On some models you’ll be able to remove the back grill. If you are able, unscrew the grill nut from the back grill and take it off. If your not able to remove the back grill, you can still get a really deep clean with it on.

5. Clean the grill by first wiping any loose dust off with a dust rag. Next, take a dampened towel over the grill to remove any caked on dirt. Get into the hard to reach nooks and crannies with a moistened Q tip.

6. Q tips or thin rags are especially handy if you are cleaning a grill that isn’t able to be removed from the fan base. It might take a while, but your attention to detail will be worth it!

7. Don’t forget to wipe down the stand, base, and all buttons.

8. Reattach the back grill, fan blade, screw cap, and front grill.

You’re all set! It’s a good idea to clean your fan blades as you enter each new season, cleaning more often in the summer season -especially if you have windows or doors open in your home.
More great tips and tutorials: Cleaning Basics
Edited from an original post by Sarah Rae Trover published on June 30, 2008