
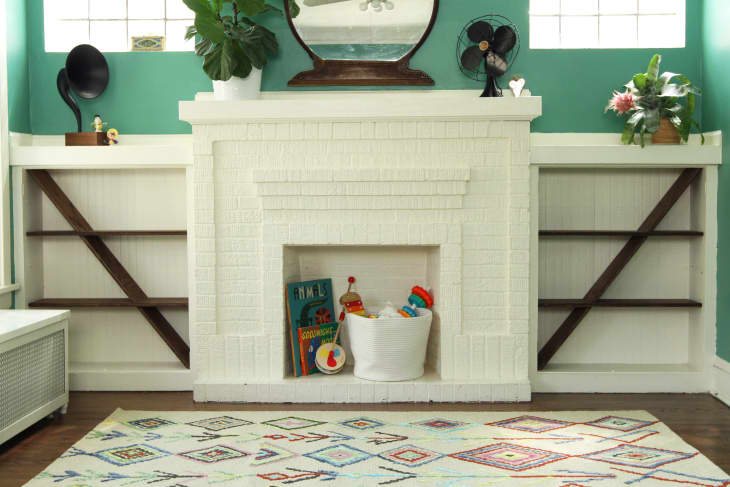
How To Customize Your Bookshelves With Diagonal Shelf Inserts
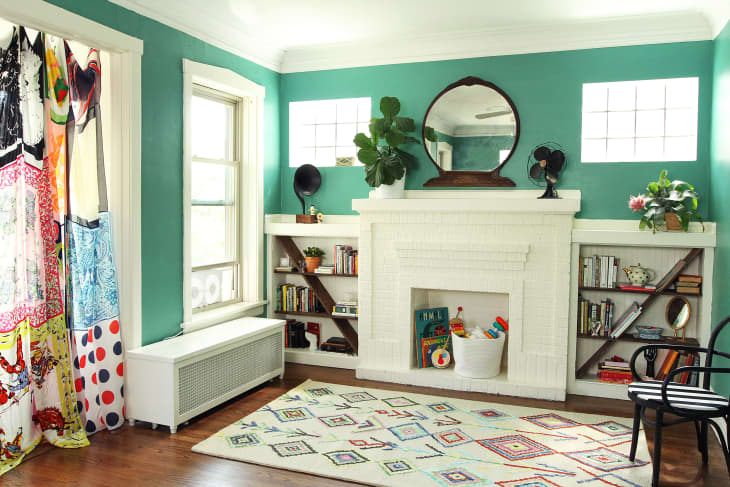
I wanted to change up the look of my bookshelves as well as add a third shelf. With the help of a friend and a trip to the hardware store, this project took an afternoon to pull off and can be accomplished by someone with minimal experience. And, to help you out, I documented the process to walk you through each step.
In my head, this project was super elementary. I’m not afraid of using a saw, so I wasn’t worried in the last bit. I tackled it head on —and was immediately overwhelmed, because: math. So I called up my buddy John, an aspiring woodworker, to help me out. We bounced ideas off one another, came up with a solid plan, and then it was easy again. All that to say; I’m not a carpenter or a woodworker, so don’t be intimidated by this project at all! As long as you have the right tools and a good space to work you can probably get this project pounded out in a few hours or so.
What You Need
Materials
- Sheet of plywood (Pine or Oak)
- Shelf supports
- Stain & varnish or paint & sealer
Tools
- Miter saw
- Speedsquare
- Level
- Tape Measure
- Coping Saw or Chisel
- Sanding block
Instructions
1. Cut your shelves
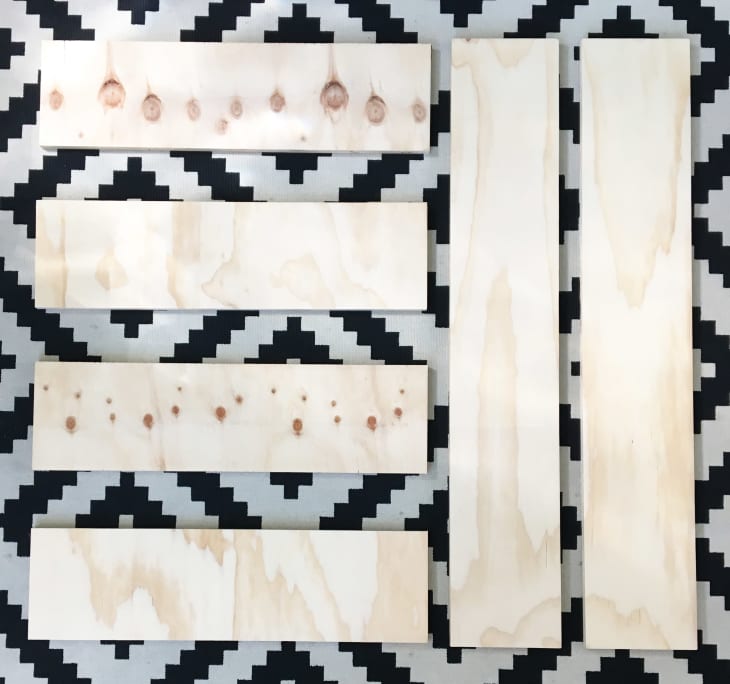
I needed two shelves for each cubby and one long, diagonal piece for a total of six pieces of cut wood. The easiest way for me to start was to take my measurements to the helpful people at the hardware store and have them cut the plywood down for me. They were able to cut the shelves to the exact length I needed, and I had the diagonals cut a few inches longer just to be safe because I wasn’t completely sure what I was doing with the miter saw at that point.
Your cut pieces will no question be different lengths than mine, but one thing you must do is this: the width of your shelves must be at least 1″ wider than the width of your dividers. This will come into play once you cut the notches in the shelving to fit over the divider boards.
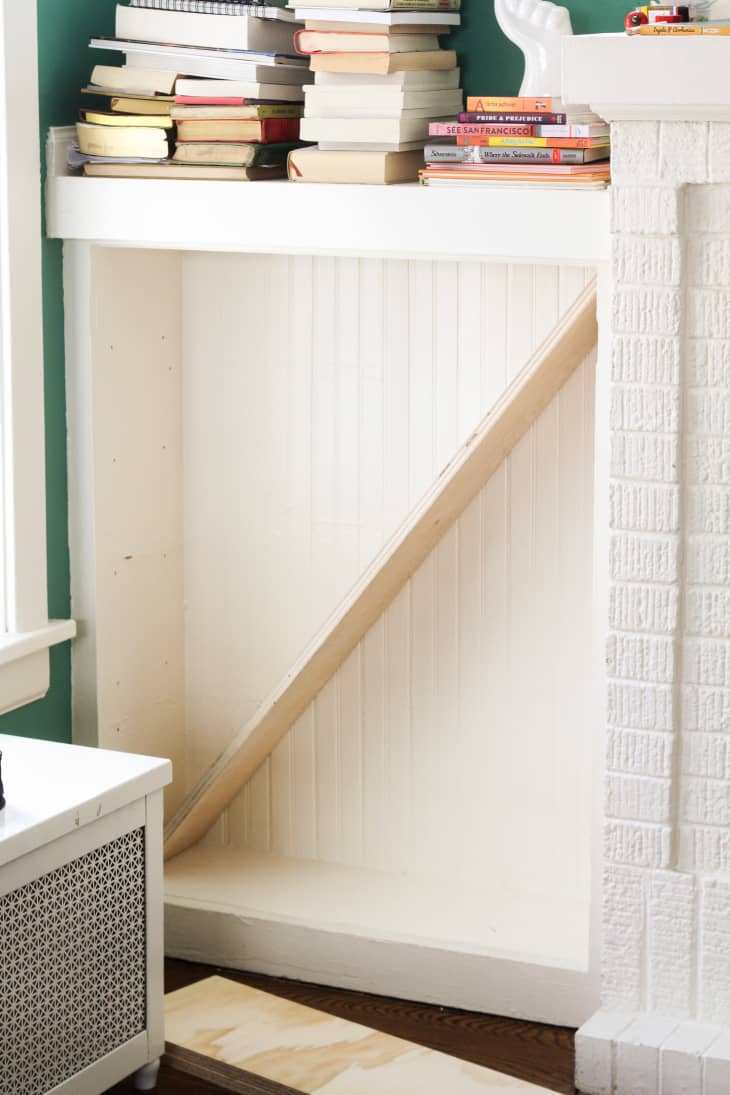
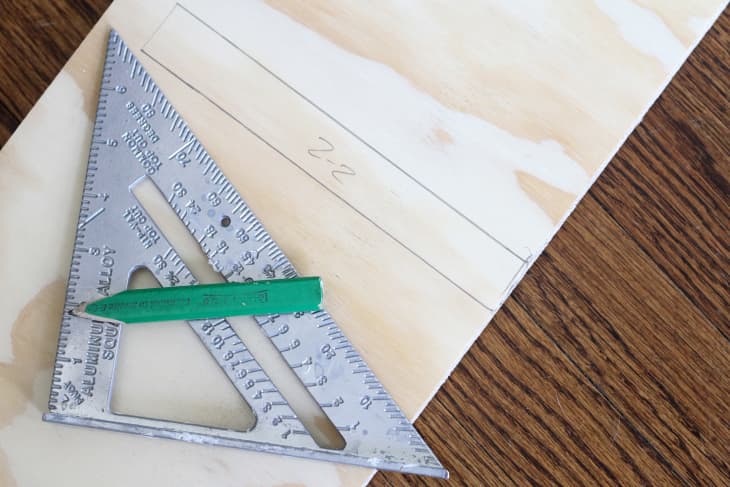
Measure your angles

To get the diagonal measurements, I tacked a string from corner to corner and measured along the line. You can find the angle by using a speed square. Cut your divider board to the proper length, then set your miter saw to whatever angle you measured and make your cuts.
I made my cuts so that the top and bottom ends sit flush with the side of the cubby.
Once your divider boards are in place measure out where you want your shelving to sit. The total height of my cupboard was 40″ and there were already holes drilled out around 13″ so that is where I decided to measure my boards to fit.
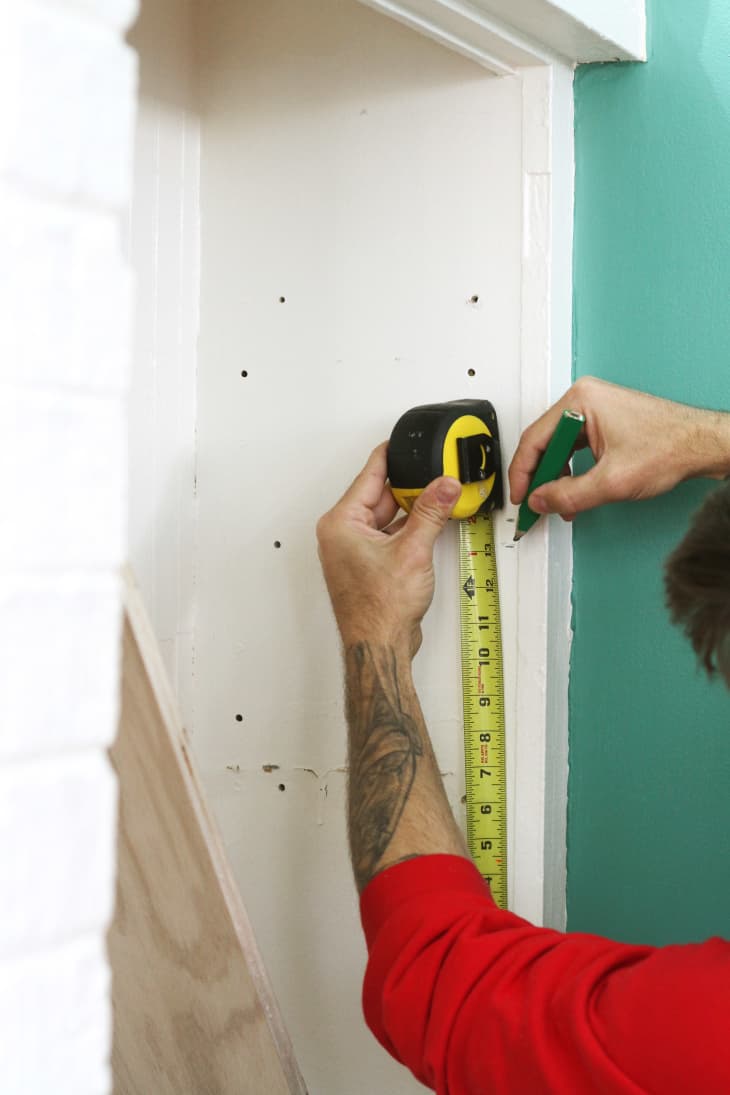
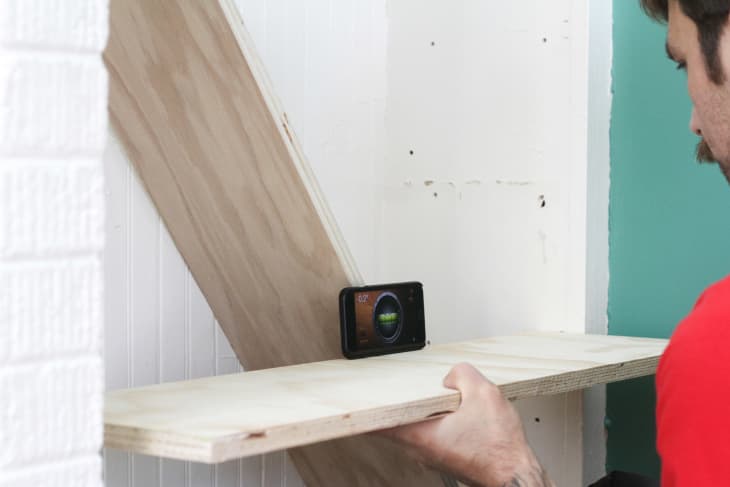
Using a level, line up your shelving with your side measurements so that it intersects with the divider board.
Mark a line where the divider board intersects with the shelf. (It’s a good idea to label your shelves, especially if you’re working on more than one cubby.)
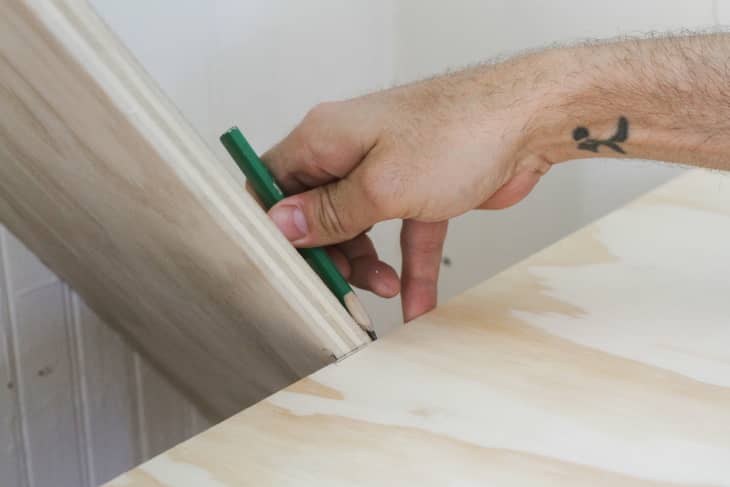
You can also mark the divider board to keep track of where you’ll place the board once it’s cut.

Lay the shelf flat and use a straight edge to extend the cut lines across the depth of the shelf, minus 1″.
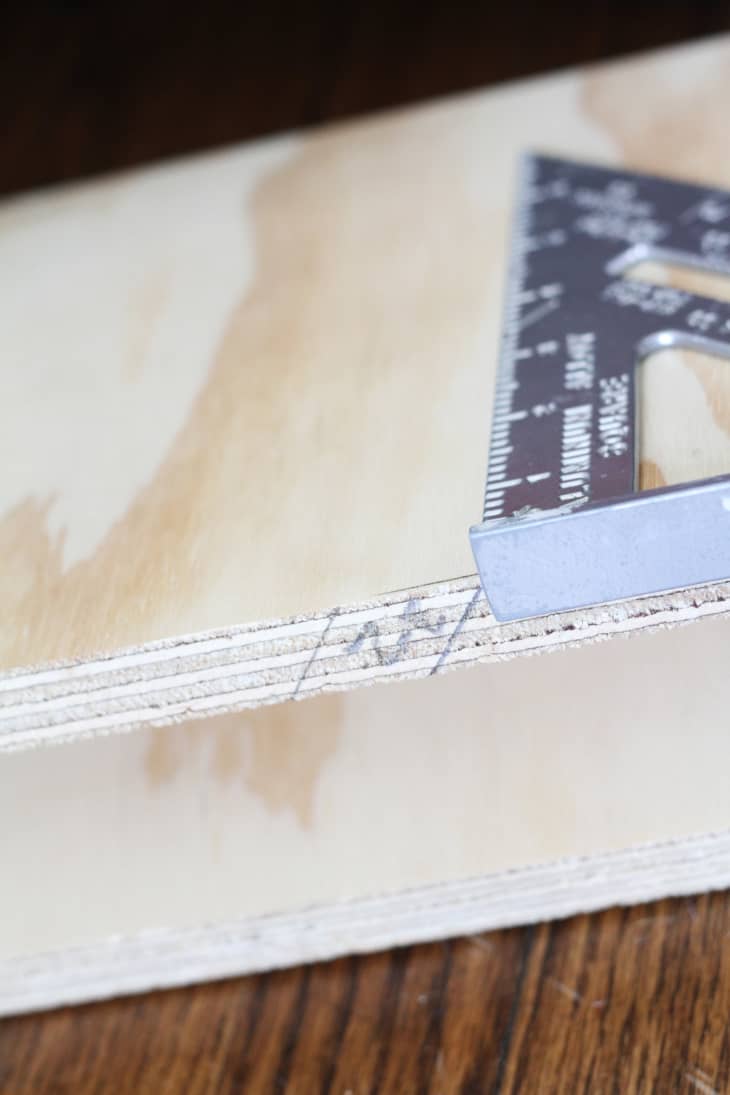
It’s really important to leave that 1″ on the shelf so that it fits around the divider board. Notching out the wood this way does take some of the strength away from the shelf, but as long as you add a few shelf supports or a ledge along the back wall you’ll be fine!
Using your miter saw, make the angled cuts into the shelf, remembering to stop at least 1″ away from the ledge. The best way to make the final cut along the edge of the shelf is to first score it with a chisel or a Dremel tool, and then follow up with a Coping saw.

Fit your pieces together to make sure your cuts align, and if they’re all sung you’re ready to paint or stain, and install!

Installation is so easy — no nails, glue, nothing required other than patience, a few shelf supports, and the helping hands of a buddy!
- Start by setting your divider in the space. It should rest perfectly against the two sides.
- Next, add in one shelf at a time. You may need to wiggle it around to line up the notch with the divider. Once aligned it should fall to the height you’ve measured. Have a friend hold it in place while you add the shelf support pegs.
That’s it! Gather up your books and other fun items to adorn those gorgeous shelves.
