
Tips & Tricks for Hanging Temporary Removable Wallpaper
Hanging traditional wallpaper is daunting, but you can breathe a lot easier when you’ve got the removable and repositionable kind. The fear that you’ll screw up is minimal. Still, it’s helpful to know what you are getting yourself into before you get started. And tips and tricks are always handy!
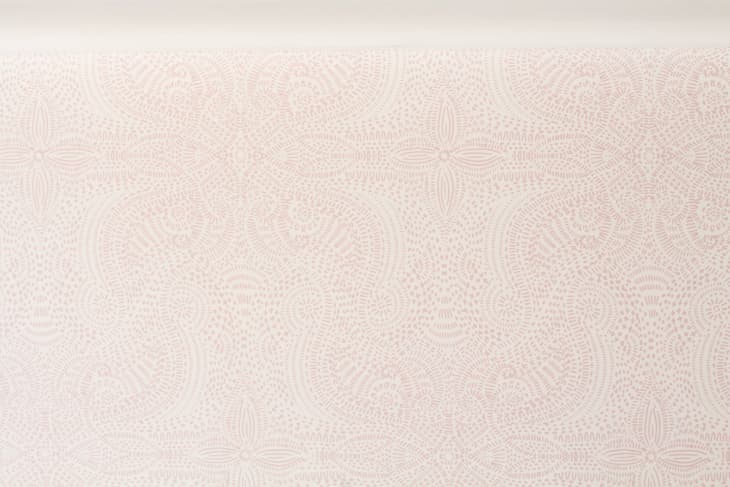
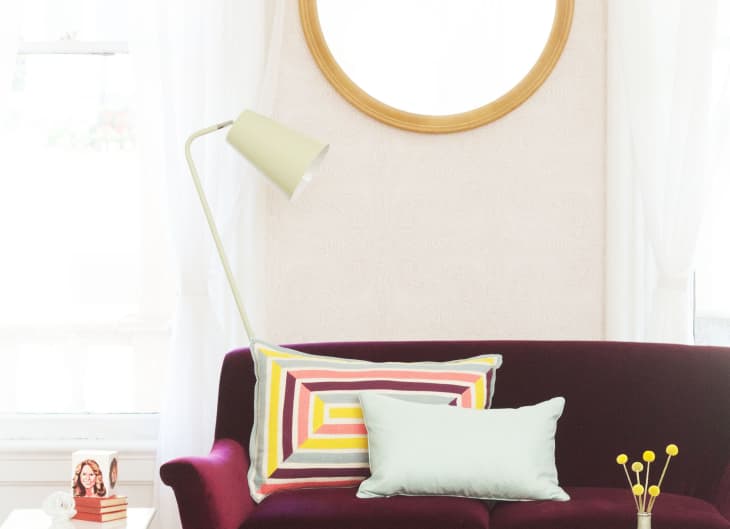
For this project, we used wallpaper tiles from Hygge & West designed by Laundry called Andalusia in Blush.
What You Need
Materials
- Removable Wallpaper Tiles
Tools
- Scissors
- Level
- Metal Ruler (optional)
- Craft Knife
- Pencil
Instructions

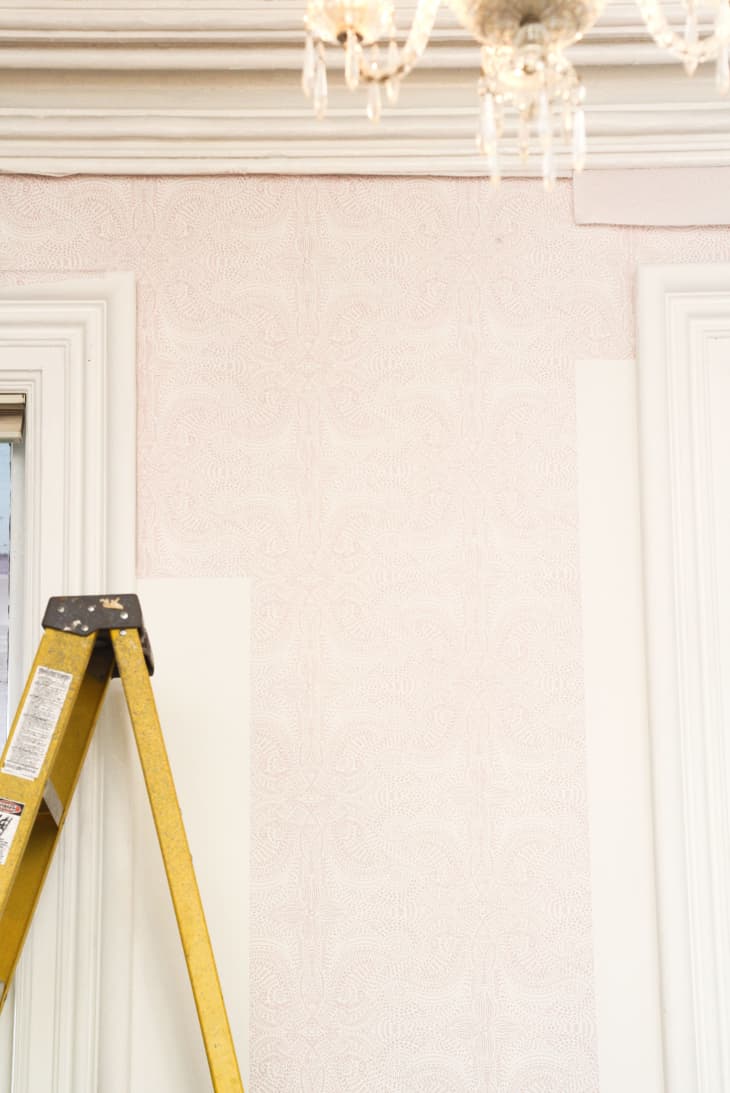
1. Start by finding a plumb vertical line. Don’t expect your molding or corners to be even, especially in older houses. Always check it to make sure first, so your wallpaper doesn’t wind up skewed. If it isn’t, use your level to draw your own plumb vertical line to use as a starting point.

Just to be on the safe side, we also drew a straight horizontal line to mark our starting point, which makes it easier to line up the top of the wallpaper. Use a very faint pencil line so it doesn’t show through the wallpaper!!
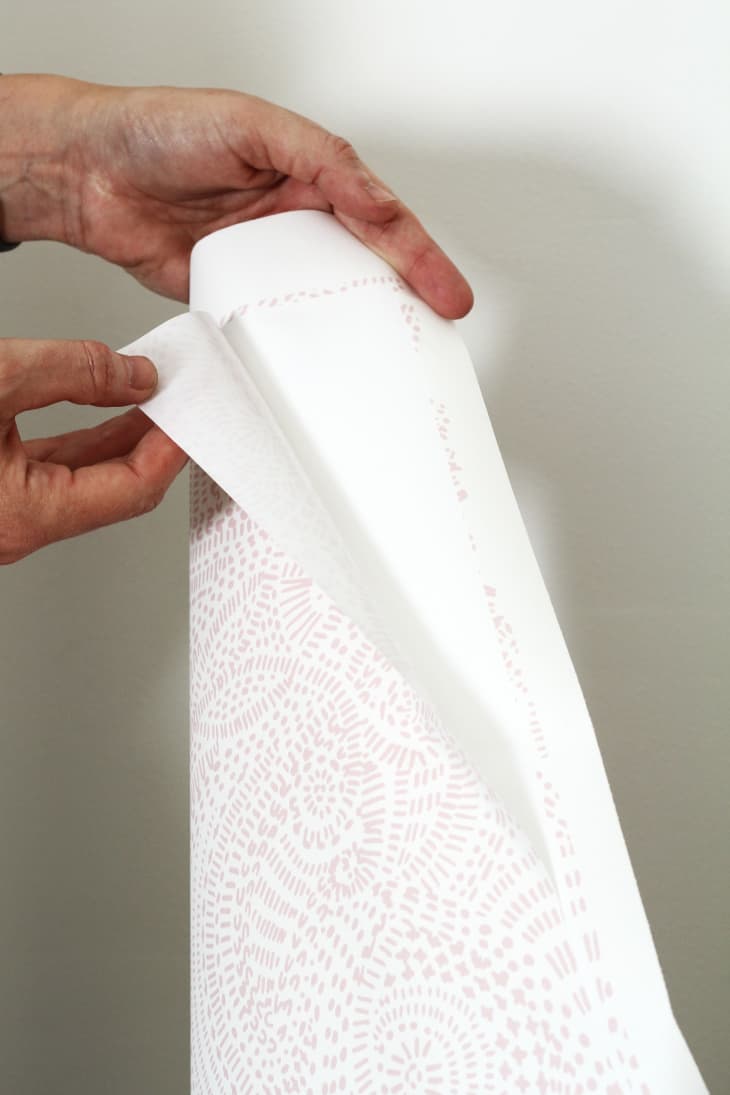
2. Start by pulling a 2-4″ strip of wallpaper away from its backing. This makes it easier to manage. Pull too much more, and the wallpaper will find a way to stick to itself and make your life harder than it has to be.
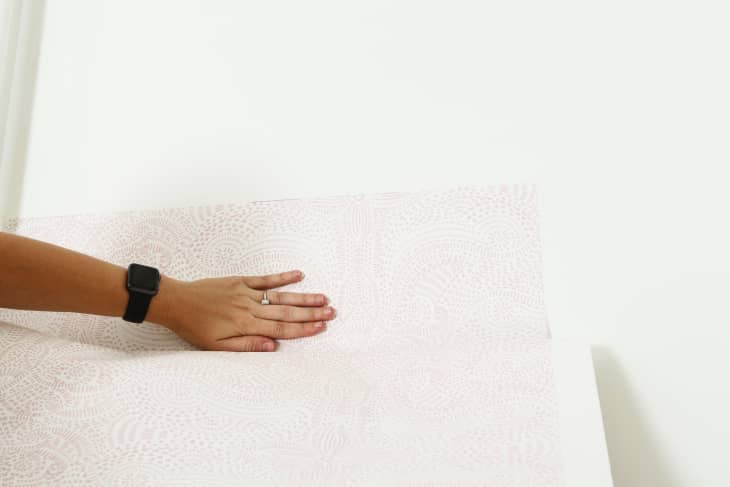
3. Line up the edge of the wallpaper with your plumb line(s), and press it firmly onto the surface.
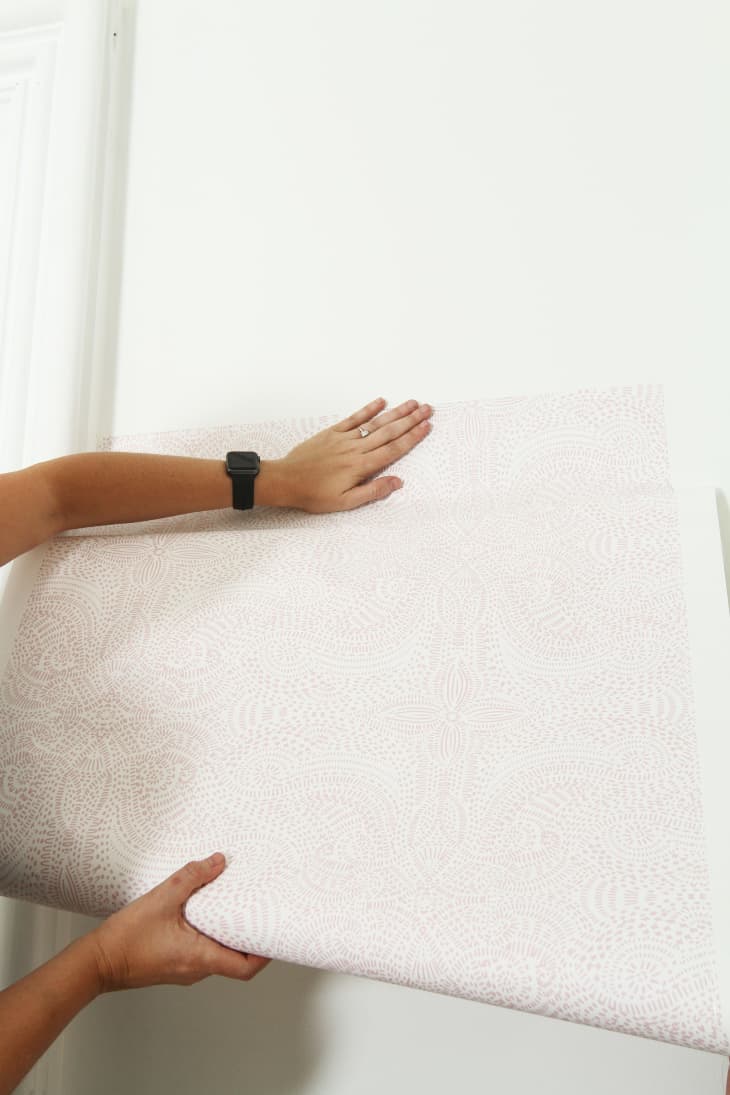
4. Once the top is secure, reach up and under the roll to grab the wallpaper backing. Slowly pull it down while you continue pressing the wallpaper onto the wall, smoothing as you go — especially the edges! Sometimes it helps to have one person doing the smoothing, and the second person pulling off the backing paper.
Tip: When smoothing, work from the center outwards to push any bubbles to the edge of the paper. Since this paper is so forgiving, you can also lift it back up if you get a particularly large unruly air pocket, then start again.
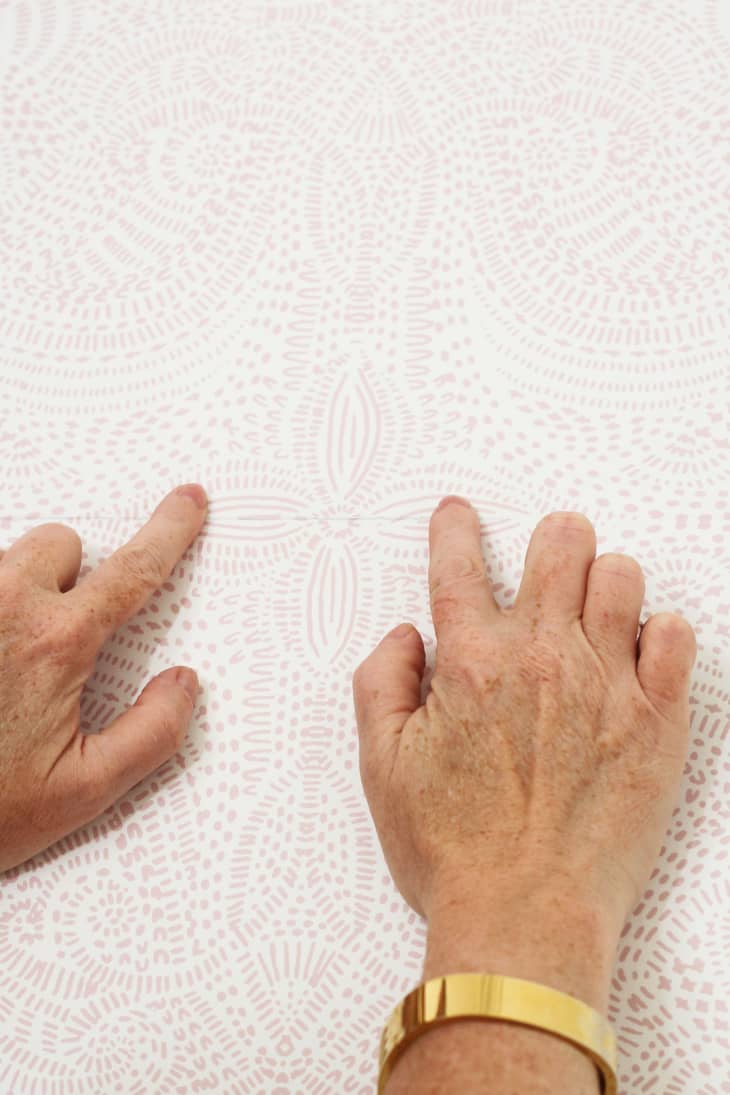
5. Wallpaper tiles are designed to match up perfectly on all sides, so when you’re ready for your next tile, you’ll peel off a little backing from the top and line it up with the bottom edge of the last one you hung. No need to overlap! Just make sure that the new tile is not upside down.
6. We worked from right to left and, due to the window placement, we wound up with some small sections of bare wall. To conserve wallpaper, we cut up one tile and used the left-hand side of that panel to cover the spot above on the right (because those edges lined up). Then we used the remaining right-hand section of the panel to cover up the left-hand bare spot. Continue patching as needed.
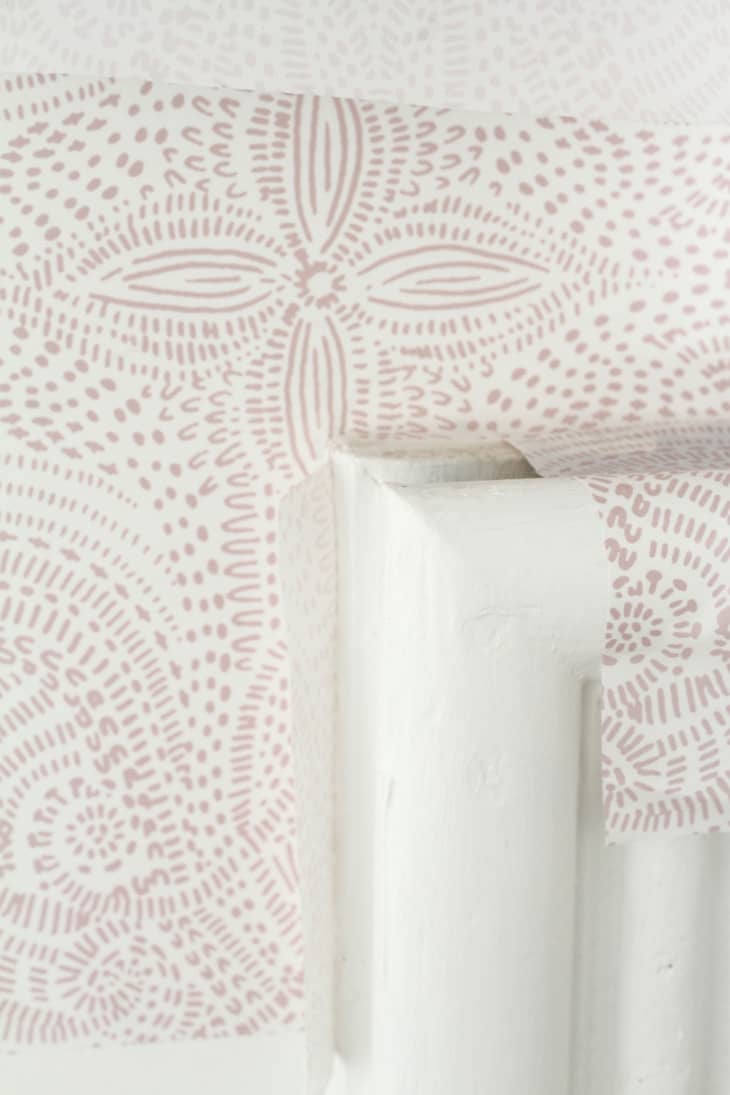
7. When you need to go around a window sill or other molding, make a few relief snips in towards the woodwork and smooth the wallpaper into the crease. Trim any excess paper.
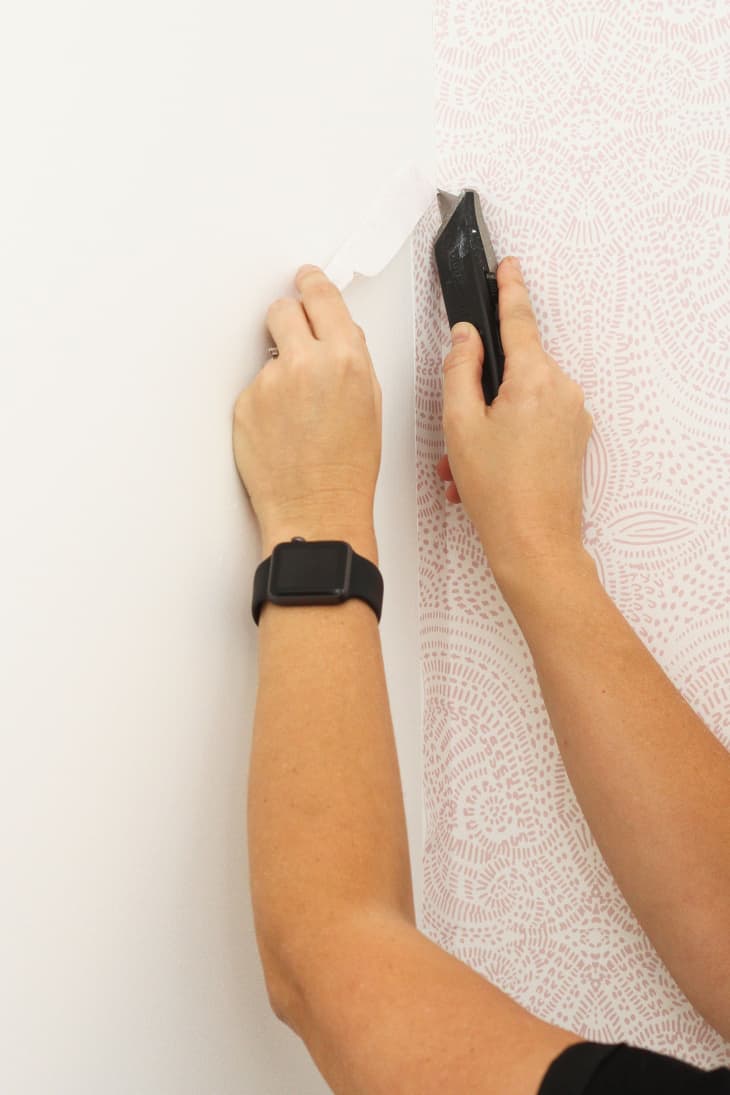
8. Trim the wallpaper at the edges, and at the top and the bottom of the walls, with scissors or a craft knife. If you use a knife, lay something metal (a 3′ ruler came in handy for us) behind the paper to protect the walls from getting scored. We made this mistake and, although it wasn’t horrible, it hurts your heart to damage newly plastered walls.
Have a really great DIY project or tutorial that you want to share with others? Let us know! We love checking out what you’re making these days, and learning from our readers. When you’re ready, click here to submit your project and photos.