
How to Load a Caulk Gun Like a Pro, According to a Handyman

After years in the building trades doing carpentry, plumbing, and electrical work, I became an on-call fix-it guy so I could pay more attention to my own property. These days, I write about home repair more often than I actually do it, but I still keep a selection of essential tools in my car so I can do hands-on work when needed: some cordless power tools, a hammer, a screwdriver, a pry bar, and a few others.
One of those essential tools is a caulk gun, which is something I reach for whenever I’m doing projects that involve painting, bathroom repairs, sealing gaps in baseboards and around doors and windows, and even gluing stuff together. Caulk has a ton of uses, but before you can dive in, you need to know how to load a caulk gun.
Anyone who likes to save money by doing their own home improvement tasks, whether they live in a house or an apartment, will find themselves needing to know how to load a caulk gun at some point. Caulk is an easy-to-use tool, but it can make a real mess if you do it incorrectly. Here are my tips for choosing the right caulk for your project, loading your caulk gun, and using your caulk gun to lay a perfect bead.
Choosing the Right Caulk
The selection of products that come in caulk tubes includes materials that aren’t actually caulk, including roofing sealant, construction adhesive and asphalt patching compound. Needless to say, most interior repairs don’t call for any of these. In most cases, you’ll either be using acrylic latex, silicone, or tile-and-grout caulk.
Acrylic caulk
The main feature of acrylic caulk is that it’s paintable. You use it to fill gaps in baseboards, door and window casings and other types of interior trim prior to painting them. It comes in white, almond, and several other colors. Some acrylic products are siliconized, but they’re still paintable as long as the label says they are.
Silicone caulk
Silicone caulk is waterproof, and it isn’t paintable. You use it to seal gaps around fixtures and trim in areas where water is present, such as bathrooms, kitchens and laundry rooms. The most common colors are clear, white, and almond.
Tile-and-grout caulk
Tile-and-grout caulk is a handy product that allows you to patch chipped tile grout without removing and replacing the grout. It comes in sanded and unsanded varieties and in a whole array of colors.
Choosing the Right Caulk Gun
It’s key to choose the correct size caulk gun for whichever caulk you’re using. You won’t have to work hard at this. Most caulking products you use around the house come in 10-ounce tubes, and a standard caulk gun that you find at any hardware store is designed for these.
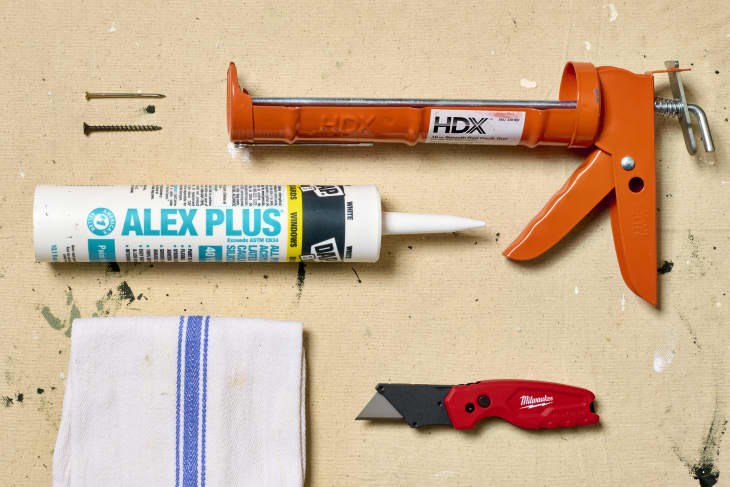
My caulk gun isn’t an expensive one, and it accommodates a standard caulk tube, unlike a jumbo gun designed for jumbo tubes. It has a trigger and plunger, like all caulk guns do, and a spring-loaded push lever advances the plunger by friction when you pull the trigger.
More expensive guns have notched plunger rods which are preferable for big caulking jobs because they develop more force, but my light-duty gun is suitable for most of the work casual DIYers like myself would do.
That doesn’t mean you can’t find bigger caulk guns, though. So-called “sausage guns” are designed for longer, 20-ounce tubes, and even bigger guns can handle 29-ounce tubes, but as an at-home DIYer, you probably won’t be using these. If you do need a bigger gun, though, just match it with the tube of caulk you’re using.
How to Open Caulk and Load a Caulk Gun
Caulk is sealed inside a cylindrical caulk tube by a foil barrier on the outflow end and a movable disk on the other end. When you puncture the seal, insert the tube into a caulk gun and pull the trigger, the gun’s plunger advances the disk, forcing caulk into a long, tapered nozzle.
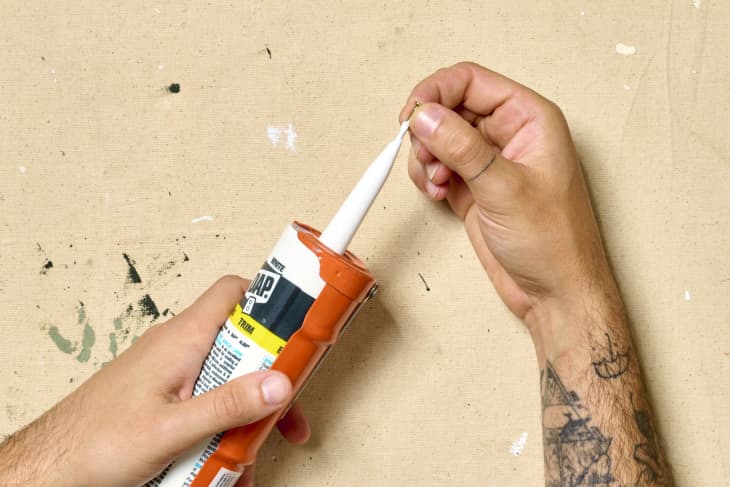
Before you use a new tube, you need to cut off the tip of the nozzle with a utility knife to make an opening. I’ve found that a knife makes a cleaner cut than the trimmer that comes on some caulk guns, and it takes less effort.
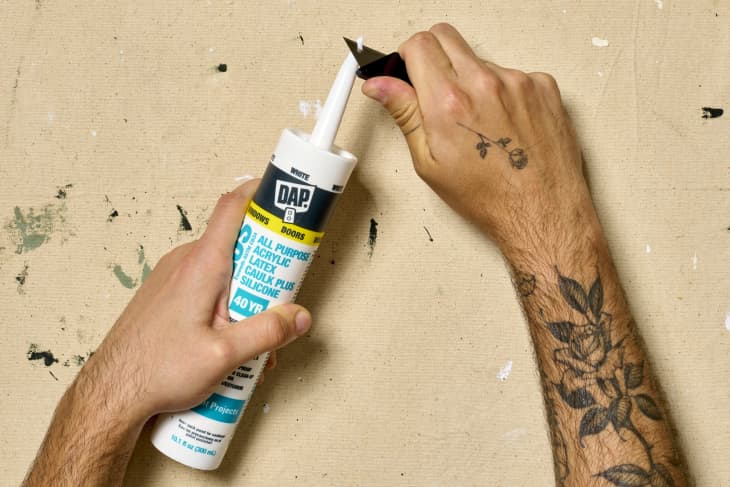
I always make this cut at a 30- to 45-degree angle, which helps direct the caulk into the gap you’re filling. If you make a straight cut, the caulk tends to overflow around the top of the opening and leaves extra material where you don’t want it.
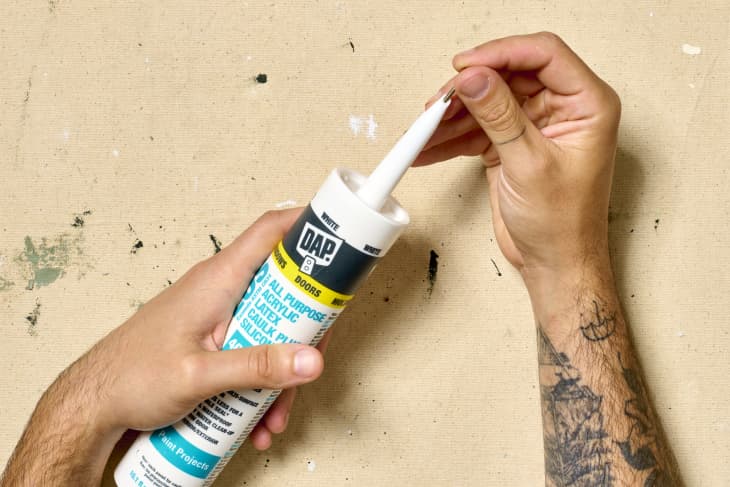
After that, I poke a 3-inch framing nail into the spout and push it all the way to puncture the foil seal on the tube. Almost all caulk tubes have this seal, but if by some chance yours doesn’t, the nail won’t do any damage.
Pro tip: Because the nozzle is tapered, the farther away from the tip you make the cut, the larger the opening will be. As a rule of thumb, making the cut about ¾ inches from the tip leaves an opening that produces a bead that can fill most gaps without voids or overflowing. Cut farther from the tip if you need a bigger bead, but be careful: If you make the hole too big, you’ll be in for a lot of messy cleanup. It’s better to err on the side of a smaller opening because it’s easier to go back and add more caulk than it is to clean up excess caulk.
Here’s how to load a caulk gun.
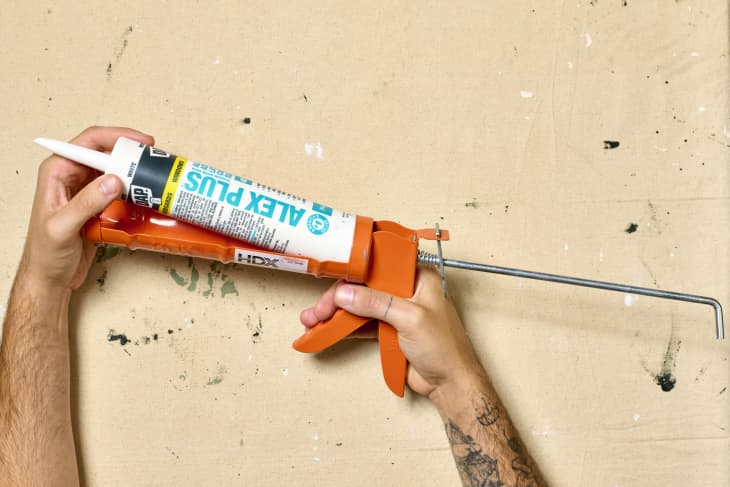
1. Start with the push lever.
Locate the push lever on the back of the gun and depress it to disengage it from the plunger rod.
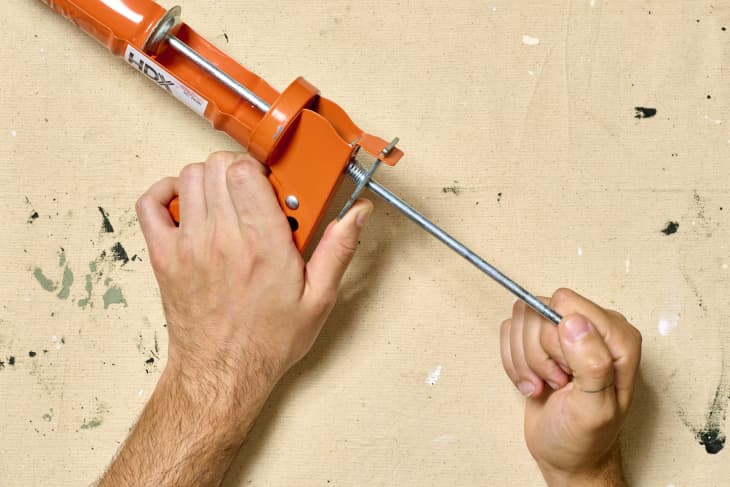
2. Pull the rod back as far as it will go.
Pull the rod of your caulk gun as far back as you’re able. If you have a gun with a notched rod, turn the rod through 90 degrees to disengage the notches from the lever and make the rod easier to pull, then return the rod to its initial orientation when you’re done.
3. Drop the caulk tube into the gun.
Place the caulk tube into the gun. If it doesn’t fit, you probably didn’t pull the plunger back far enough. It needs to be flush against the back of the gun.
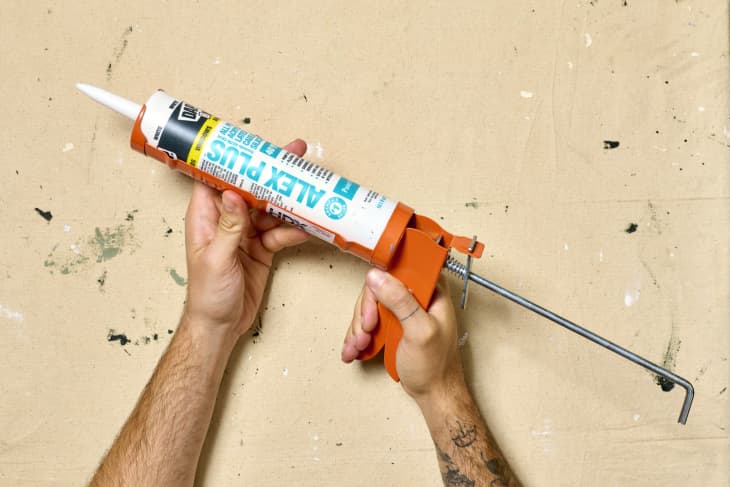
4. Activate the plunger to start pushing caulk into the nozzle.
Pull the trigger to advance the plunger. You’ll feel resistance when the plunger contacts the caulk inside the tube. At this point, pull the trigger once or twice more carefully until you see material entering the nozzle, then stop. Have a rag handy to catch any caulk that comes out.

How to Caulk a Baseboard
The secrets to laying a clean bead of caulk are to pull the gun toward you when the caulk is coming out and to keep it moving. If you caulk by pushing the gun away from you or hold it in one place, the caulk will build up into a pile, and cleaning that is usually a headache.
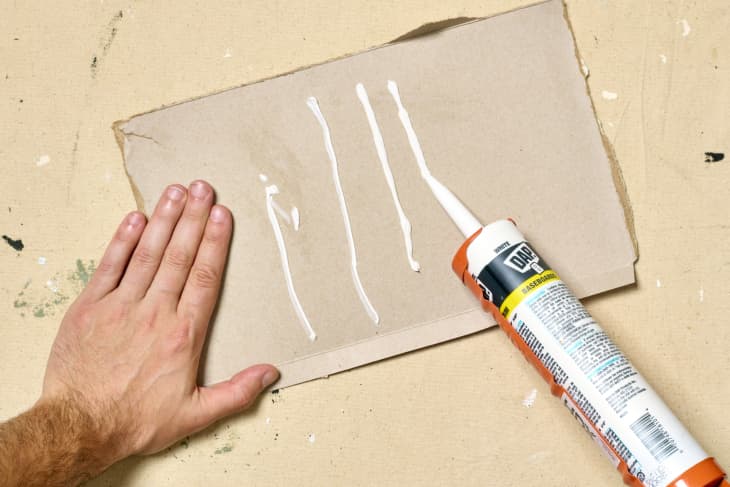
Before you begin, it’s helpful to do a few practice rounds on a scrap piece of cardboard.
- Start at one corner of the room.
- Hold the gun so it’s tipped down at a 45-degree angle; you will probably need to crouch or kneel for this job. Rotate the tube so that the angle you cut in the tip is facing the gap you’re filling, almost touching it.
- Pull the trigger on the caulk gun. Start moving the gun as soon as the caulk starts coming out. Keep the gun moving, gauging your speed according to how fast the caulk is emerging. If you’re leaving voids, you’re going too fast, and if the caulk piles up, you’re going too slow. Ideally, you want a solid bead that fills the gap with no voids and no overflow.
- Lift the gun away from the baseboard when you reach the end of the bead. Press the push lever to disengage the rod and stop the caulk. Even after the flow stops, a little bit will dribble out, so have a rag handy to catch it. Keep the rag over the nozzle when the gun isn’t in use to prevent caulk from falling on the floor.
- Tool the bead by running your finger along the top to make a concave surface. You can use a plastic tooling spatula for this, but I find a bare finger does a better job. You’ll need a rag or paper towel to keep your finger clean.
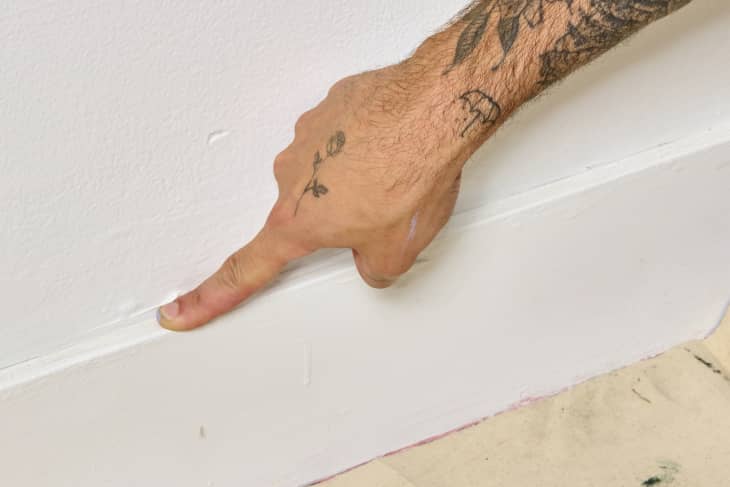
Pro tip: Unlike acrylic latex caulk, silicone caulk isn’t water soluble, so it’s a good idea to spray Windex on your finger to make your finger easier to clean after tooling.
How to Store an Open Tube of Caulk So It Doesn’t Dry Out
When you’re finished caulking, you need to seal the nozzle, or the caulk will be unusable after a few days.
You can do this by pushing a 3-inch framing nail into the nozzle as far as it will go, but I prefer to drive a 3-inch deck screw with my cordless drill instead, because a screw is easier to remove when it’s time to caulk again.
Be sure to drive the screw (or nail) all the way in to be sure to make a good seal, then store the tube upright — not on its side — to prevent material from dribbling out.
When it’s time to use the tube again, just pull out the nail or or use your drill to back out the screw, peel dried caulk off the nozzle with your fingers, and you’re good to go.