How To Make a Pajaki Chandelier
A recent search for an “elaborate, colorful chandelier” for our living room lead me down a fantastic pająki rabbit hole. The paper and straw sculptures, typically Polish folklore holiday decor, were originally constructed to hang from the ceiling to resemble elaborate crystal chandeliers found in homes of the upper class.
Pająki are usually made using wood straws but I wanted lots of color, so I changed it up a bit and used printed paper straws. The fantastic thing about this project is that you can raid the craft closet and use almost anything to decorate your pająki. Depending on what size hoop you use, it can be very time consuming. I had an old lampshade that I stripped down and used for my largest chandelier which took me about 5 hours from start to finish. If you plan to make more than one pająki, prepare all your supplies ahead of time so you can work in an assembly line.
Note: About halfway through the project I pulled out my 7 cm plastic needle and started using it to string the paper and straws together. This made the garland come together much faster than simply stringing it by hand! Another way to speed things up: clip a coupon to your local craft supply store and splurge on a flower die cutter. This saved me from hours of work and helped the overall piece look really consistent, which was super satisfying!
What You Need
Materials
- Cardstock or construction paper
- Tissue paper
- Paper, plastic, or wood straws
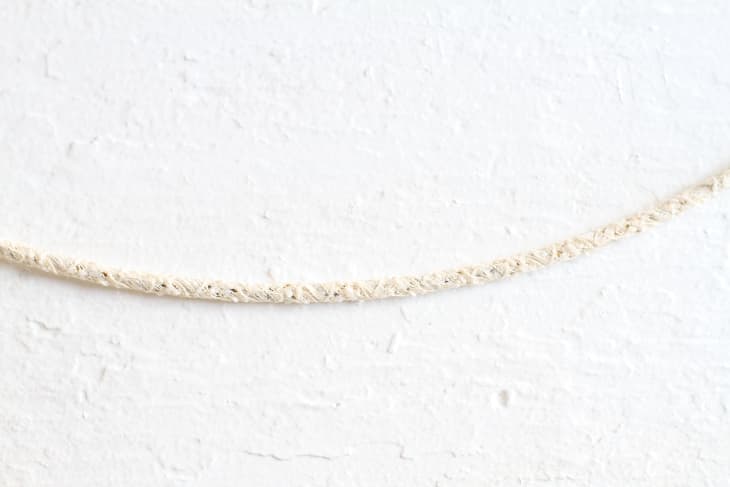
- Twine or string
- Thin gauge wire (I used 28 gauge)
- Strips of fabric, ribbon, or trim
- Miscellaneous craft items like beads, pom poms, silk flowers or the like.
- Craft glue
Tools
- Scissors
- 7 cm needle (optional)
- Die cut flower pattern (optional)
Instructions
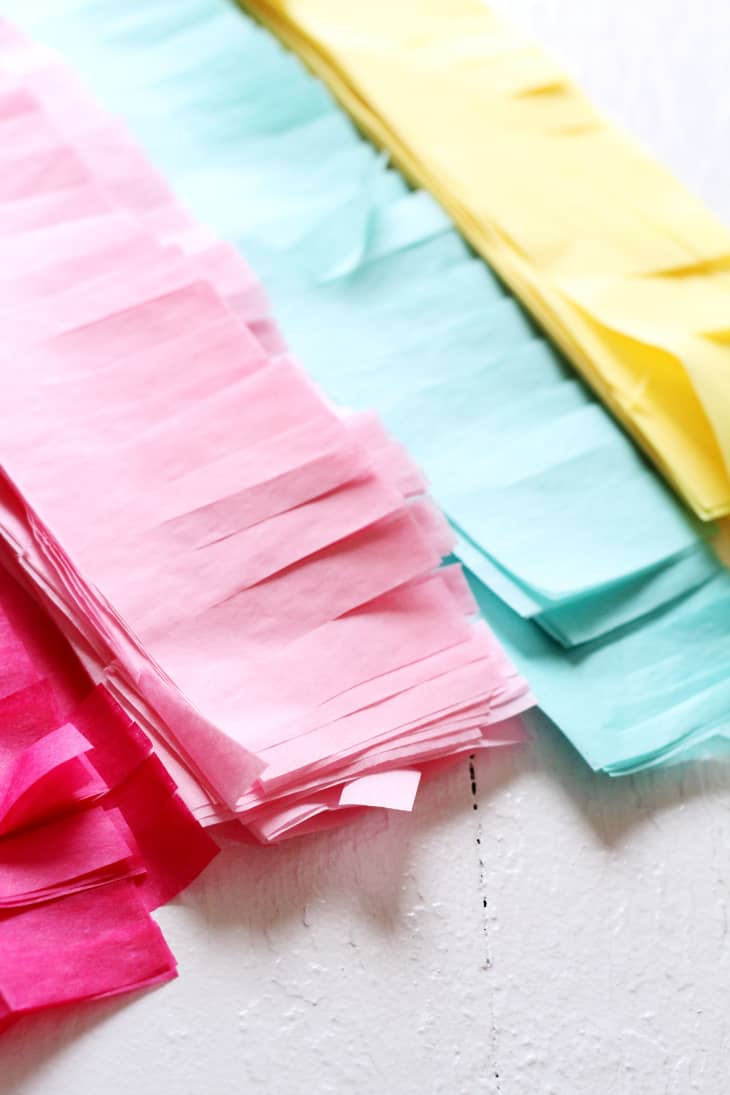
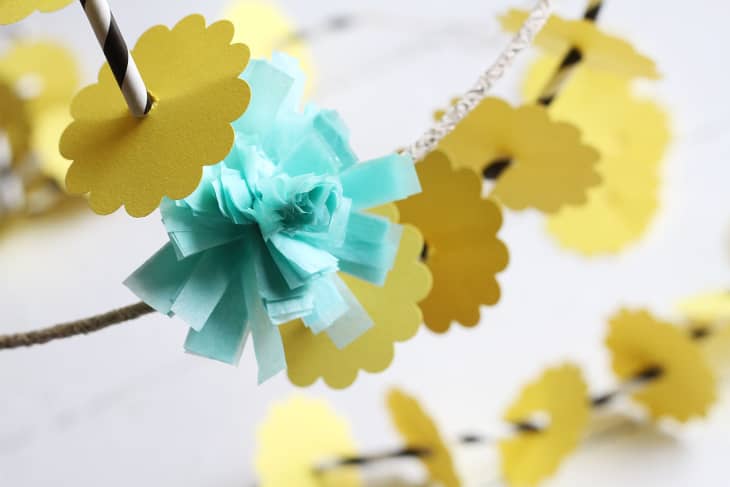
1. Layer each of your colors or tissue paper three sheets deep. Cut the paper into 3″ strips for approximately 3″ flowers. If you want larger flowers, cut the strips wider. Layer the strips 2-4 pieces deep and begin to cut the fringe (be sure to only cut 3/4 of the way in!). If you plan to use a large amount of tissue paper flowers I recommend buying fringe scissors to for speed and accuracy.
2. Grab a pencil or straw and being to roll the fringed, layered paper around pencil. Tape the end.
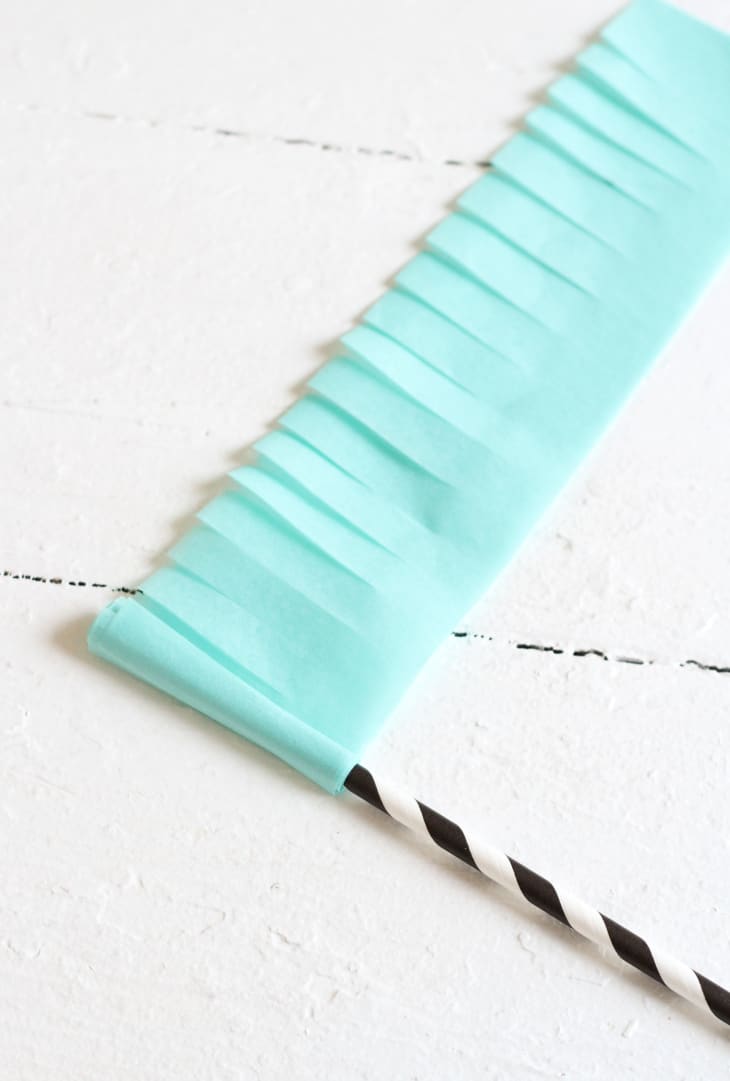
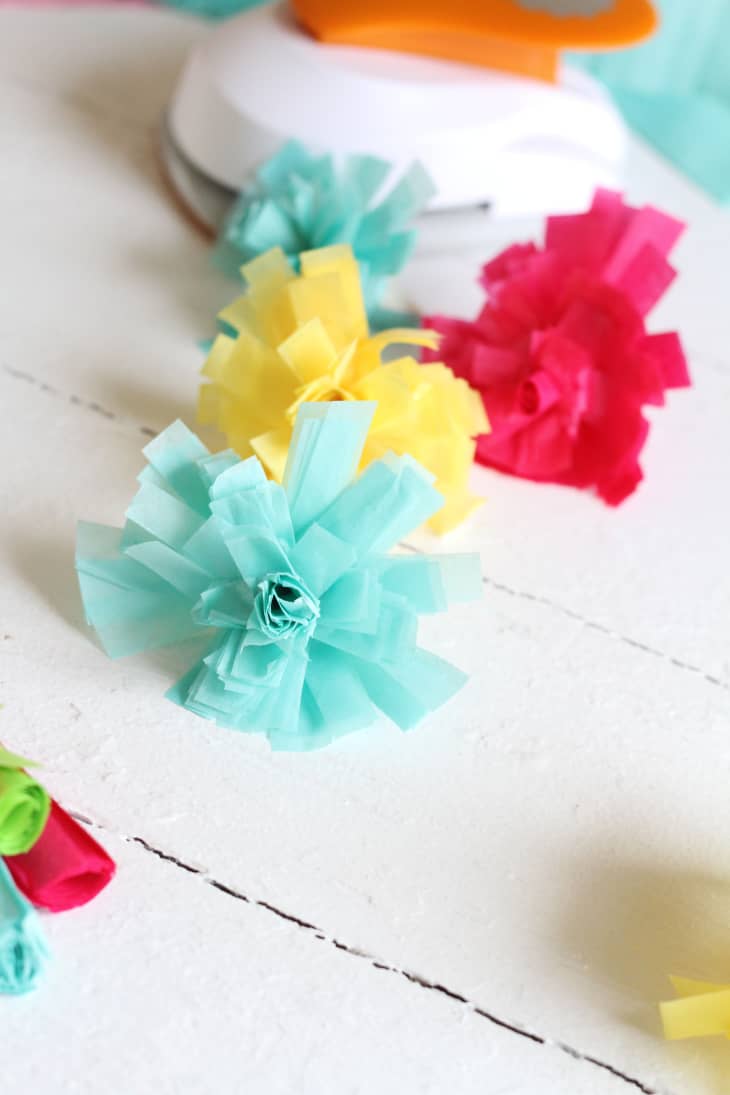
3. Gently peel the layers of fringe back to create the flower.

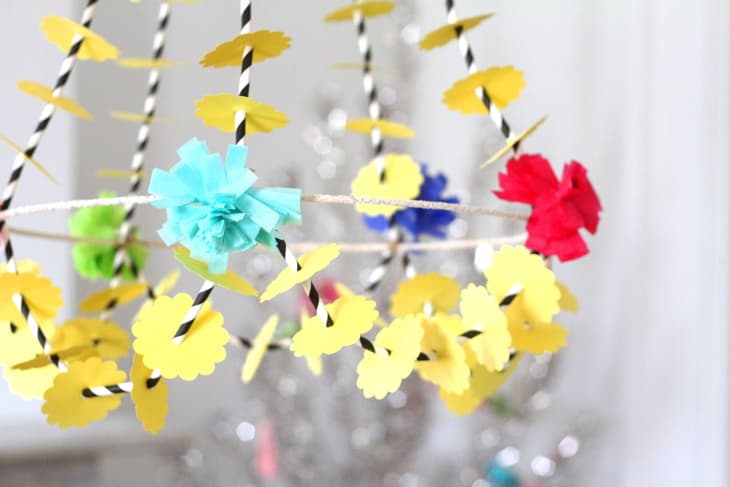
4. Continue to do this until you’ve reached the desired number of tissue paper flowers you want for your pająki.
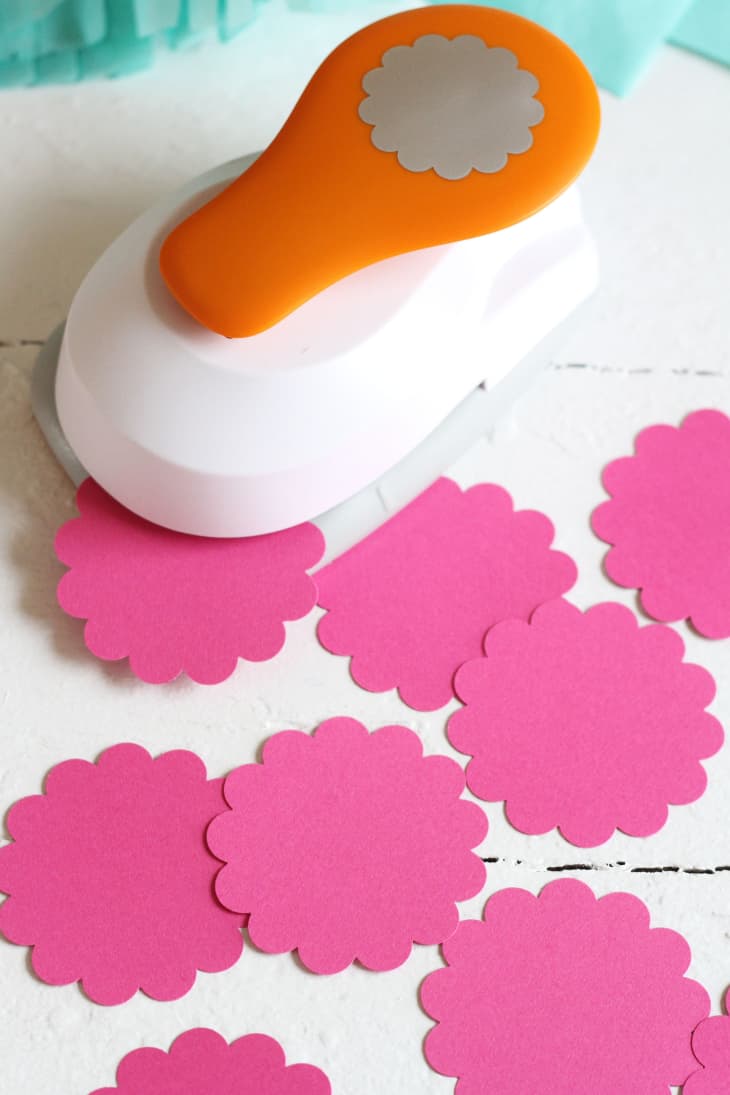
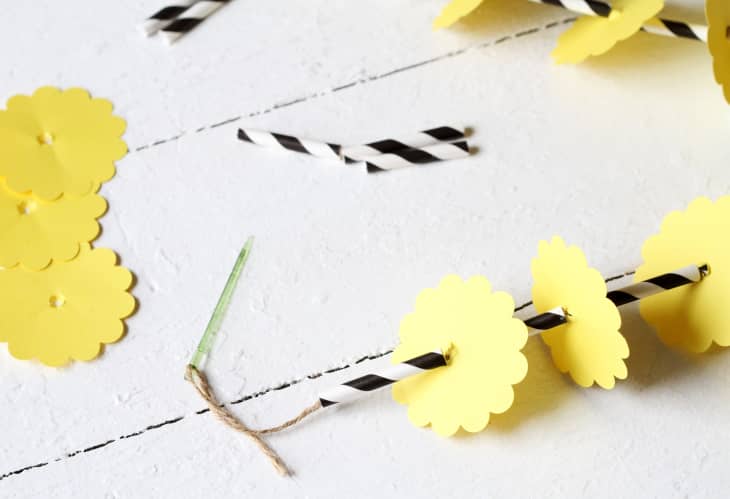
5. Choose the colors you want for your paper flower garland. Mine were approximately 2″ in diameter but you can cut them as large or small as you like. I highly recommend purchasing pre-cut flowers, or buying a die cutter -this will make your experience much more enjoyable!
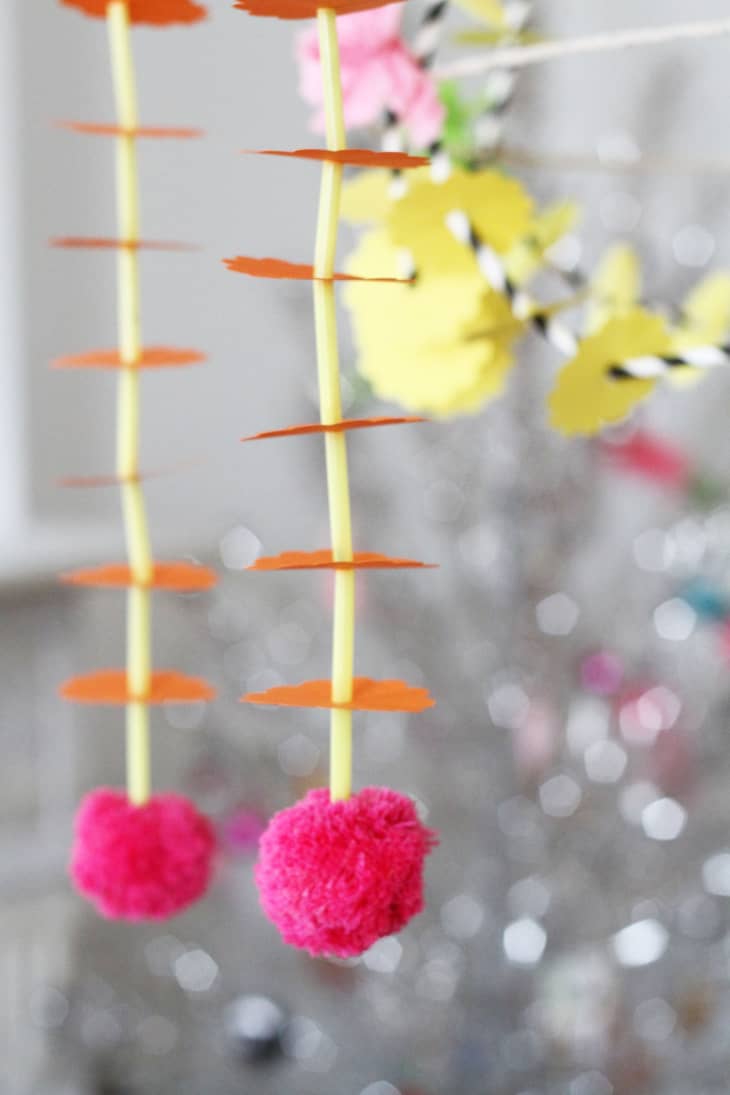
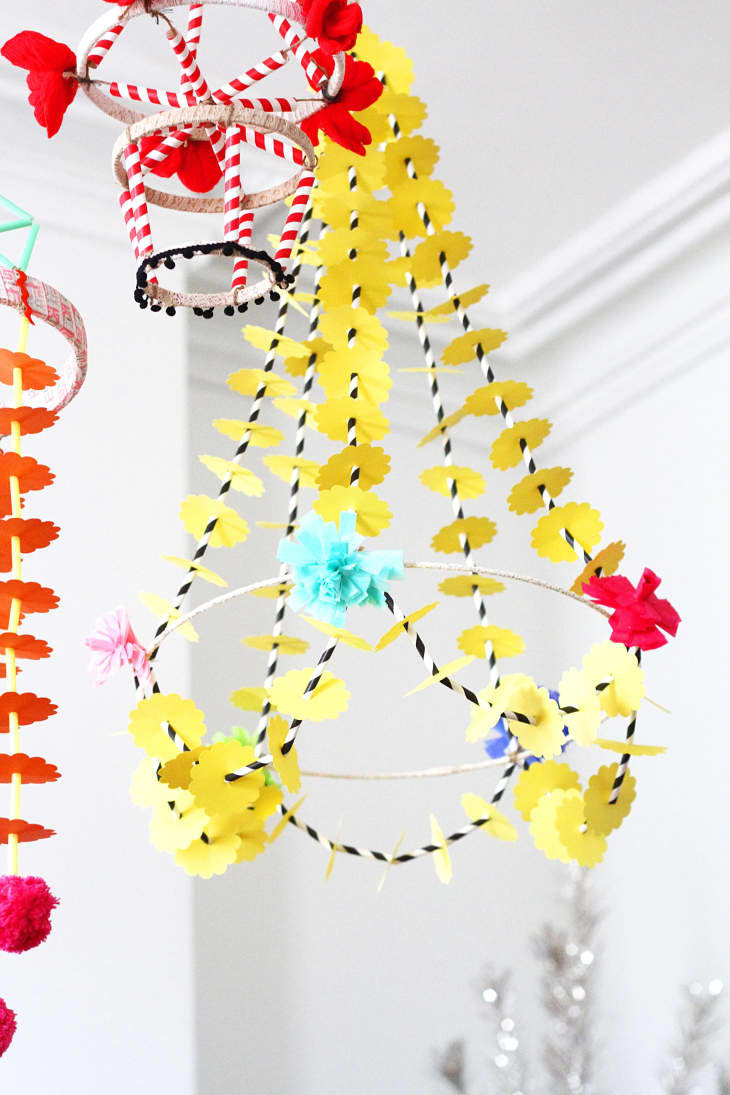
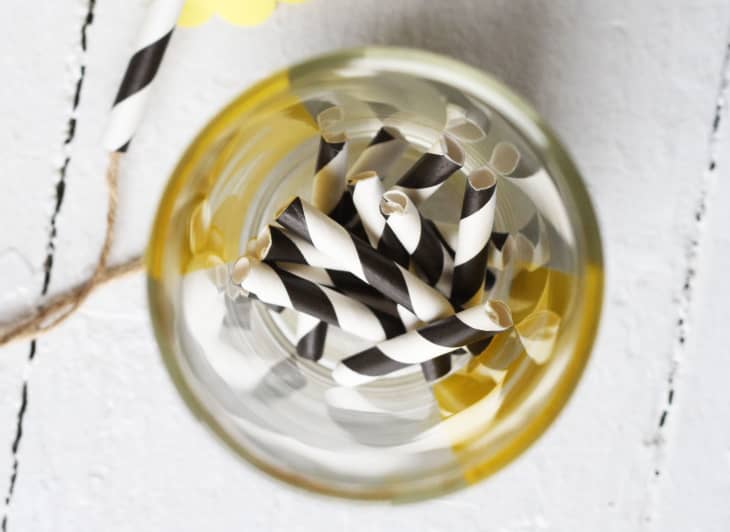
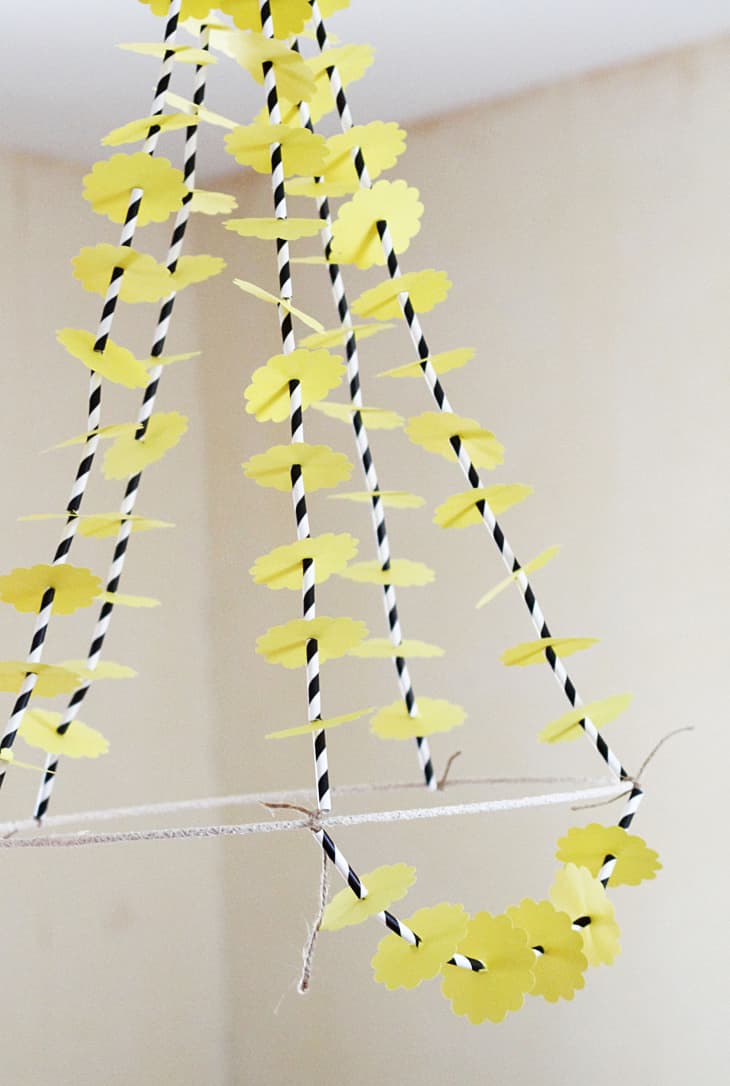
6. Cut your straws. These can be as long or as short as you like. For the yellow and black chandelier I cut the straws about 2″ in length. I used a box of 24 straws and ended up with just enough. The only way to know exactly how many straws to cut is to decide on the number and lengths of garlands you want on your chandelier, then make one for reference. I used five strings of garland on the top part of my chandelier, each strand had 14 straws and 12 flowers. Be sure to cut more string than you need so you’ll have plenty of room to tie the ends to your hoop.
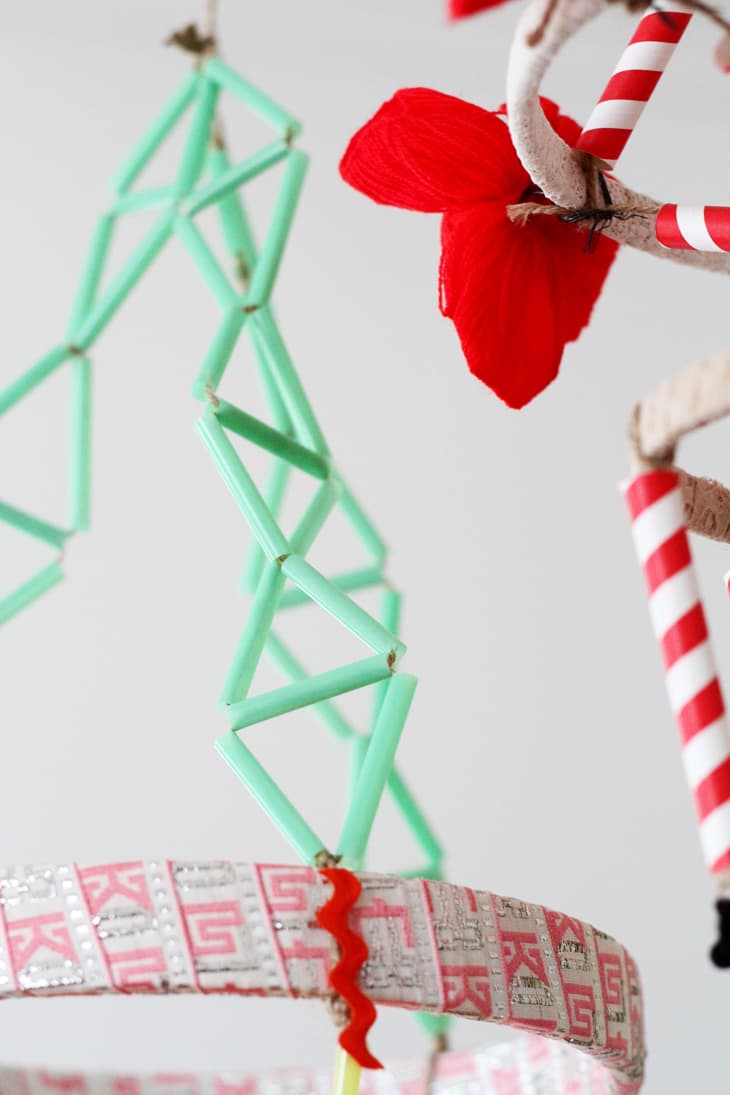
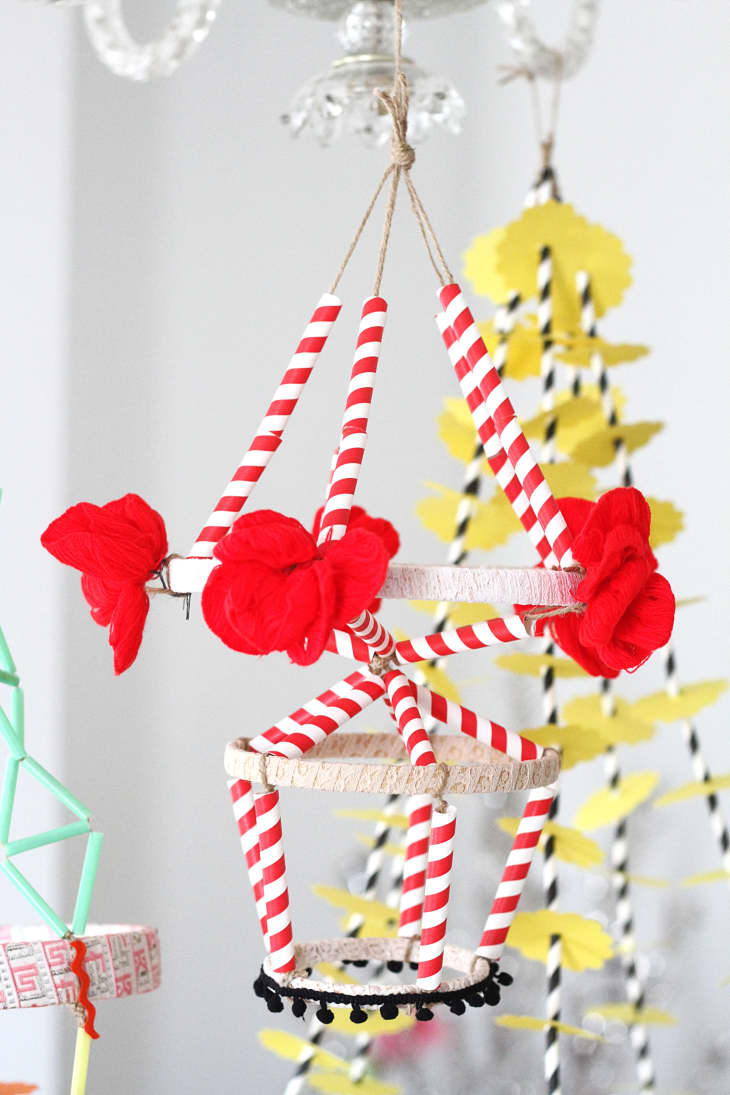
7. Wrap your hoop. I used a thick gauge wire hoop from an old lampshade, so this step was really important because of the pre-existing ugly factor. I wrapped mine with extra lace trim that I had, but you can really use anything, colorful Washi tape would work really well here. If you use fabric, be sure to secure each end with craft glue.
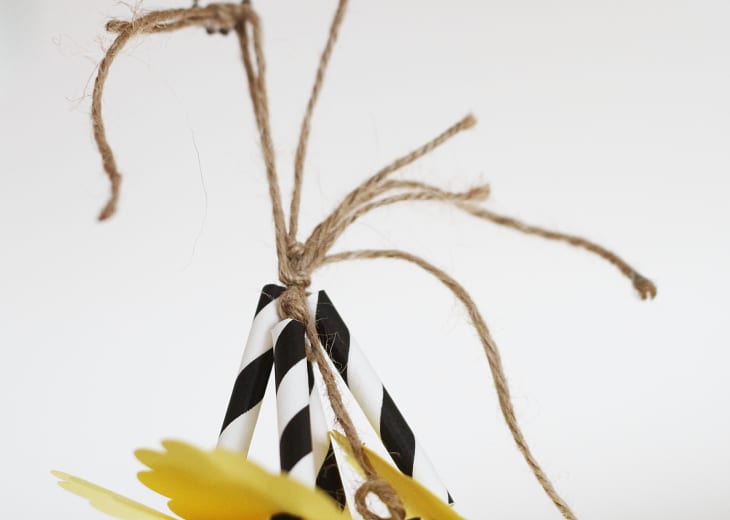
8. Begin to construct the garland for your pająki. Position each string on the hoop and tie off the end. If you are going to add garlands to the bottom of the chandelier, leave a 3″-4″ tail so you’ll be able to connect the additional garland with ease. Thread the open end of your twine or string through a 7 cm needle and begin to string the paper and straws onto the strand. Once filled, tie a double knot to keep the straws in place.
9. After all the top garlands have been strung, bring the loose ends of the string up together at the middle point where you want the chandelier to hang (this step can be tricky to do by yourself so you might want to wait until there are extra hands available!). Bundle the strands of garland together with a 6″-8″ string, be sure to tie under each strings top knot. Tie a loop with the ends of this string to hang the chandelier.
10. Once your chandelier is able to hang, you can add all the other elements with ease. Connect the bottom strands of garland by attaching each end to the tail of the existing garlands. Add tissue paper flowers by wrapping the ends with wire, then attaching them to the hoop. Secure in place with craft glue.
You can really be as creative as you like with your pająki. Construct interesting patterns with your straws by using double strands of twine:
Add multiple hoops:
This is a great project to use up obscure craft items you’ve picked up throughout the year! Challenge yourself to create your version of a traditional Polish pająki with items found around your home. Whatever you do, have fun doing it!