
How to Make Paper Flowers With Coffee Filters
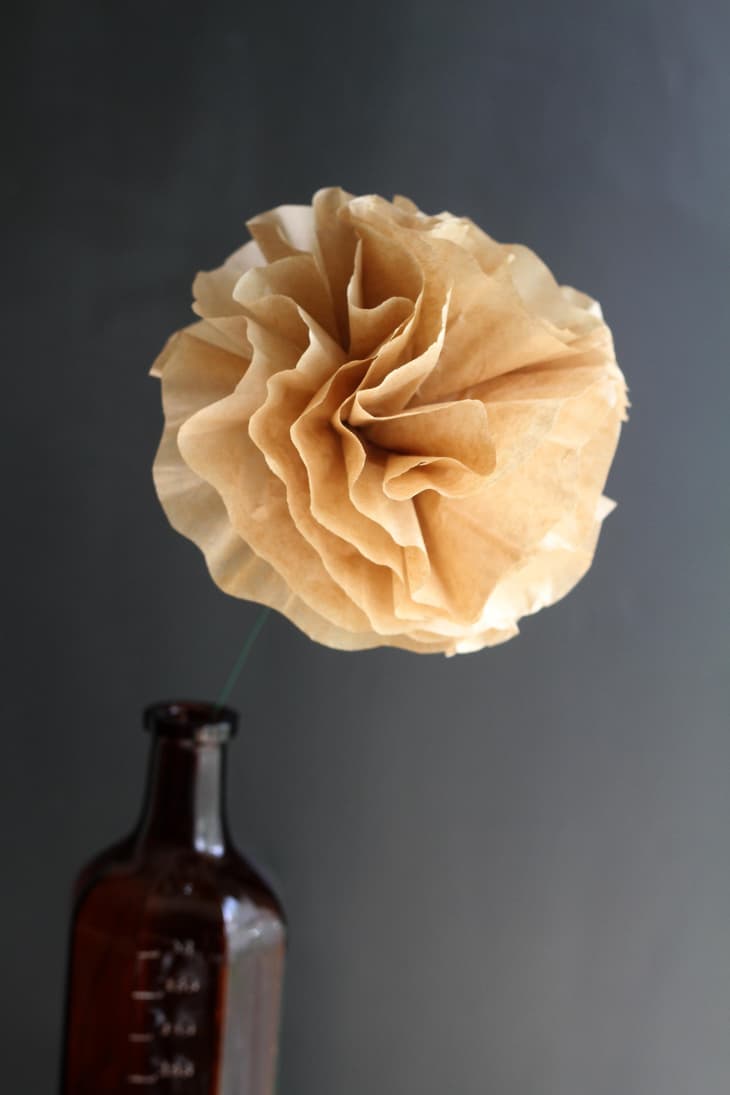
Coffee filter flowers are positively the simplest paper flower to make—and quite possibly the prettiest. Their thin, delicate texture allows light to pass through the “petals” similar to those of real flowers, making them all the more ethereal, and causing you to do a double take.
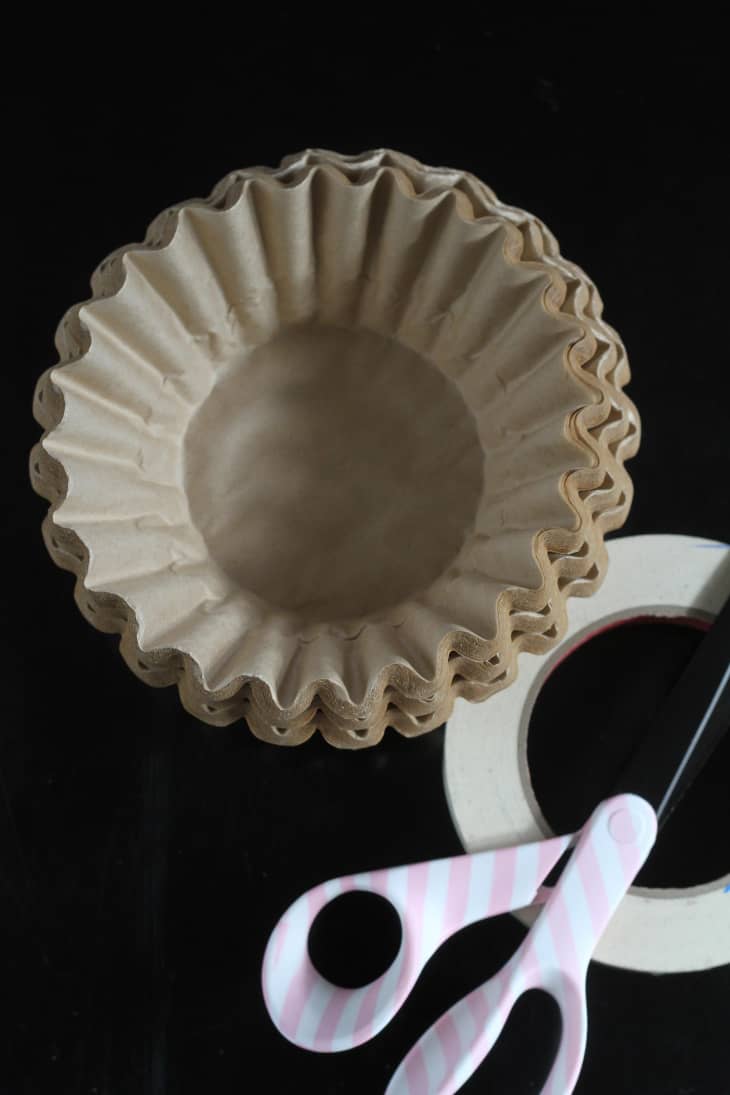
We had a bunch of unbleached coffee filters hanging out in our pantry that I decided to use (although I have no idea how they got there! I don’t believe we’ve ever owned a large coffee pot!) that I really liked the look of. However, if we’d had regular old white coffee filters I would have dyed them various colors using hot water and food coloring. You can also play around with sizing; if you have 2 or 3 different filter sizes, stack them up together to be used on one flower. Just be sure to have the largest filters on the bottom/outside of the flower and smaller in towards the middle.
What You Need
Materials
- 6 Basket style coffee filters (any/all sizes) per flower
- Floral stem wire (or anything else you want to use for a stem)
- Floral tape or masking tape
Tools
- Scissors
- Stapler
Instructions
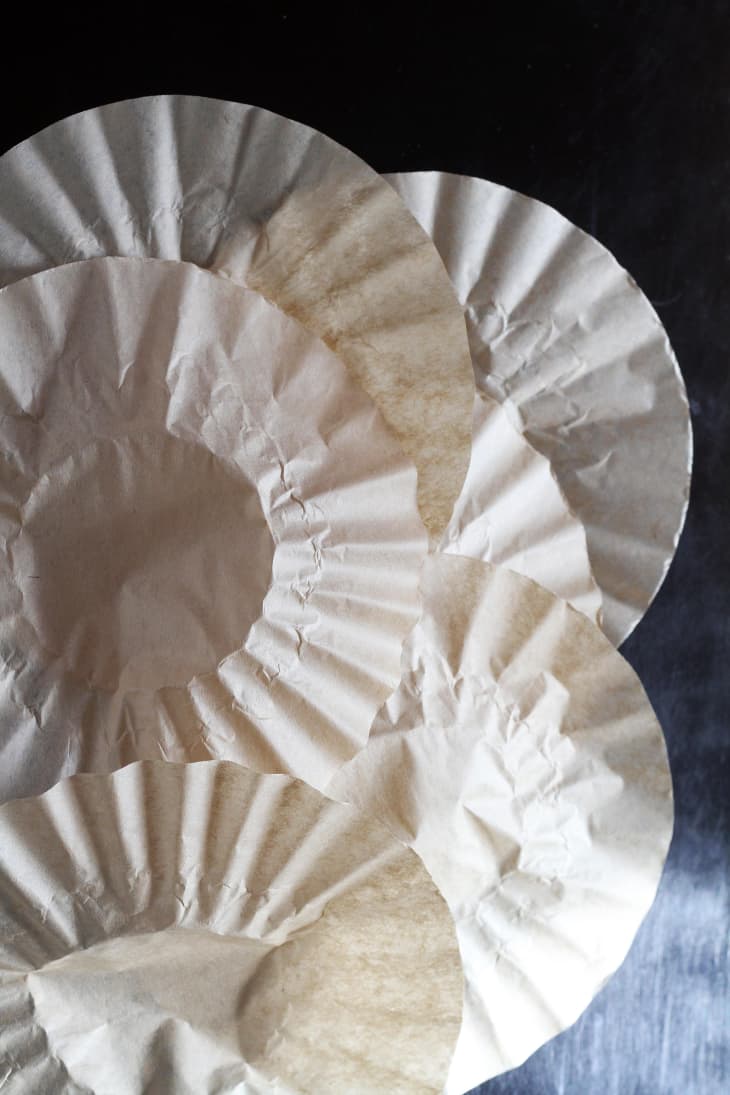
1. Flatten up to 6 coffee filters and stack them one on top of the other in a neat pile.
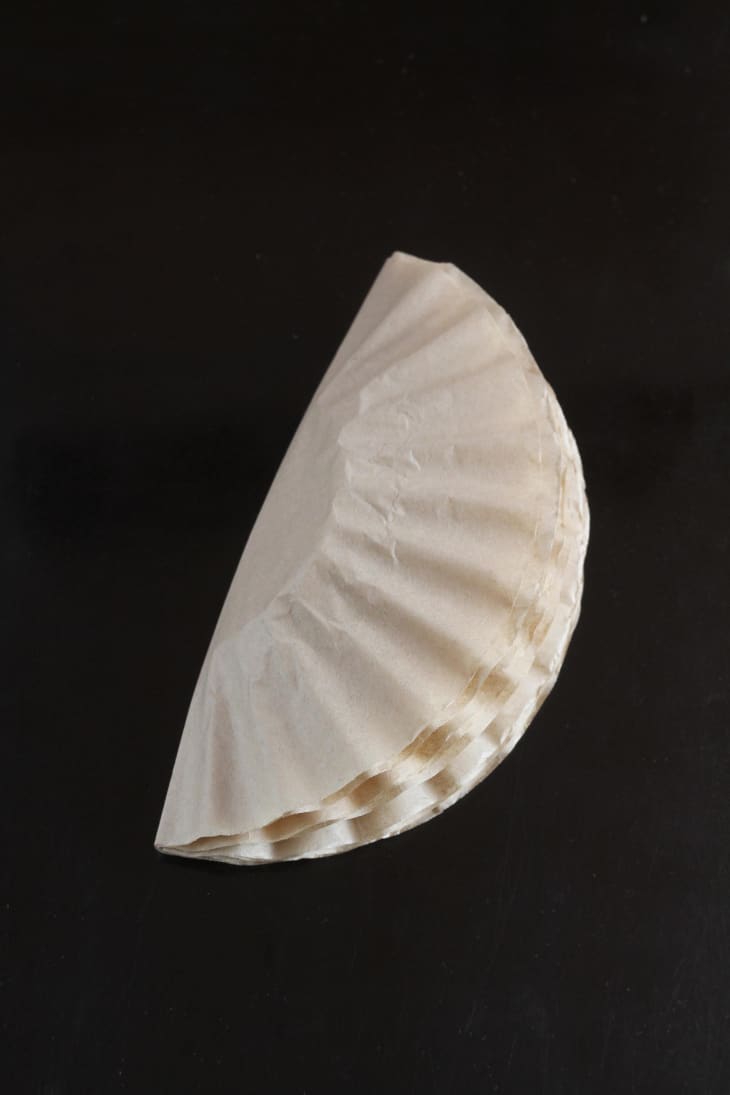
2. Fold the stack in half.

3. Fold the half in half one more time so the stack is now 1/4 of the size of the circle.
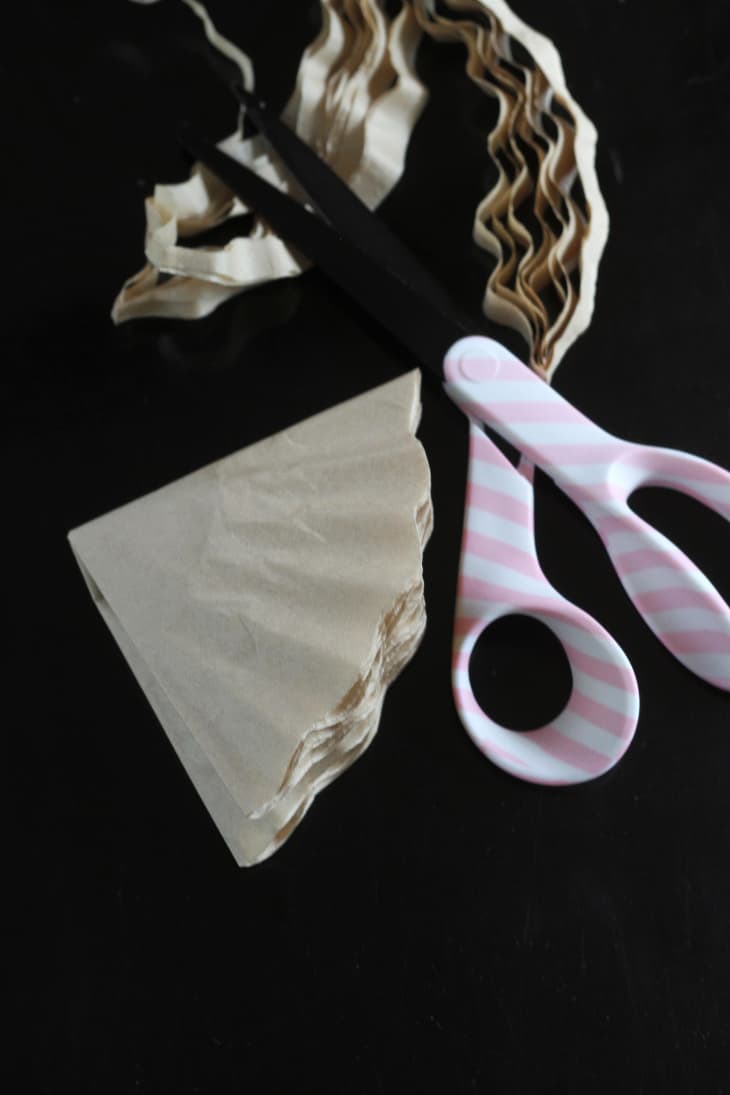
4. Trim around the edge of the folded quarter. Cut any shape you like, from scallop to fringed.
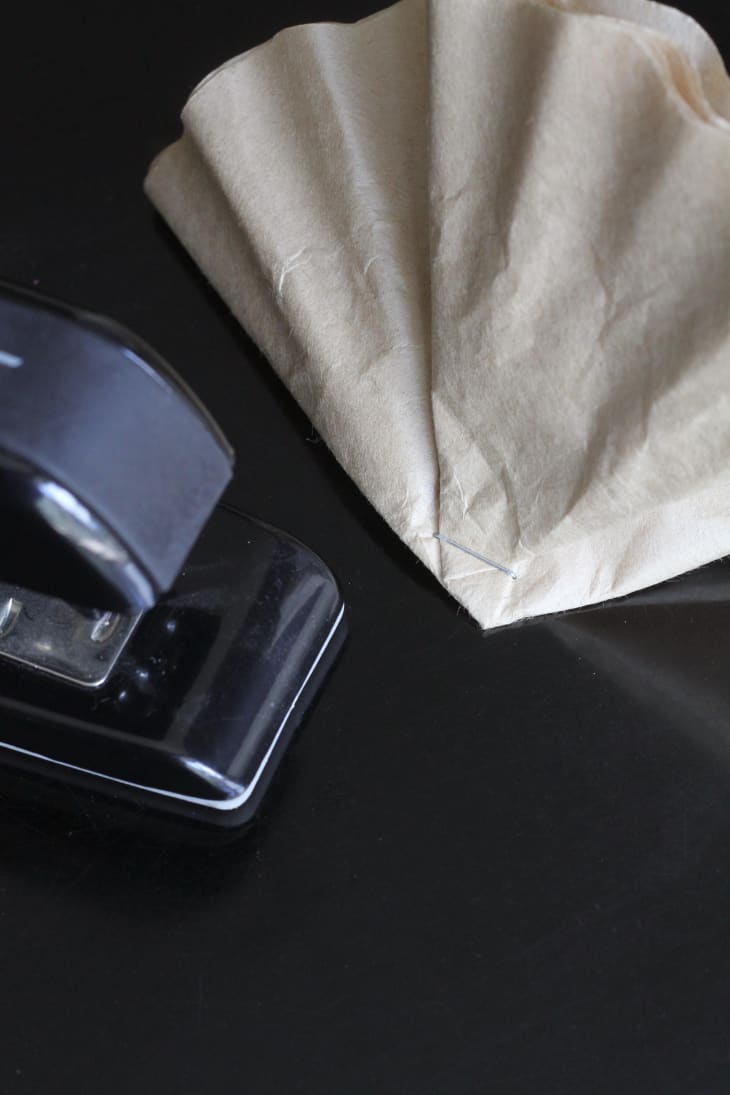
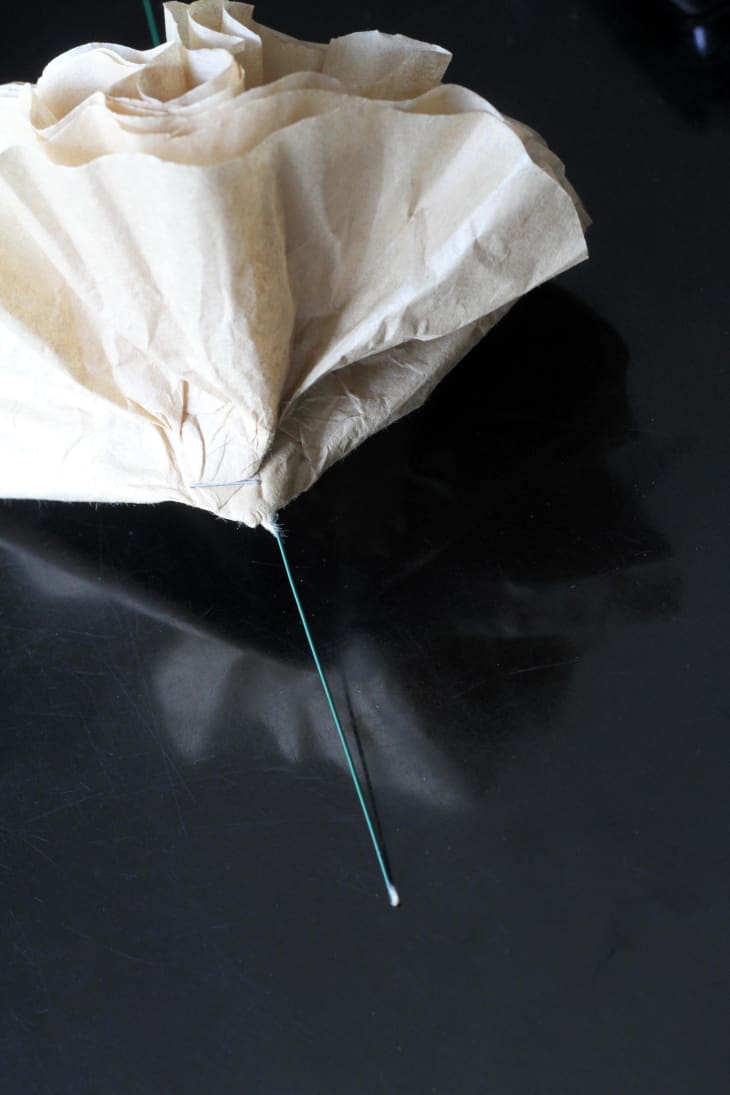
5. Staple the bottom corner together.
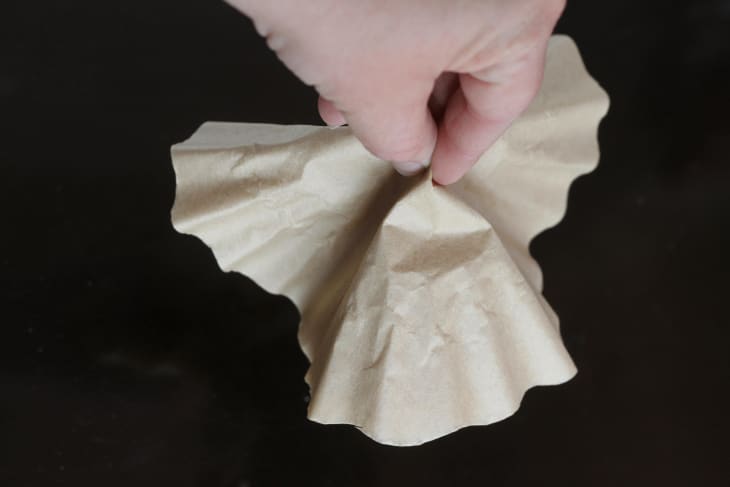
6. Scrunch the paper around at the staple so it’s not quite as flat, as above.
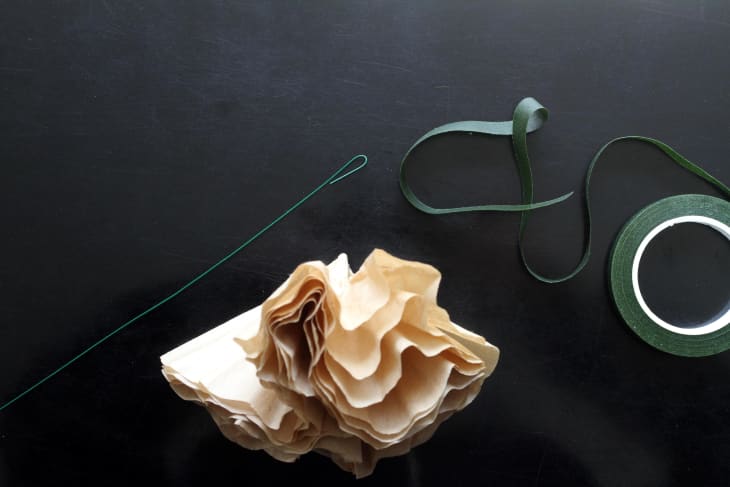
7. Put a small hook in the top of your stem and run it through the flower from the inside of the middle, out through the bottom. The hook should keep the stem from slipping all the way through the bottom of the flower.
8. Wrap the floral tape around the bottom of the flower (covering the staple) down the wire stem about an inch, and back up over the bottom of the flower. Pinch and secure in place.
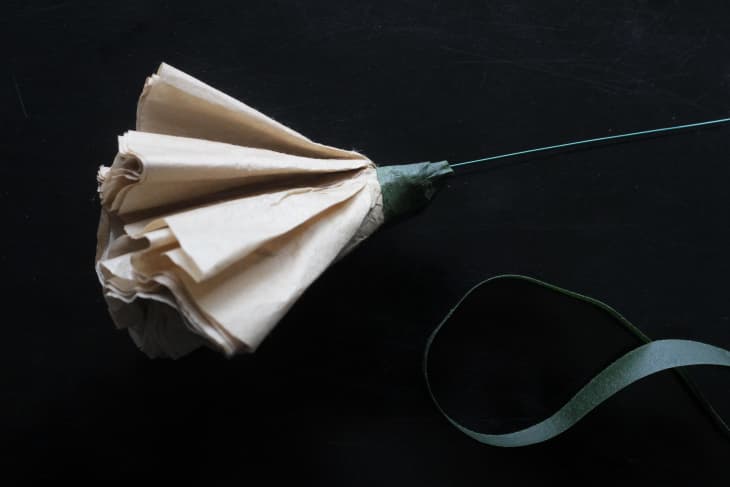
9. Gently begin to unfold the layers of the flower starting with the outer layer and working your way in towards the center of the flower.
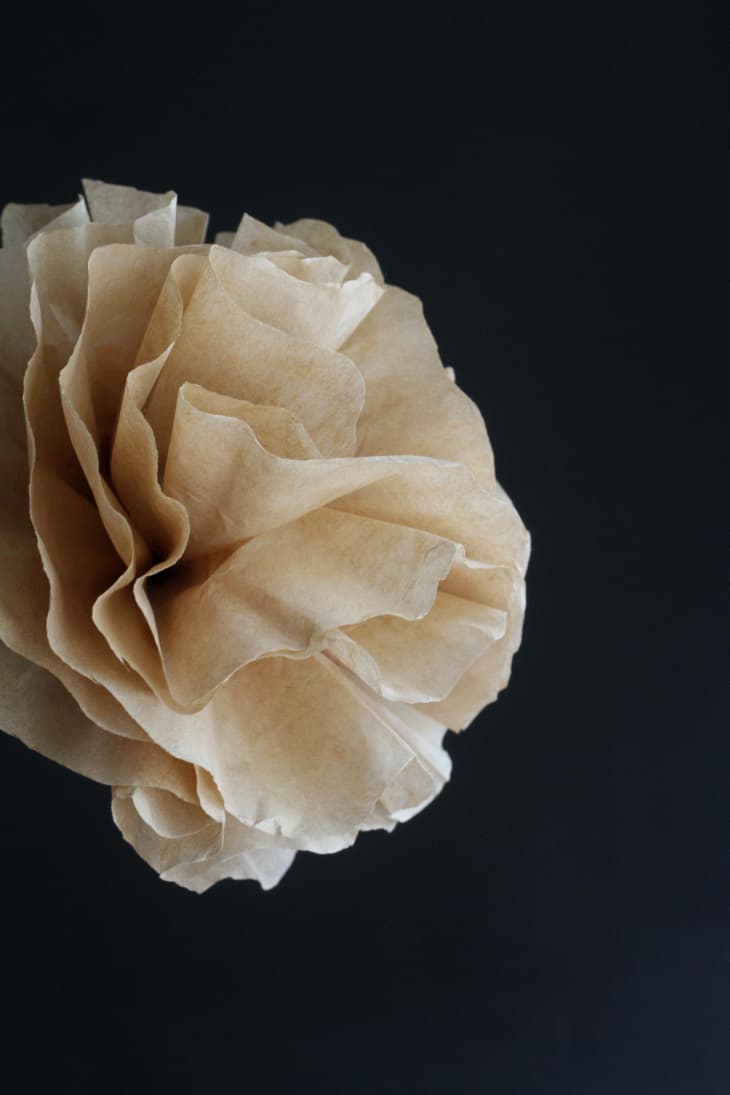
Enjoy your beautiful flower—make many more and share them with friends!

Have a really great DIY project or tutorial that you want to share with others? Let us know! We love checking out what you’re making these days, and learning from our readers. When you’re ready, click here to submit your project and photos.