
How To Make Your Own DIY Vintage Plate Tiered Dessert Stand
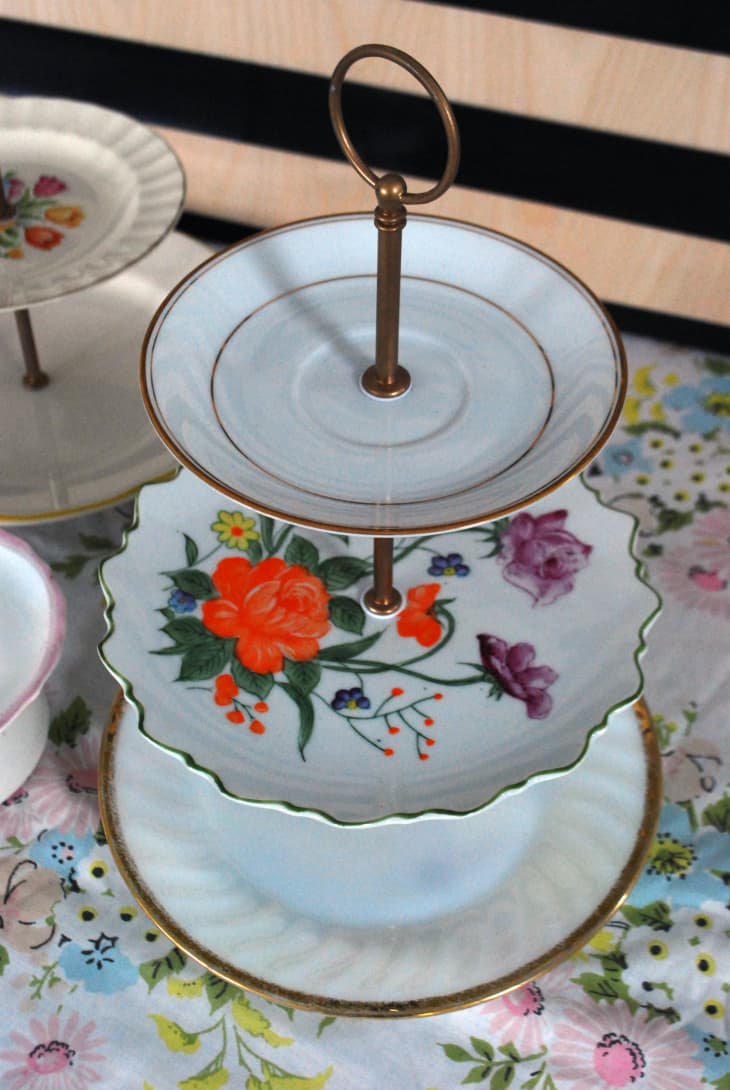
Here’s a quick and easy project for parties of all types; whether for kids or adults, casual or formal. These tiered stands are inexpensive to make, and a great way to use old dishes destined for donation. They also look just fancy enough and add great height to a dessert table — all good things.
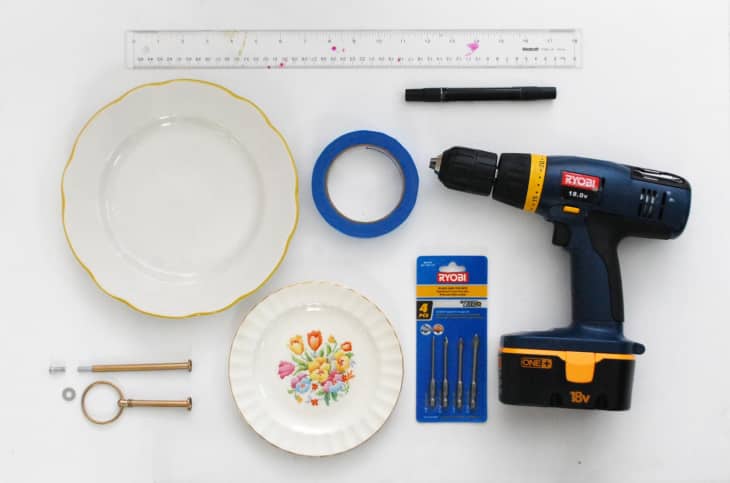
Materials:
- Random porcelain plates in varying sizes
- Masking or painters tape
- Cake tier hardware, such as these from eBay
- Cork or rubber stoppers, optional
Tools:
- Power drill
- Ceramic/tile bits
- Pen or pencil
- Ruler
Instructions:
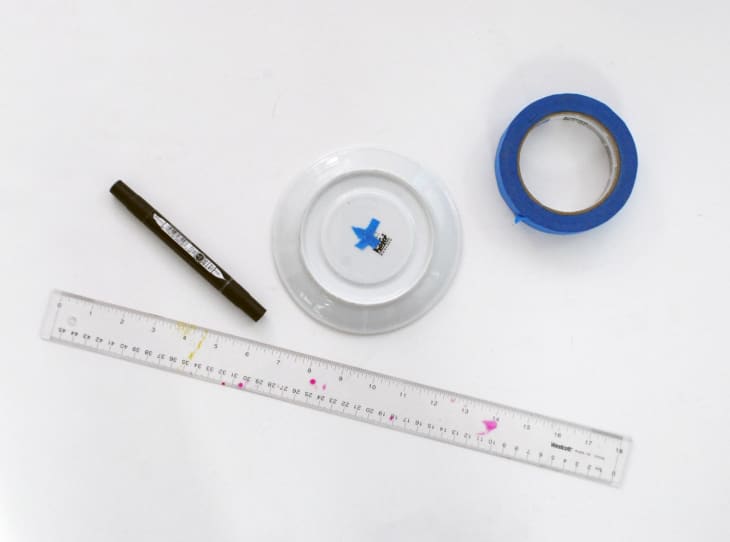
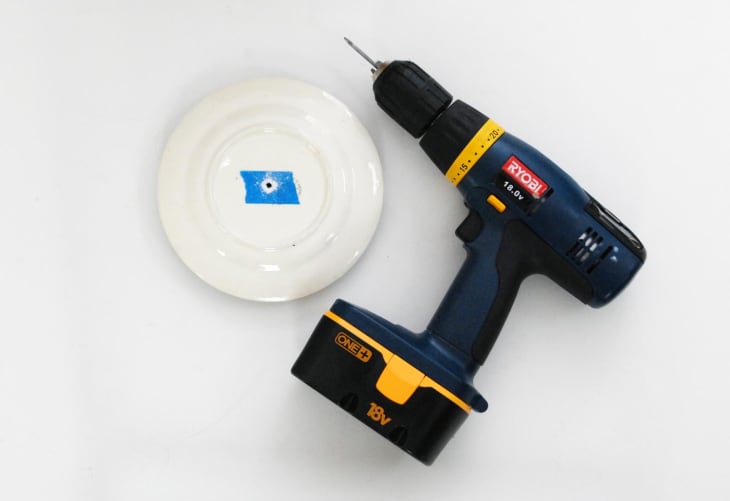
1. Turn each plate over and find the center using the ruler. Place a piece of tape in the center, and mark the spot to drill with your pen. The tape makes it easier to get your hole started, as the bit won’t skitter over the glaze as much.
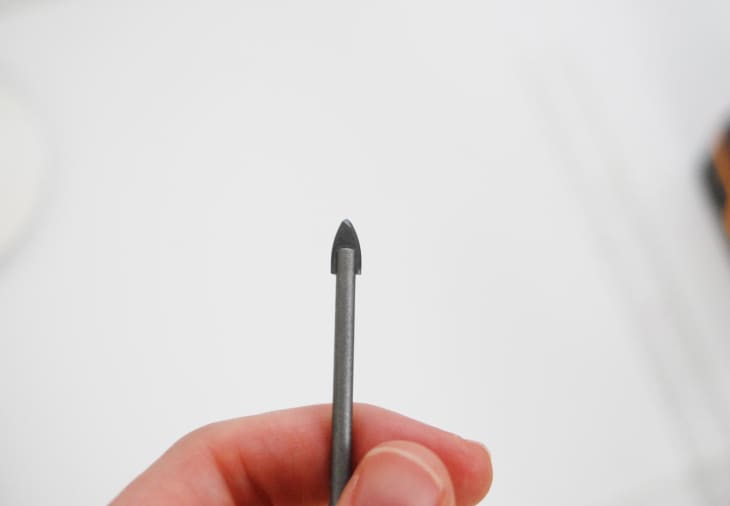
2. Using your special ceramic bit, drill through each of the plates. Depending on the thickness of the plate, this can take either a quick 10 seconds, or a couple of minutes. It might smoke a little bit (craft drama!) but it’s fine. If you’re worried about it, keep some water on hand to sprinkle on the plate to cool everything down.
3. Once all the holes are drilled, assemble the tiers using the hardware. You can do either two or three tiers, depending on your plate sizes and dessert needs.

4. If one of the tiers is a little wobbly, stick cork or rubber stoppers on the bottom to keep her steady.
5. Fill with tasty goodies and enjoy!
(Images: Dabney Frake)