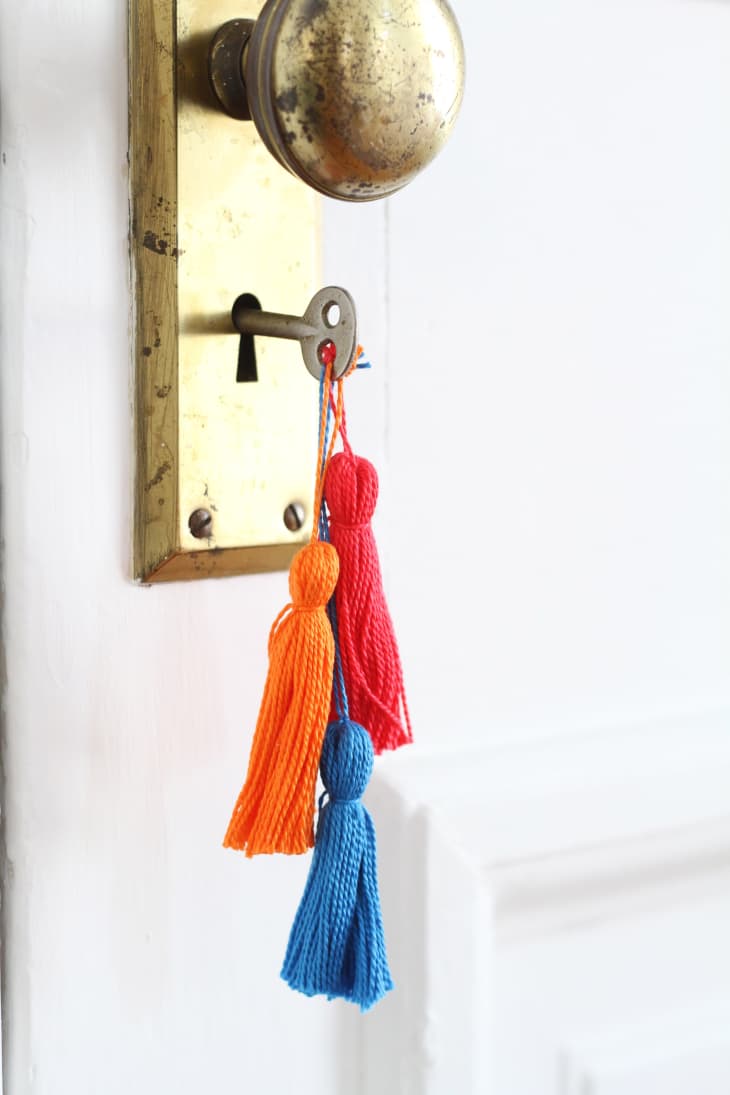
How To Make Your Own Tassels

Tassels are a great way to add color and texture to absolutely anything. Beautiful additions to gift wrap, home decor, and fashion —they are a project you should absolutely add to your DIY repertoire.
Tassels can be made out of an array of materials, from silk and wool yarns to basic cotton embroidery threads. While there are a number of ways you can construct a tassel, we chose a basic method you can use on any material.
What You Need
Materials
- Yarn or Thread
- Scissors
Instructions
1. If using embroidery thread: Remove the paper tags and cut a piece of thread from the tail approximately 12″ in length.
If using yarn or material that is not wound in the same way embroidery thread is wound: Cut a piece of cardboard double the size of the length you desire your tassel to be. Wrap your material around the cardboard 20 times (adjust dependent on the desired thickness of tassel) and carefully remove the wrapped material from the cardboard so it maintains the oval shape. Cut a piece of thread from the tail approximately 12″ in length.
2. Cut the 12″ string in half.
3. Find the middle point of the wound thread and tie one of the 6″ lengths of string in a double knot around the middle.
4. Fold the thread in half over the knotted string. Be sure not to clip the two tails— you’ll use them to attach the tassel once you’re finished.
5. Tie the remaining 6″ string around top of the tassel. The tail from the string should easily blend in to the rest of the tassel. Trim the bottom loop of the tassel to the length you desire.
Making tassels can be quite addictive so be prepared with lots of materials should you decide to venture down the path! Try them on baskets, shoes, or other random household decor —you’ll be surprised at how just a tiny bit of color and texture will transform the look of your old items.
Have a really great DIY project or tutorial that you want to share with others? Let us know! We love checking out what you’re making these days, and learning from our readers. When you’re ready, click here to submit your project and photos.
Edited from an original post by Abby Stone published on May 23, 2008
