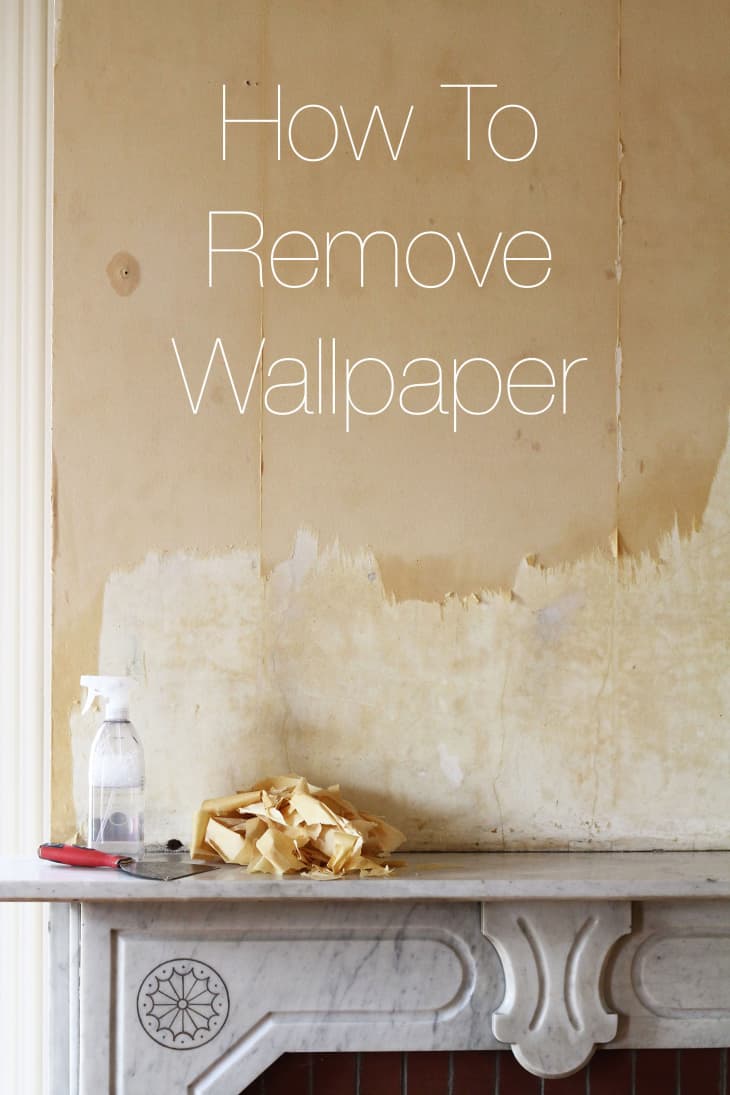
How To Remove Wallpaper

How long have you been living with that wallpaper you hate? If you answered “too long,” read on—we just might have the inspiration and know-how you need to get going on your long-awaited project.
We recently moved into an 1870s home that was covered—with the exception of one room—in wallpaper. It was mostly Victorian (1980s Victorian), and we couldn’t wait to get in there and remove every last bit. It wasn’t awful, but it was in bad shape and just didn’t have the “fresh and clean” aesthetic we were going for.
Once we were actually living in the house, it seemed to bother us less and less. The thought of the endless hours of work it was going to be to strip everything coupled with our complacency slowed the whole removal process down significantly. Finally, after discussing it at dinner one night, a friend walked over to the wall and decided to “just test it to see how difficult it would be to remove.” She grabbed the bottom corner and the paper came off in one continuous sheet all the way up to the ceiling. This started a dinner party stripping frenzy. There was much rejoicing.
We were lucky enough that though our home is almost 150 years old, there was just one coat of paper in each room. Our walls actually spoke to us and let us in on a little bit of our home’s history (something I will be very sad to paint over). The wall revealed that Mr. Rasmussen had papered it in 1955, and that Mr. Herren had papered it again in 1980.
While I understand we were very lucky in this process, I want to encourage you to not be complacent. If you have something, be it wallpaper, carpet, a ceiling fan, in your home that you just don’t love, do something about it!
What You Need
Materials
- Spray bottles (lots, we had about 4 per person)
- Warm water
- Dish soap
- Putty knives, tape knives, or straight edge scrapers in 3″-6″ widths
- Vinegar
- Drop cloths
- Ladder or scaffolding
- Tape
- Plastic wrap
Instructions
1. Prepare the room in which you are working by doing the following:
Move all the furniture from the room so you can have a large, clear workspace. If this is not possible, push the furniture towards the center of the room and cover everything with sheets or drop cloths.
Lay drop cloths around the perimeter of the room where you are working to protect your floors from moisture.
Carefully remove wall and plate covers. Once you begin the paper removal process you’ll want to work around these areas first, making sure to switch off power in the room before getting too close to the outlets. After you’ve removed the paper from these areas, protect the sockets by covering with plastic and taping all around the parameter, making sure no water can enter.
2. To remove the paper, start at the very bottom of the wall, grabbing a small corner section and slowly pull upwards, in a diagonal.
By doing this you should be able to pull up the remaining paper on the bottom opposite side while keeping everything attached. It’s much easier and faster to remove the paper if the sheets stay connected. Sometimes, it’s possible to remove an entire room’s paper without having to get on a ladder by applying slow, steady pulling pressure while walking backwards. If you feel a tug on the left side and the paper doesn’t seem to want to budge, pull up on the right side to alleviate pressure. This action will make the left side less tense, and easier to manage.
3. Continue to pull up on the paper by slowly walking backwards. Ideally, it will remain as one continuous sheet and come off only when you’ve worked your way to the top of the ceiling.
4. Once you’ve removed the vinyl skin, it’s time to work on the backing. Mix your solution in your spray bottles: Warm water filled almost to the top, with a few pumps of dish soap. The backing/glue can be really stinky, so I opted for a big, economical, fresh smelling, all-natural grapefruit dish soap.
5. Soak the backing with the solution and let it sit for a few minutes. If the top coat of your paper doesn’t separate from the backing, or if it does and your backing is really thick, you may want to invest in a wallpaper scoring tool. This is a great product that will allow your solution to work it’s way in and around the backing and aid in removal.
Your backing might start to bubble up in areas —if this happens it’s a good sign! This means the backing is starting to voluntarily remove itself from your walls!
6. Start to peel the backing off in the same manner you peeled the top layer of the paper or vinyl. Use your putty knife and start at the bottom.
Slowly and steadily work your way across the strip, collecting as much of the contained sheet as you possibly can.
7. Once you’ve removed the backing, spray down the walls with a solution of 3 parts warm water, 1 part vinegar. Use a clean straight edge to take away any excess glue.
8. Wash down the walls and baseboards with water and vinegar to ensure they are as clean as possible before starting the restoration and painting process.
Have a really great DIY project or tutorial that you want to share with others? Let us know! We love checking out what you’re making these days, and learning from our readers. When you’re ready, click here to submit your project and photos.
