
How To Replace a Light Switch
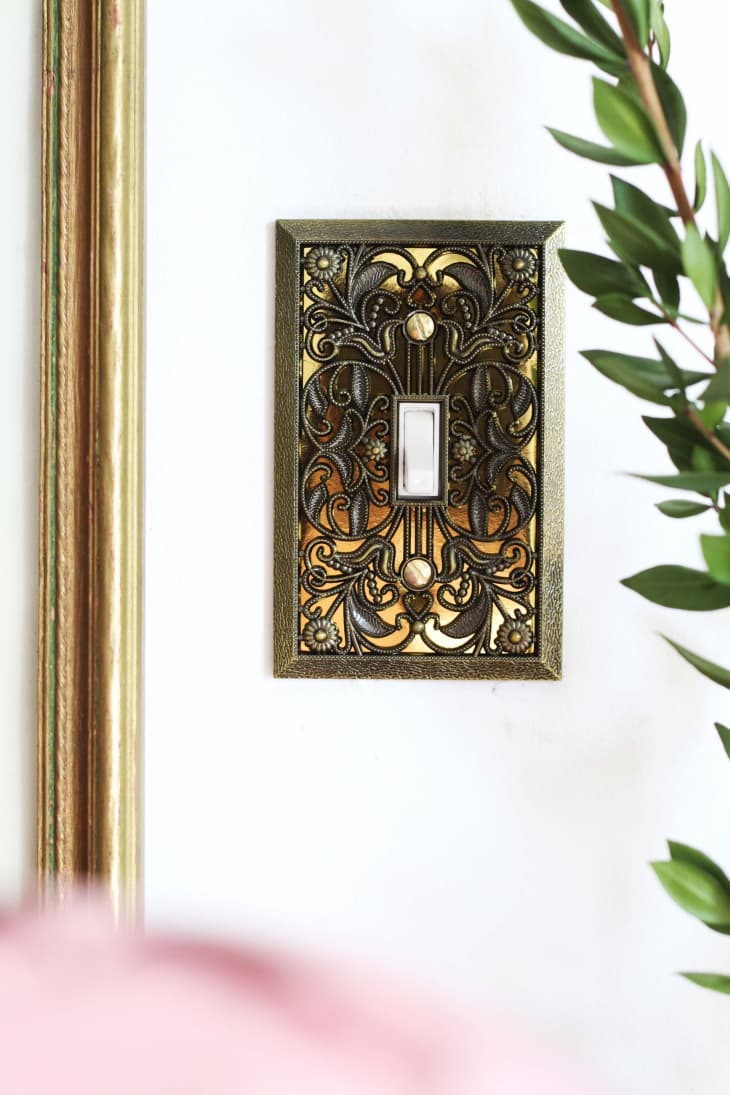
No matter how much effort is put into a well decorated room, an old yellowed light switch can totally distract from the overall design. At less than $2 a pop, you have no excuse not to replace them! It’s an easy, low budget fix that can add major appeal to a room.
What You Need
Materials
- Screwdriver
- Needle nose pliers
- New light switch
Instructions
Okay, so before you do anything, get to your circuit breaker or fuse panel and shut off all electric in the room where you are working. Flip the switch to be sure it is actually off. If you’re still uneasy, pick up a voltage tester to be sure the circuit is dead.
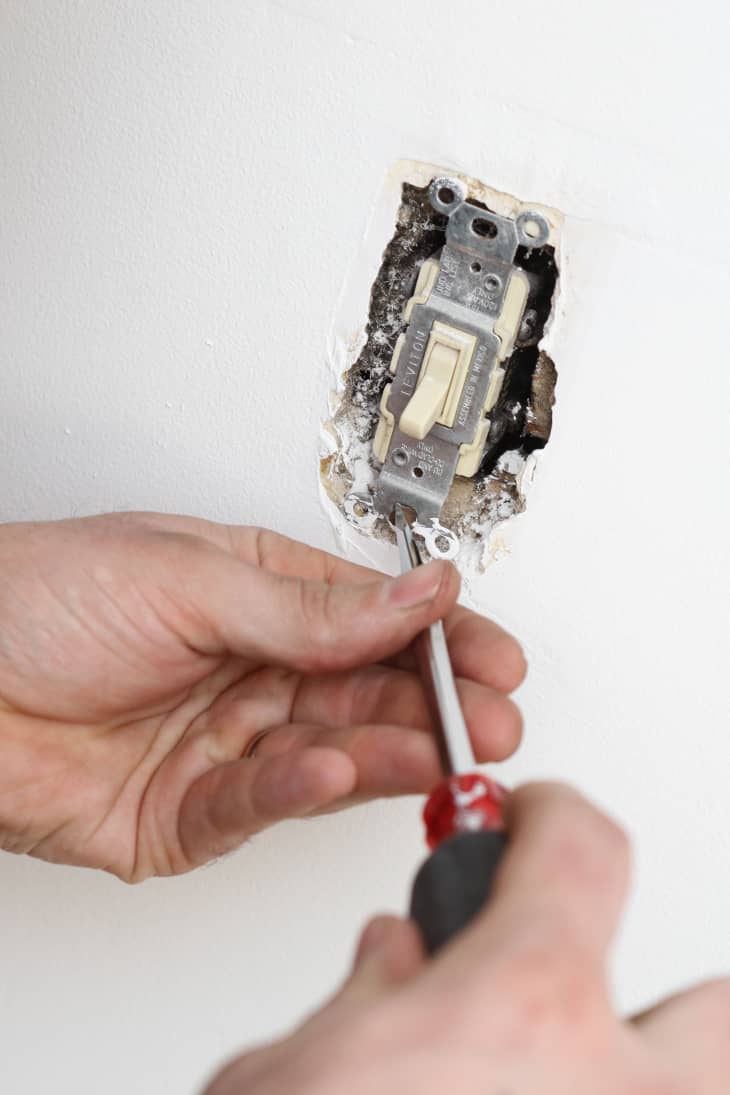
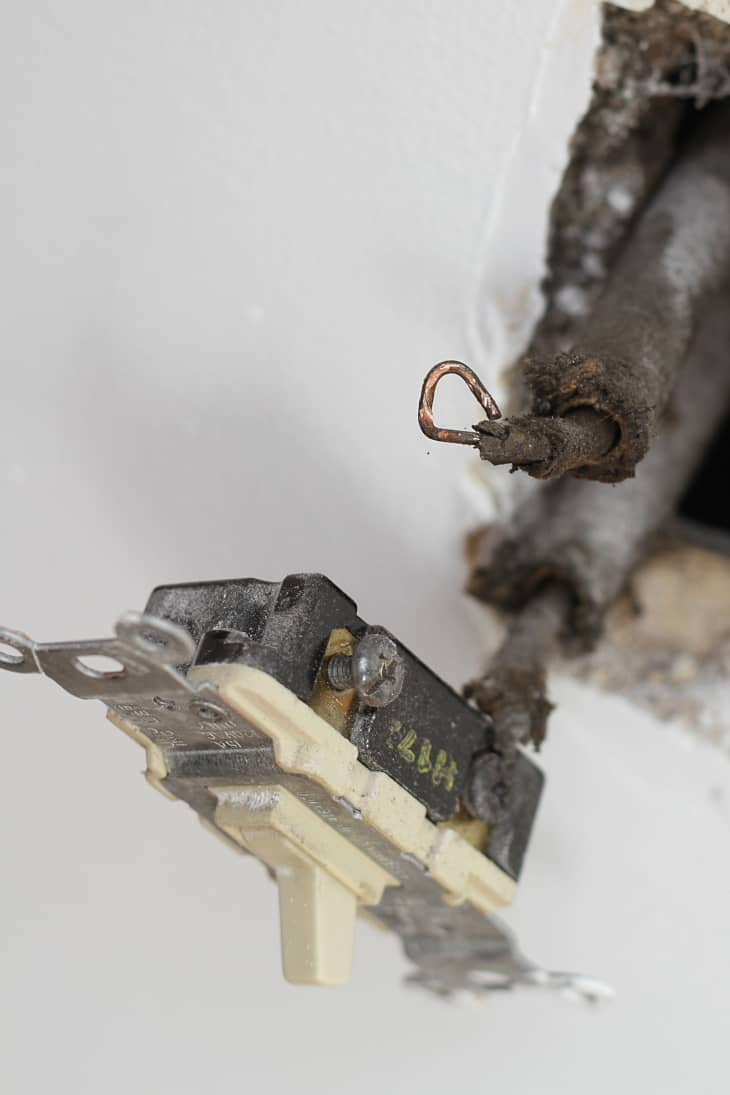
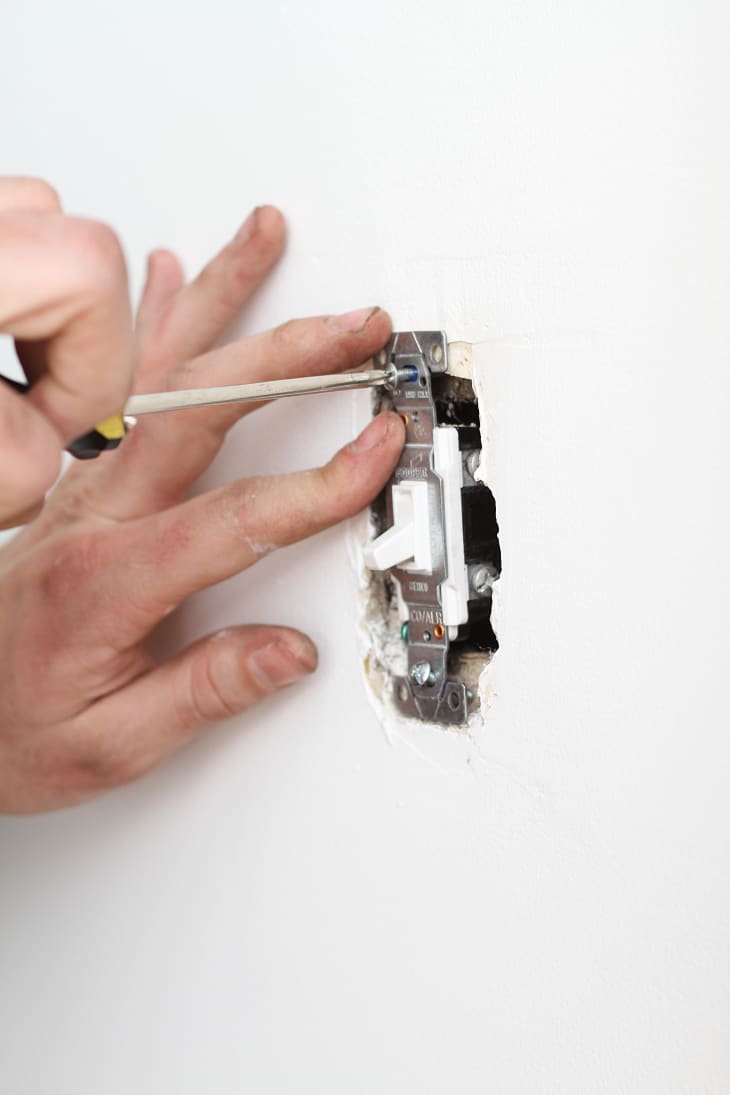
1. Unscrew the faceplate and switch and remove it from the electrical box.
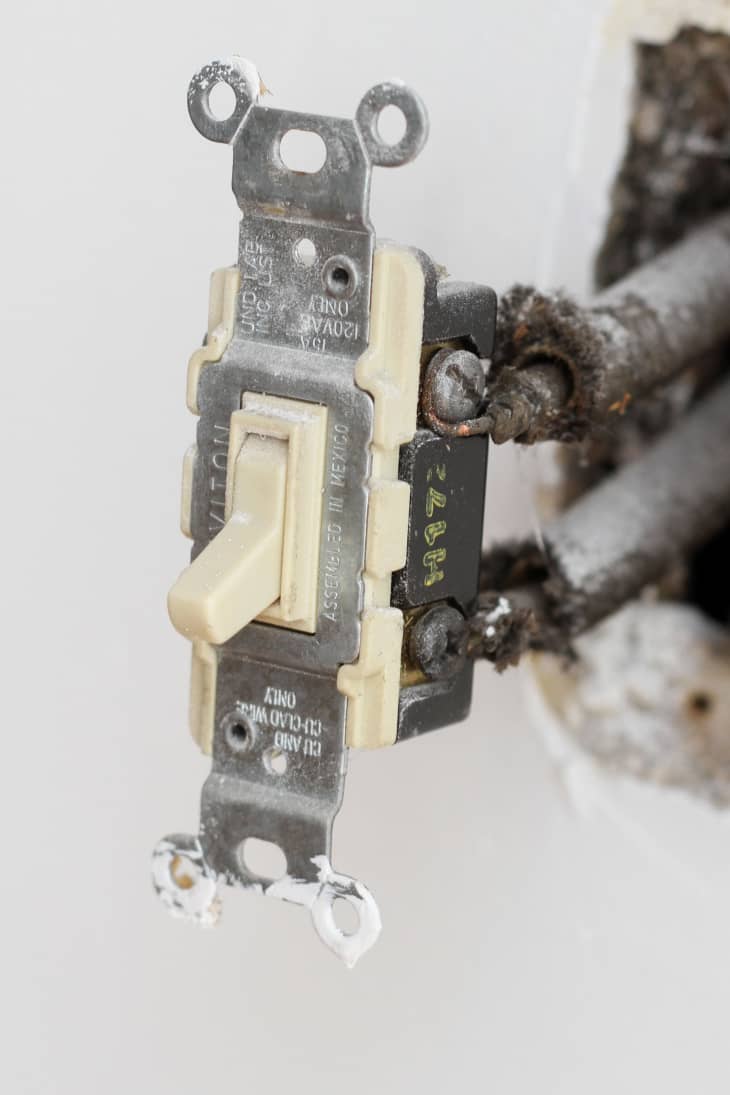
2. You’ll see a hot wire (black) a return wire (might be black or red, but not green) and possibly a grounding wire which will be copper or maybe green. Before loosening any screws or removing any wires, compare the old switch with the new switch. You might want to even take a photo for reference.
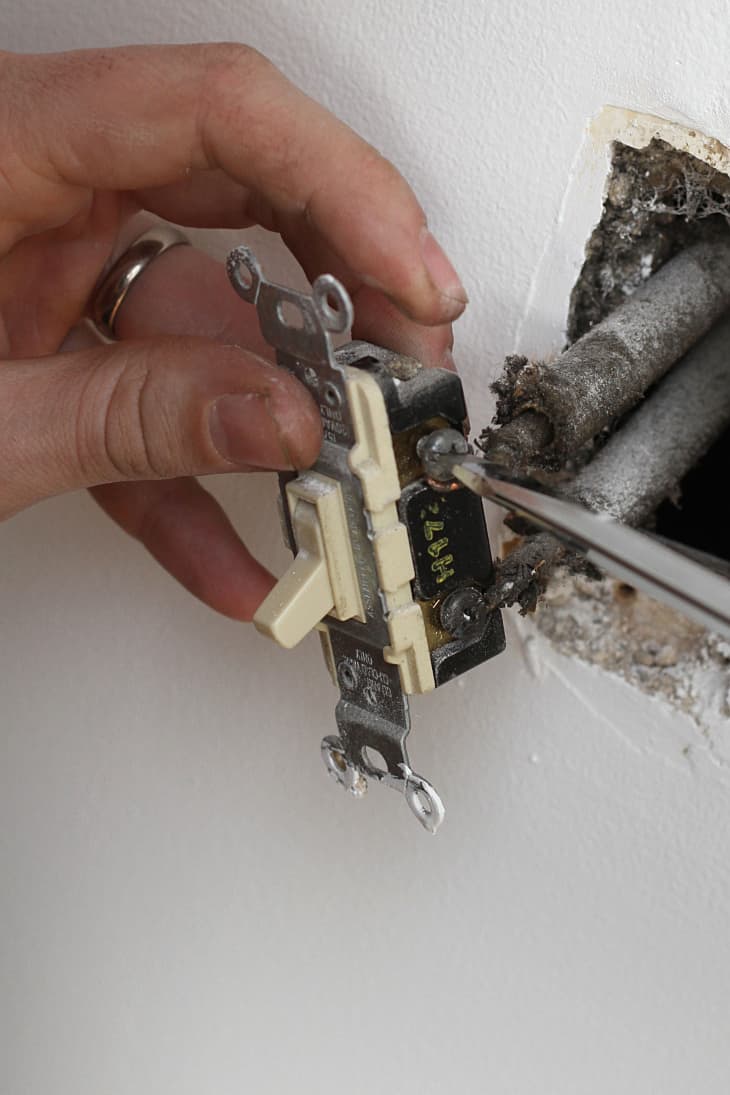
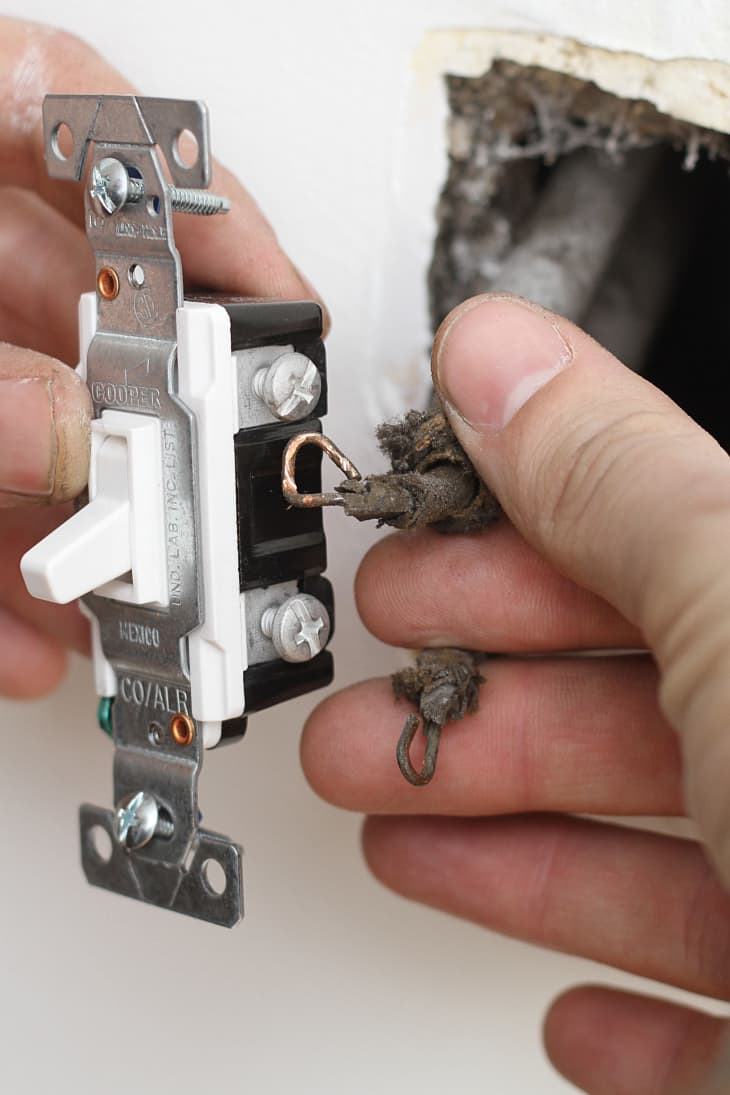
3. Loosen the screws on all sides of the switch.
4. Remove the old switch and begin to reconnect the wires to the new switch.
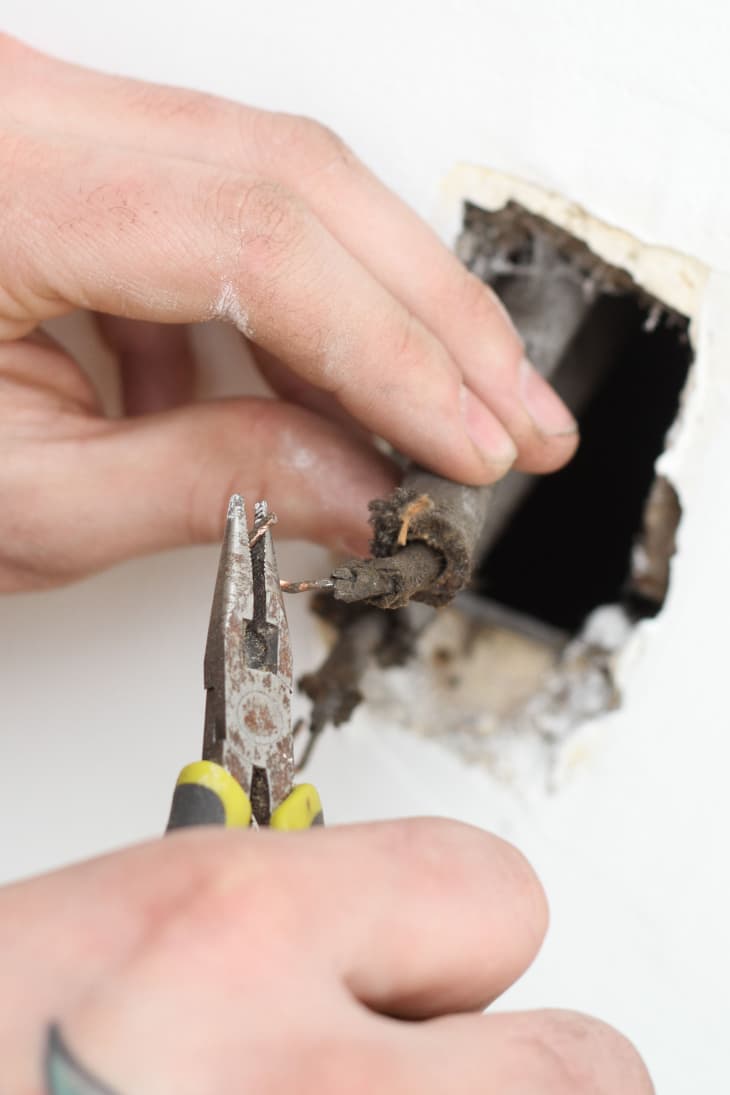
You may need to adjust the old wires to fit the new switch. Use your needle nose pliers to adjust the wires as needed.
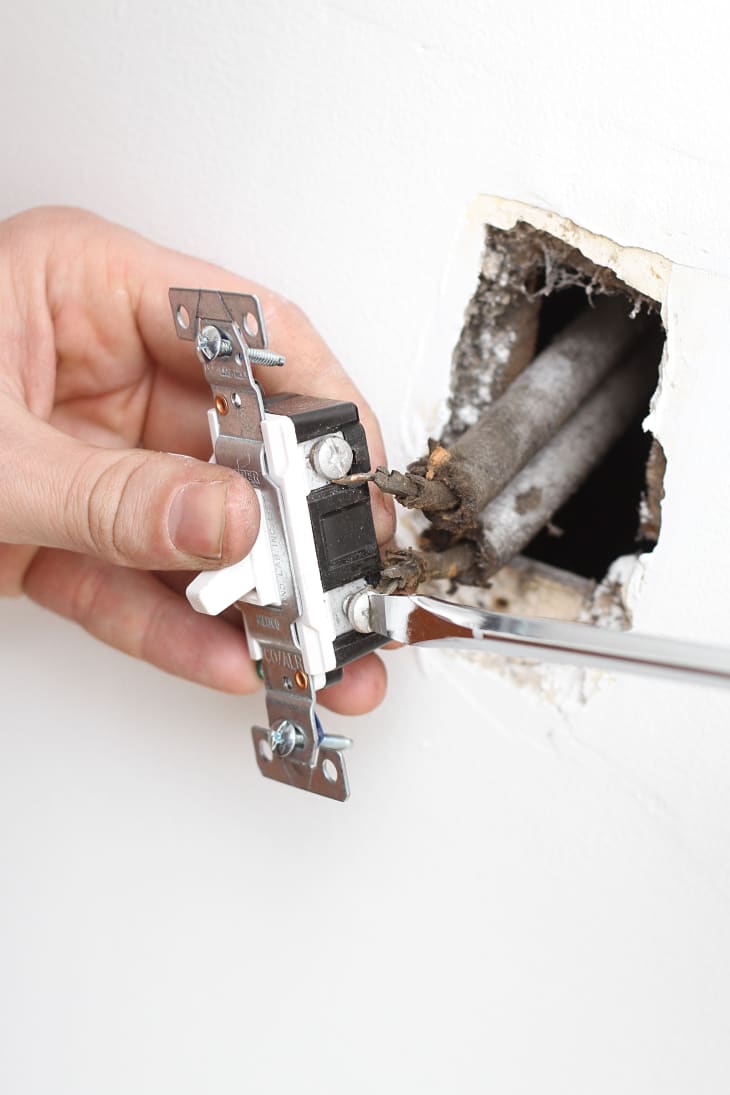
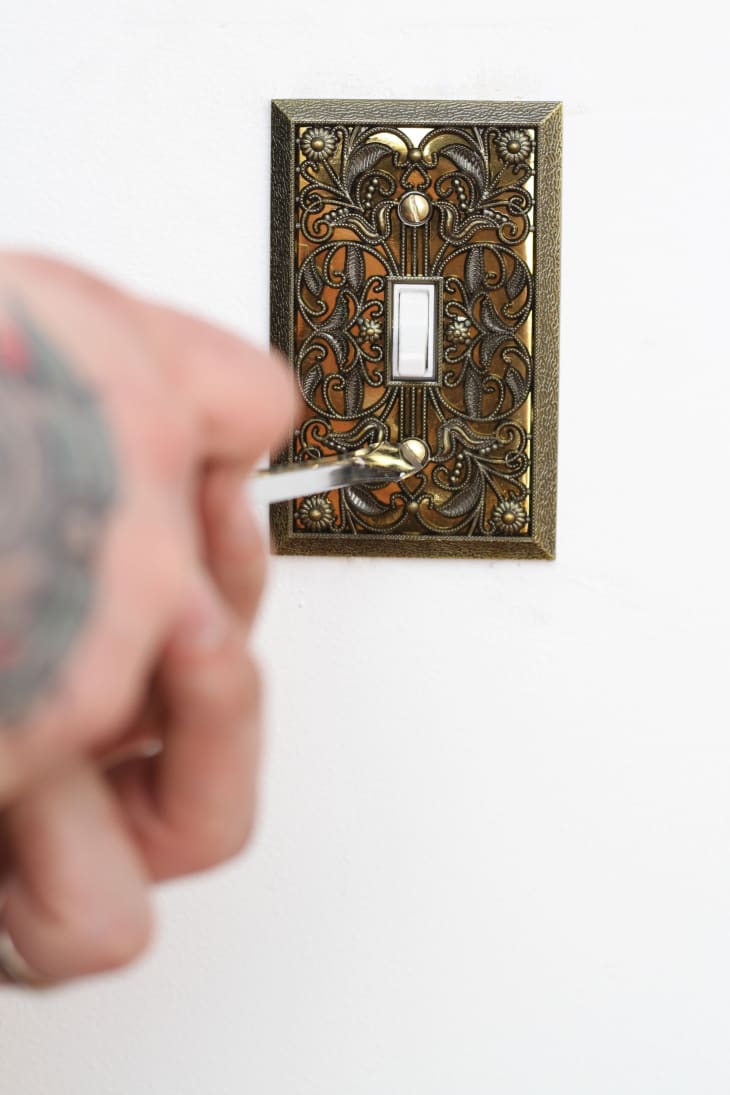
5. After attaching the wires, push the switch back into the electrical box and set the screws in place.
6. Attach the faceplate and you’re all set!
Have a really great DIY project or tutorial that you want to share with others? Let us know! We love checking out what you’re making these days, and learning from our readers. When you’re ready, click here to submit your project and photos.