How To Repot an Orchid
There is nothing more satisfying than watching an orchid send out its flowering spike — knowing that when you see the glorious blooms, it was you that helped it thrive to do so. And while we’ve shown you how to repot your houseplants before, orchids, well they’re a different sort of breed. Unlike your typical houseplant, potting orchids in soil will lead to root rot and one dead plant!
Orchids are either terrestrial or epiphytic. Terrestrial orchids are grown in the grown and are less common than epiphytic orchids. Epiphytic orchids, like the Phalaenopsis for instance, are grown above ground or on another plant but they do not obtain nutrients from the host plant. Most epiphytic orchids have thick roots that serve two functions; not only do the roots anchor the plant to the branch or rock, the roots also readily absorb any available moisture allowing them to survive in periods of drought.
What You Need
Materials
Orchid
Orchid container
Prepackaged potting mix for Orchids
Stake or clip
Tools
Sharp sterile razor blade, knife, or scissors
Alcohol (for sterilizing your cutting instrument)

Instructions
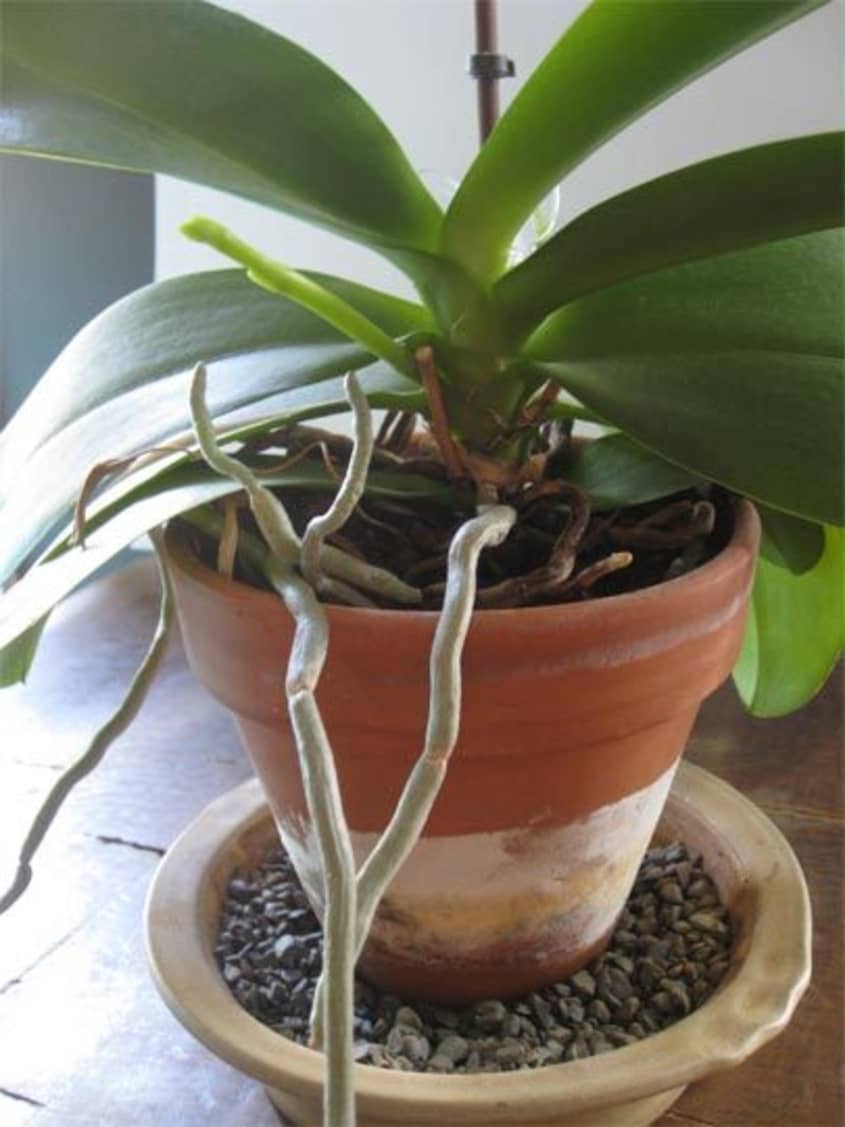
1. How do you know if it’s time to repot? Newly potted orchids should be fine in the current plant medium for about two years. When there are many, long roots dangling over the edge of the pot, this is a sure sign that you’re well overdue to repot. If your plant has just finished flowering or when new roots appear at the base of the latest growth, this is the perfect time. If your plant is currently in bloom, you should not repot. They should only be repotted after the flowering season is over!
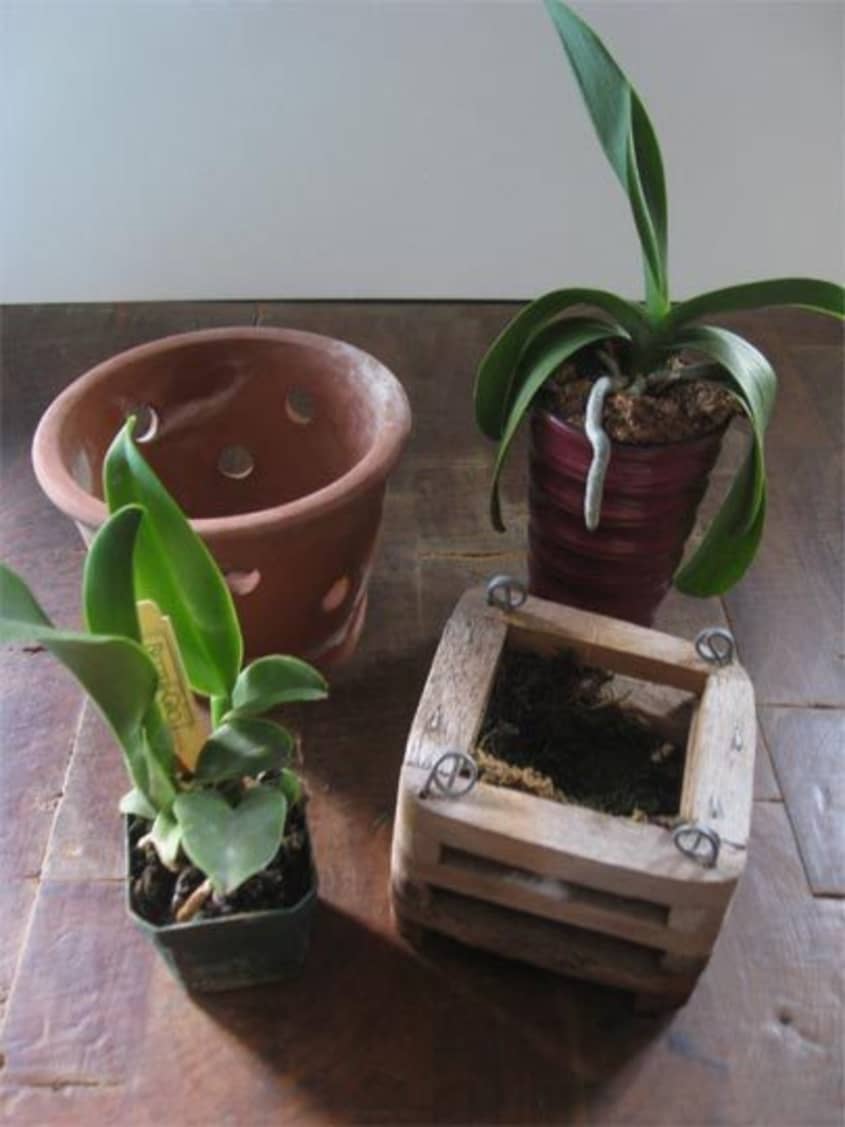
2. An example of an orchid that needs repotting, but because it’s sending out its flower spike, this orchid will have to wait until the flowering season is over.
3. There are many different types of orchid pots out there to choose from; from thrown clay pots to wood baskets. Choose a container just large enough to contain the plant’s root growth with an additional inch of space across the diameter. If your orchid loses many of it’s root during trimming (see step #7), it may be better suited in a smaller pot!
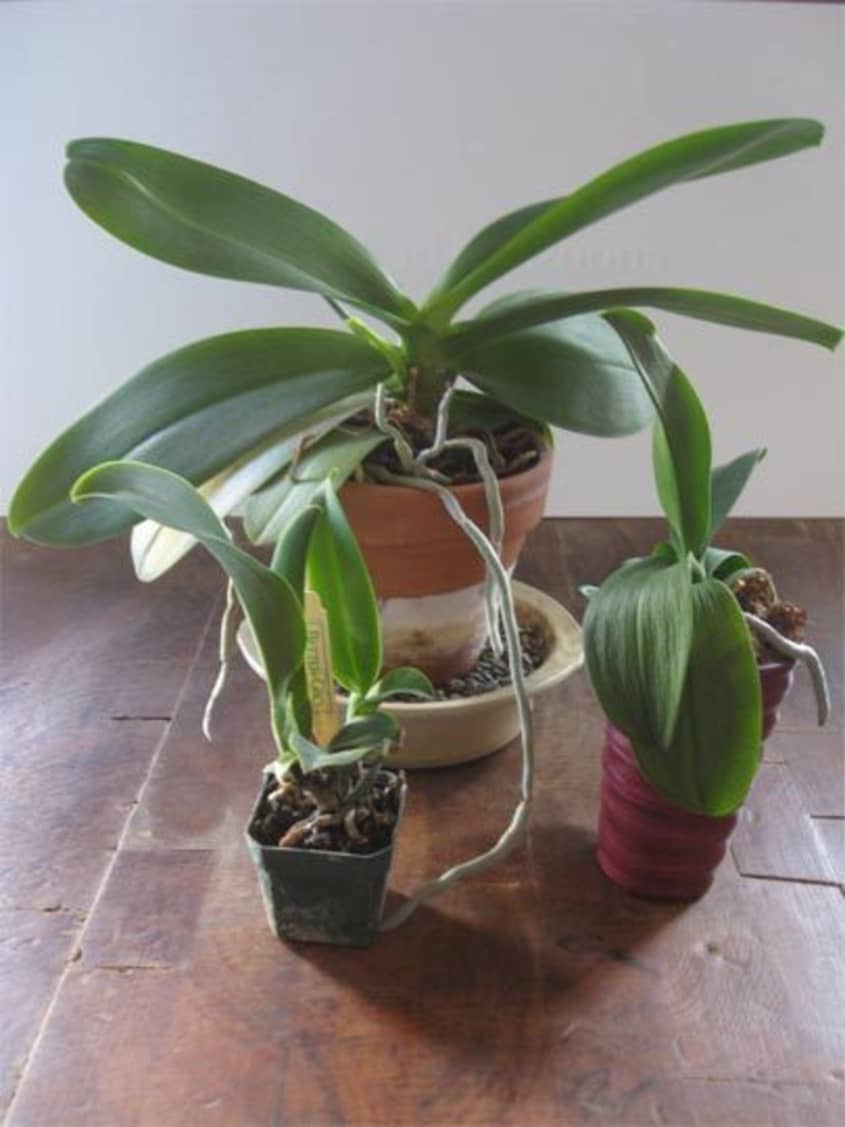
4. Two orchids to be repotted with their chosen containers. The orchid on the left is a cattleya, the one on the right is a phalaenopsis. Cattleyas, because they are a type of orchid that tend to have a creeping habit and like to climb out of pots, are perfect for wooden baskets.
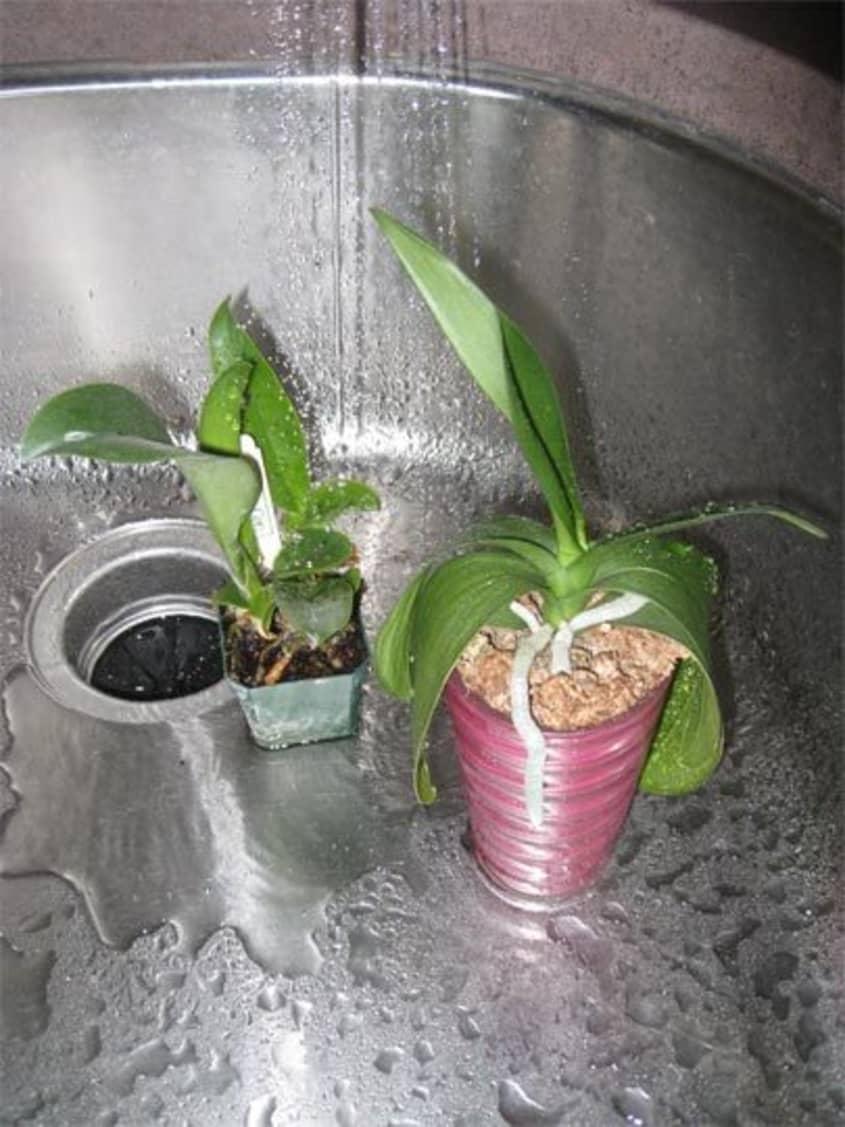
5. Before repotting, water the orchid so its roots will be more pliable.
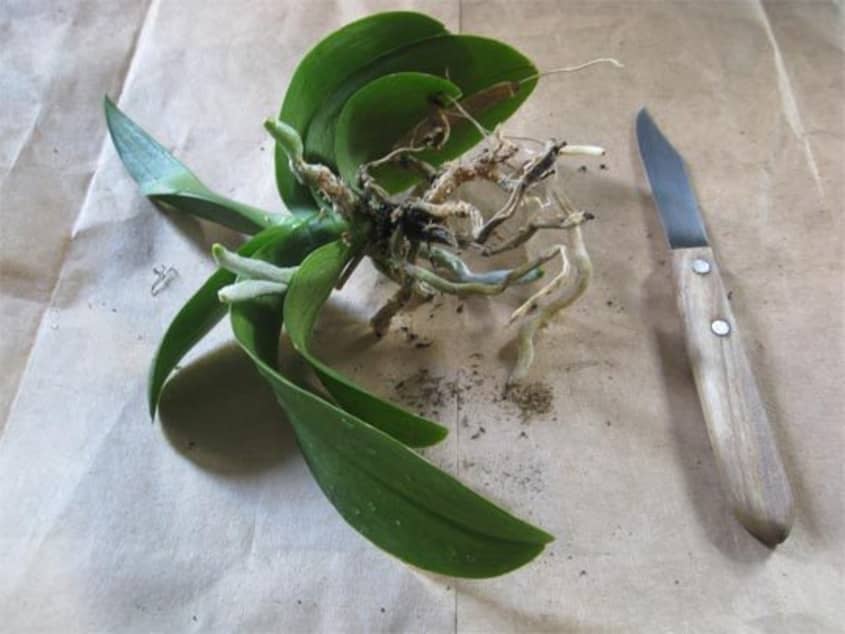
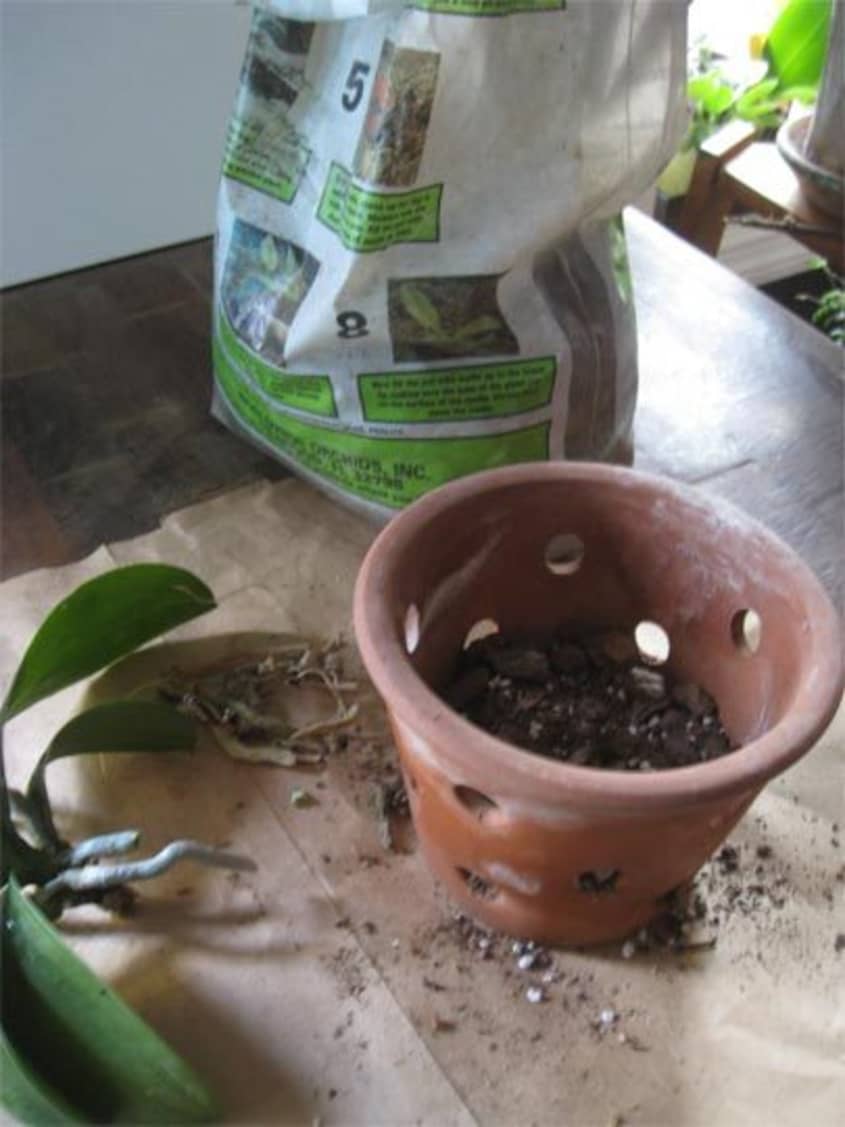
6. Carefully remove the old potting mix from the roots. The roots are fragile so take care to not damage the healthy roots during the process.
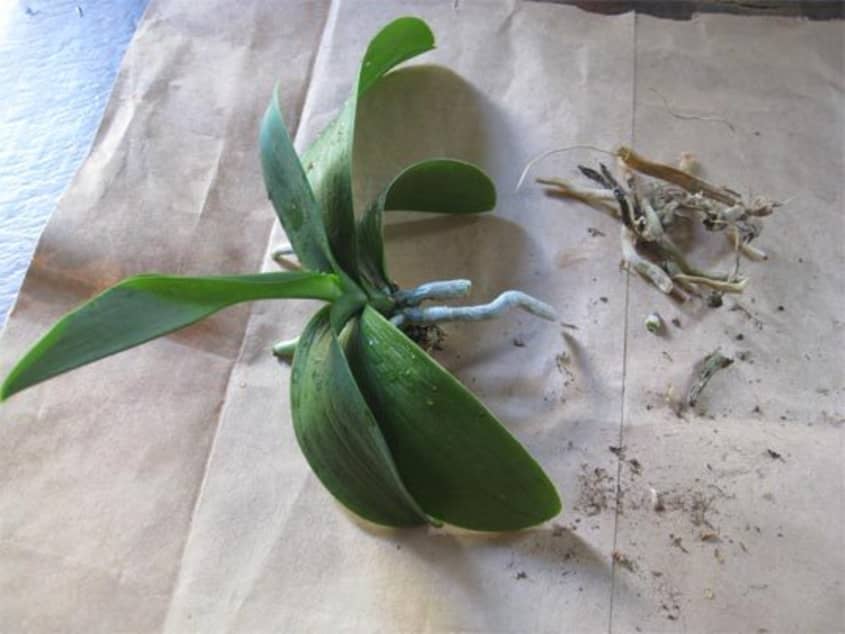
7. Trim any dead or damaged roots with a sharp, sterilized razor blade (a sharp knife or scissors can also be used). Be sure to remove all dead roots. They are easy to spot because they are usually dark-colored, soft and mushy. Sometimes they may also be dry, with a fiber running through the middle of the root.
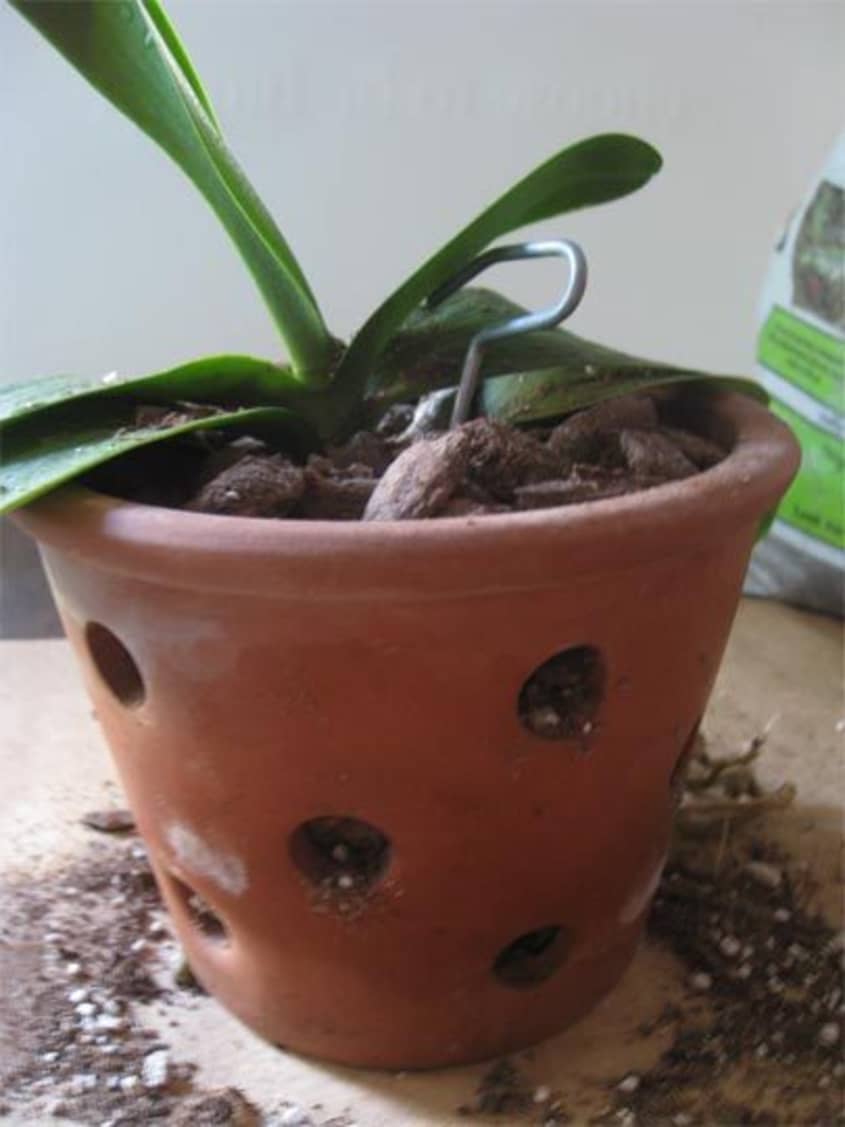
8. Fill the pot with an inch or so of the potting medium. Center the plant into the pot with the roots down. Add additional medium to the pot, spreading it evenly around the root mass, then tamp it gently on a hard surface to distribute the medium. Fill till the pot is full, and tamp again to settle the potting medium (the level of the medium should be just below the bottom set of the lower leaves).
9. Secure the orchid with a stake or clip to keep it from wobbling (masking tape can be used in a pinch). A plant that isn’t secure will be hesitant about throwing roots and establishing itself.
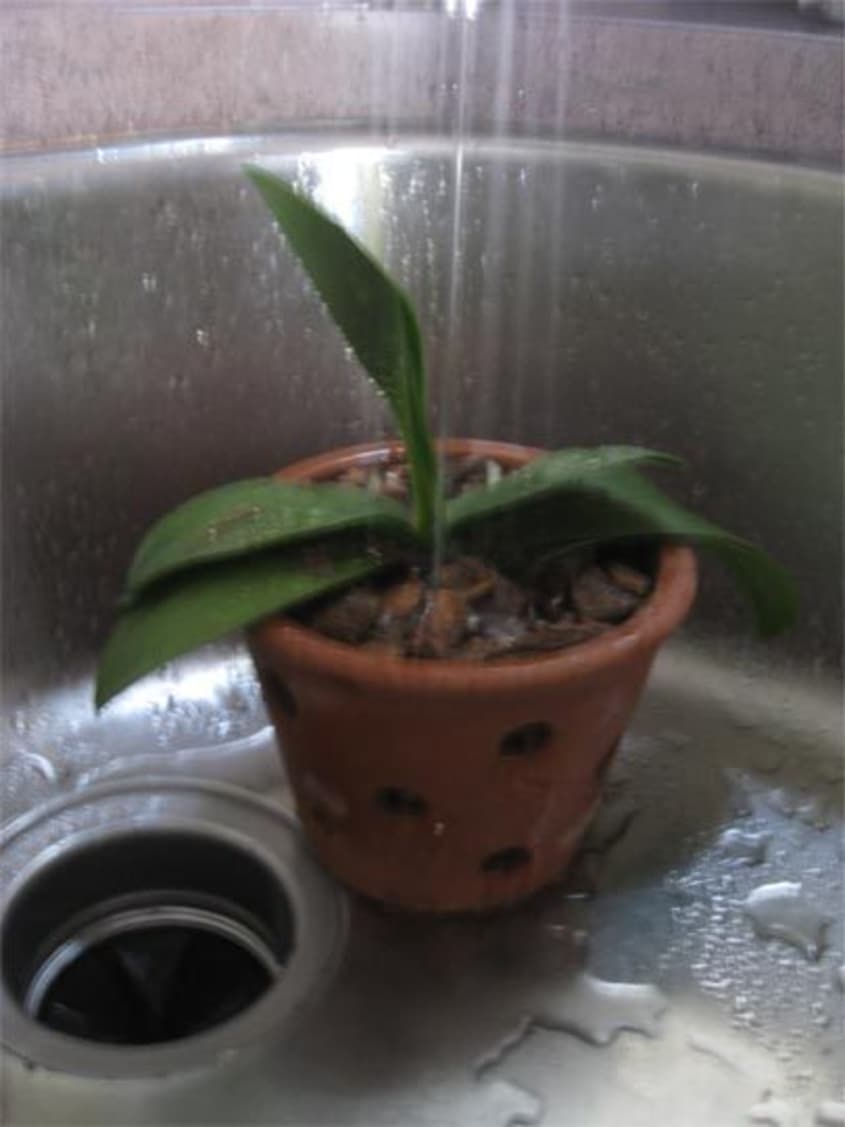
10. Place the orchid in the sink and run cool but not cold water over the new medium, avoiding any blooms if there are any (I do not recommend repotting a blooming orchid, but occasionally, this might be the case — a broken pot for instance). Once the water is running out of the bottom, allow it to drain.
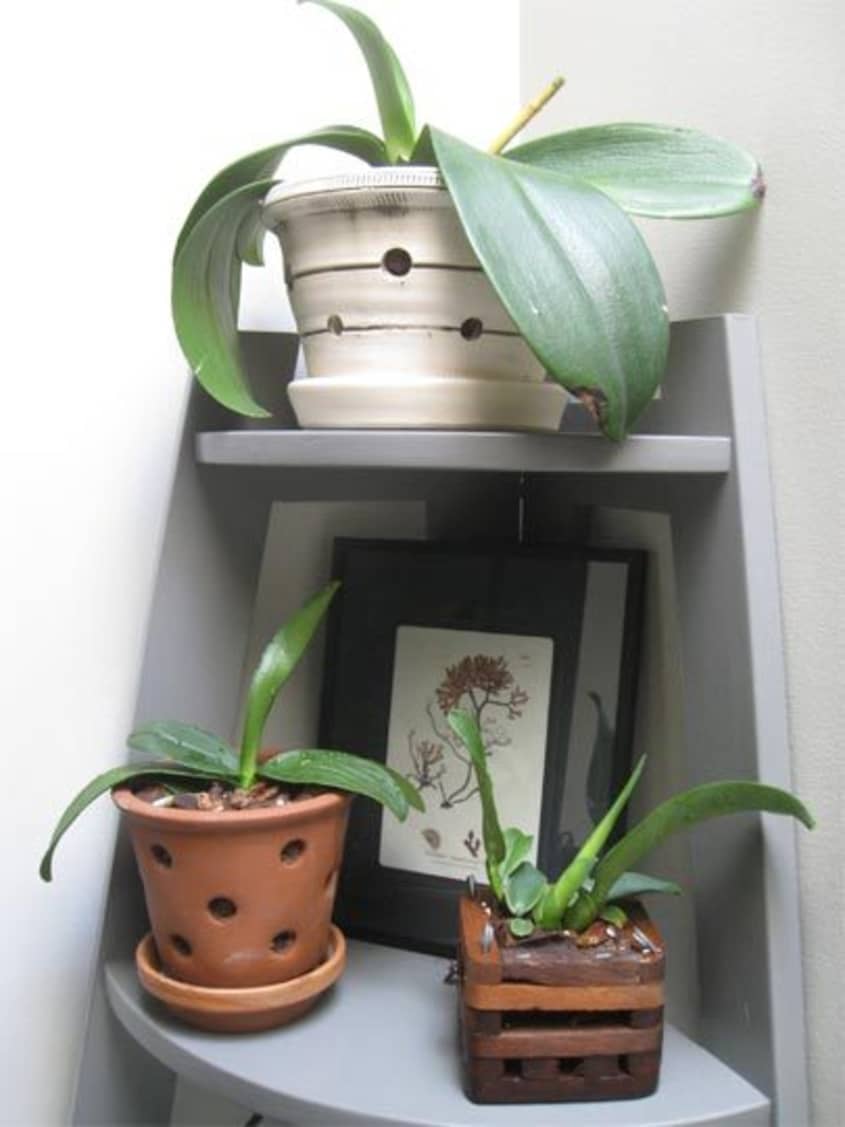
11. Since orchids prefer a humid environment, I always place my orchids on a humidity tray. A simple saucer filled with pebbles, filled with water works perfectly — just make sure the pot is sitting above the water so the roots are not subject to rot.
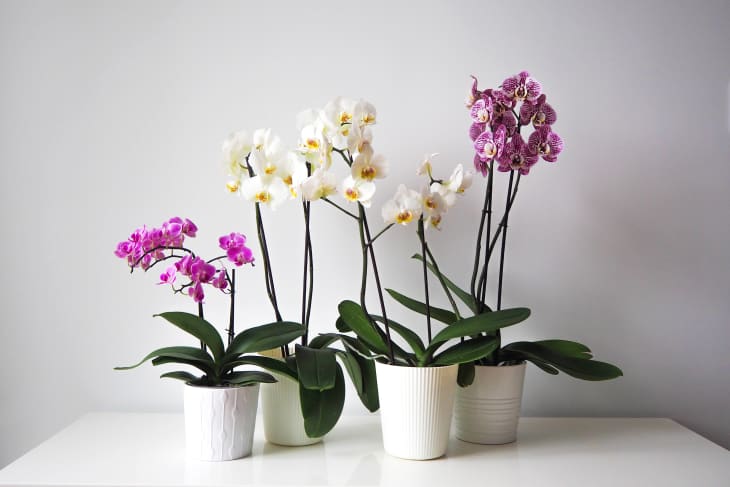
Additional Notes: If you’re new to the world of orchids and have a) never owned one or b) never had success growing them, I highly recommend starting out with a Phalaenopsis orchid (because of the shape of the blooms, these are also referred to as Moth orchids). They’re an easy variety to grow, with growing conditions fitting most home environments, and many will succeed in lower light situations. They also have showy flowers that can last up to nine months!