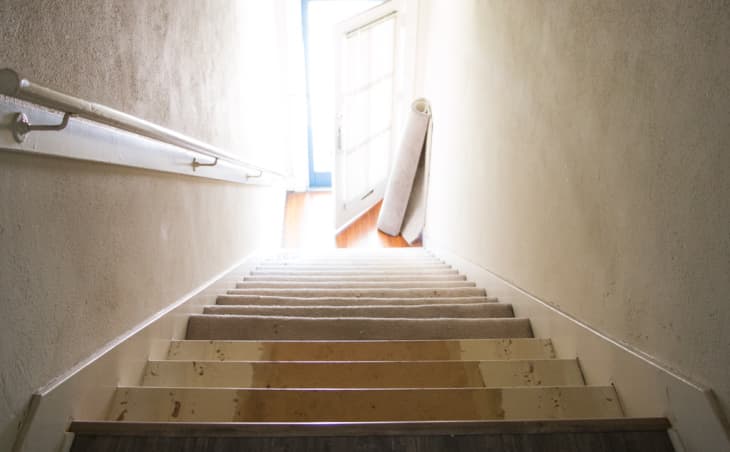
Real Life Rental Challenge: How to Strip & Refinish Carpeted Entryway Stairs

This week Camille is sharing her real life rental challenge and how she transformed her dingy carpeted entryway stairs (with her landlord’s permission!) into something more welcoming, yet still temporary. If you want to see the first post, check out the before photos here.
My husband and I decided to DIY this project ourselves, and broke it down into manageable steps, each of which could be completed in a weekend. Here’s how we ditched the carpet and got a better-looking set of stairs!
What You Need
Materials
- Paint – Farrow & Ball Wimborne White & Pink Ground in eggshell finish
- Primer – Farrow & Ball Primer
- Mild Cleaner
- Wood Filler
- Wood Glue
- Gloves
- Masks
- Crow Bar or Nail Remover
- Pliers
- Orbital Sander
- Block Sander
- Paint Rollers (both small and large)
- Paint Extension Poles (optional)
- Lock Jaw Tool Holder (optional)
- Paintbrush
Tools
Tip:If you are working with dingy decades-old old carpet, wear gloves and protective masks during the removal process. Ours was tacked down with staples and old nails, which stuck out from wooden carpet tacks along the edges of each step. Protection is important here.
Instructions
1. Remove the carpet by slowly ripping it from the staircase.
There should be carpet padding underneath.
2. Next, remove the carpet padding so there’s just the carpet tacks and nails that held everything down.
3. Using a crowbar or nail remover, rip out every nail and staple. The tacks are very hard to remove and require a lot of careful force to lift them up and out. Take breaks, because this process is very tiring!
Tip: Be very careful not to split the wood steps. Some cracks had already formed in ours, which made those areas even more sensitive when ripping out the carpet tacks and staples.
Use pliers to remove any staples.
4. Before you can paint, you’ll need to patch any holes. Wood filler is a great product for large nail holes and it’s pretty easy to sand away the rough edges when it’s dry. Use wood glue to seal these, along with any minor splits in the stair risers or loose molding on the staircase edges.
5. Sand out all the bumps, ridges, glue and filler residue with your orbital sander. We also used a block sander to smooth out the nooks and corners of the steps. To get this done quickly, we made it a two person job: one coming down the steps and the other working upwards.
Tip: Before you start painting, use a mild cleaner to remove any dirt and oil on the steps and walls. We let the walls dry for about an hour before priming.
6. Tape off all the edges along the molding trim.
7. Using a paint roller, prime then paint the walls. Since our ceiling was recently painted, we used a special paint brush holder to hold a small brush and paint the ceiling edges.
9. Next, prime the steps using small rollers for the majority of the step surface, then paintbrushes for corners and tight angles.
I used a paintbrush for the tops of the steps since it was a small area and split the work over two afternoons.
Tip: If you paint the risers and the steps two different colors, you have to tape off the border for painting the risers the first color, then shift the tape to paint the steps the second color. This is the most tedious part of the process.
