
4 Easy Ways to Take Better Photos of Your Space, According to a Vrbo Expert
If you’re deciding to list your home for sale or rent it out for a period of time, showcasing well-lit, clean, and properly staged rooms can make the difference in how fast it’ll get snapped up. Real estate professionals and rental platform experts know this, and have strong opinions on what makes a great picture. Read on for a few pointers before pressing that shutter button.
Make sure you have the right tools.
Having the right equipment is the first step in ensuring your home looks professional when listing it for sale or on a vacation booking site. “On Vrbo, photos help create an emotional connection with guests to show them what their vacation could look like, which results in more bookings,” says Alison Kwong of Vrbo’s partner success team. She highlights the importance of having the right tools, such as a digital single-lens reflex camera, or DSLR. Still, a fancy camera with a fancy lens isn’t always necessary — many smartphones can take high-resolution shots without hugely sacrificing quality.
Try your hand at home staging.
If you’re ready to get started with taking photos or hiring someone to do it for you, there are some key considerations for staging your space. According to Kwong, these are the most important:
1. Remove clutter. Pick up miscellaneous items in your rooms and straighten any crooked pictures or wall hangings.
2. Hide any personal items such as food, open board games, stray clothes, or other things that can take focus off the property.
3. Refrain from photographing people in your living spaces, as they can be a distraction. This includes reflection of yourself in mirrors when snapping pics.
4. Consider the weather. Avoid scheduling a photoshoot on a rainy day. You want to showcase your property in the best light.
5. Take a lot of photos. Vrbo allows hosts to upload 50 photos per listing. Don’t limit yourself to one photo per room or forget to photograph attractive amenities. The more photos guests or potential buyers have to scroll through, the longer they’ll stay on your listing page. This will also give them a better sense of what to expect.
6. Don’t forget the exterior. It’s important to capture the whole package. Be sure to photograph the pool, fire pit, or patio to play up a home’s strengths.
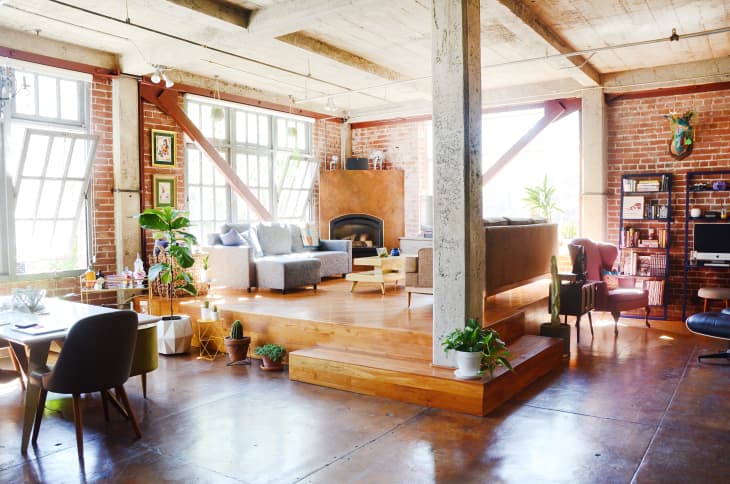
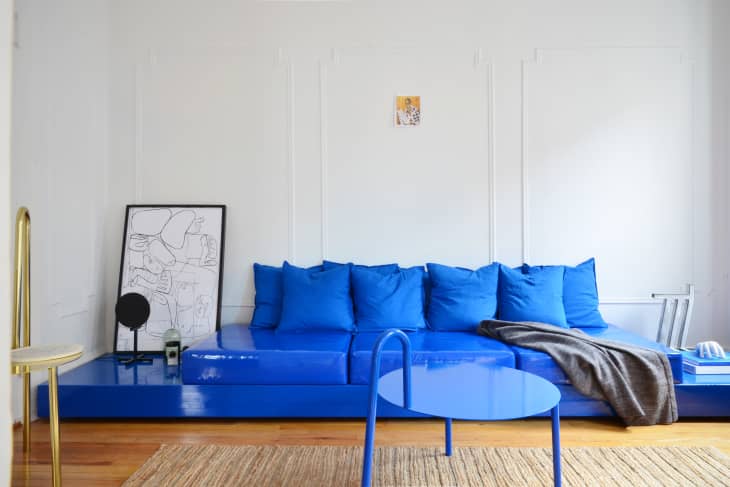
Go stand in the corner.
When taking photos of your space, try to focus on one room at a time. “Situate yourself in the corner when shooting to add depth, perspective, and a more accurate view of the space,” advises Kwong. “Ensure you’re taking photos with a wide view of the room. Don’t shoot ‘flat’ or directly onto the bed or wall, as this can make the room seem smaller than it is in reality.”
And if you’re shooting with your smartphone, always capture images in landscape view rather than vertical, Kwong adds.
Consider the time of day.
“Natural light is ideal, and you should plan your shoot for when natural light is abundant,” Kwong says, explaining that brighter, lighter spaces can result in a quicker booking.
If abundant natural light isn’t available, try to shoot at the brightest time of day, while turning all of the lights on in each room. Just be sure to avoid shooting at night, when darkened windows and yellowy-orange lighting can make a space seem smaller.