
How To Test for Lead Paint in Your Home
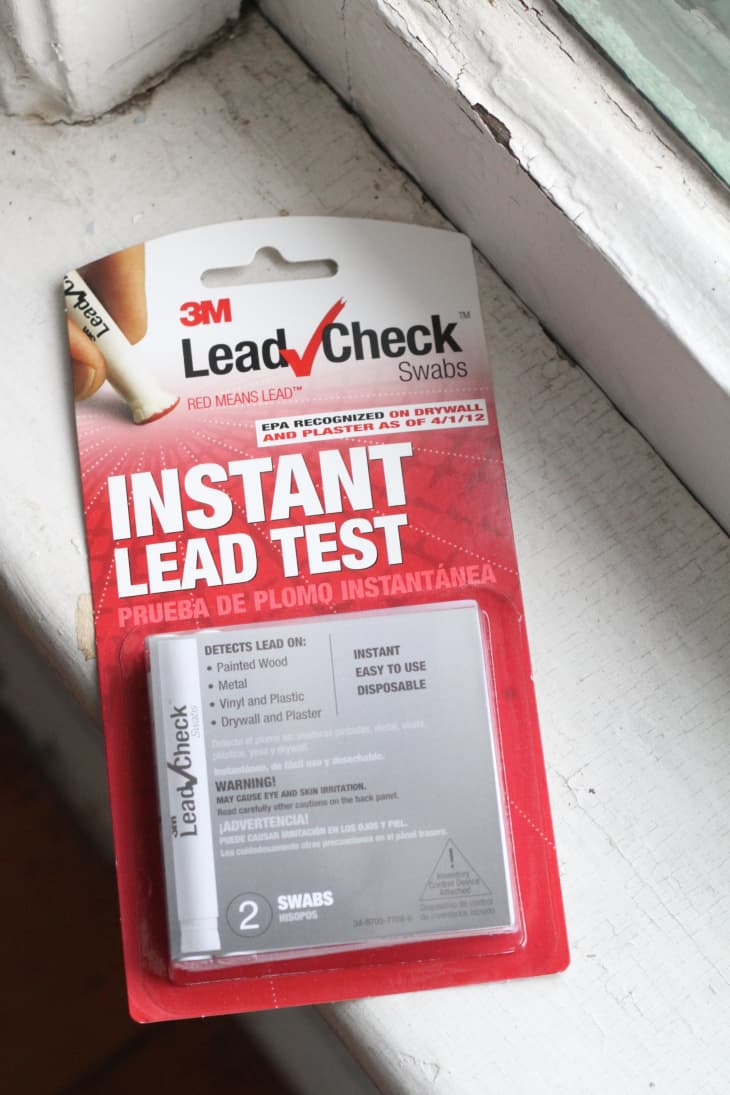
Lead paint is nasty stuff. If you live in a home built before 1978, it’s very likely that layers of lead paint lurk on the windowsills, trim around the doorway, or walls. Not knowing if you have it in your home is scary — especially if you are pregnant or have children — so it’s worth finding out. Inexpensive kits are widely available, and testing is easy, so fork over the $10, be the responsible human you are, and put your mind to ease.
Once you’ve taken the test, head over to our next post on What To Do When You Discover Lead Paint for guidance and next steps!
What You Need
Materials
Tools
- Utility knife
Instructions
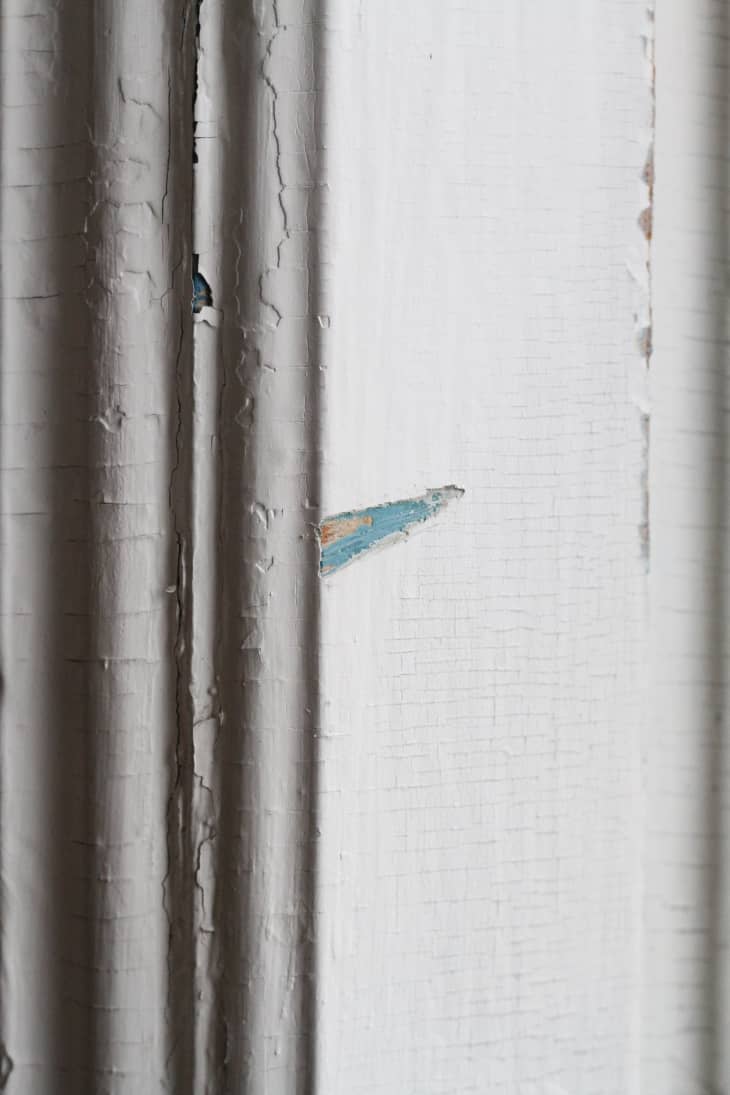
1. Specific instructions may vary from kit to kit, but the idea is basically the same: Using a utility knife, expose all the layers of paint down to the wood.
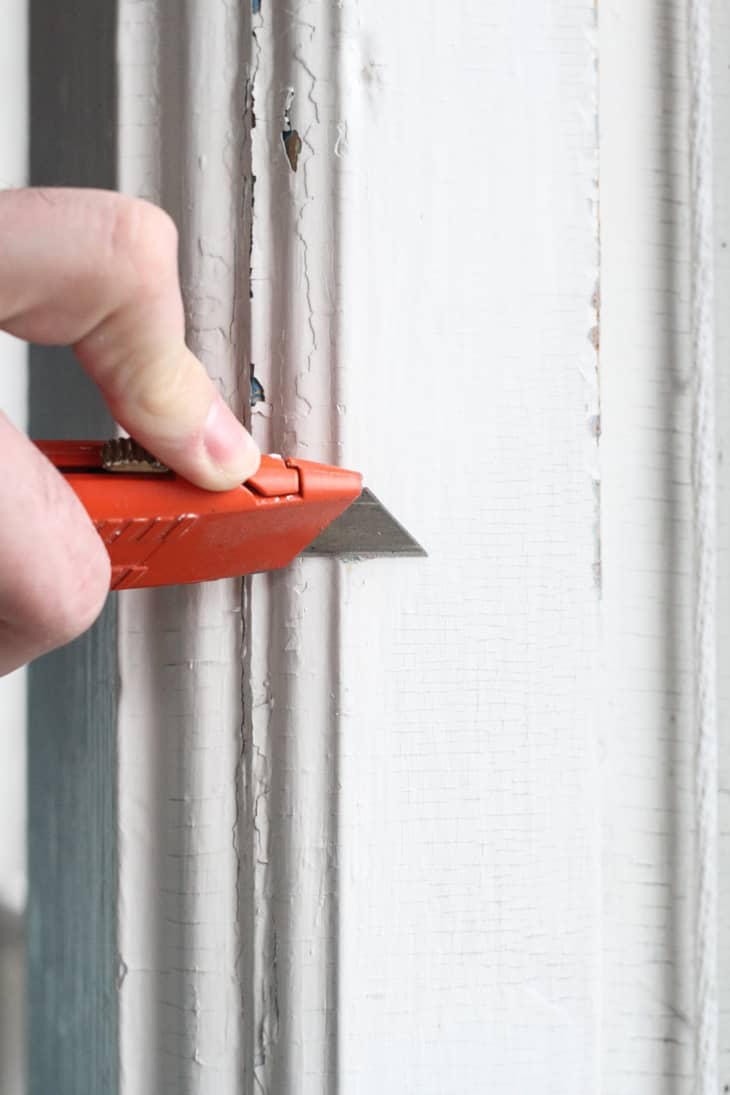
Be sure to hold your utility knife at an angle as you cut to expose each layer of paint.
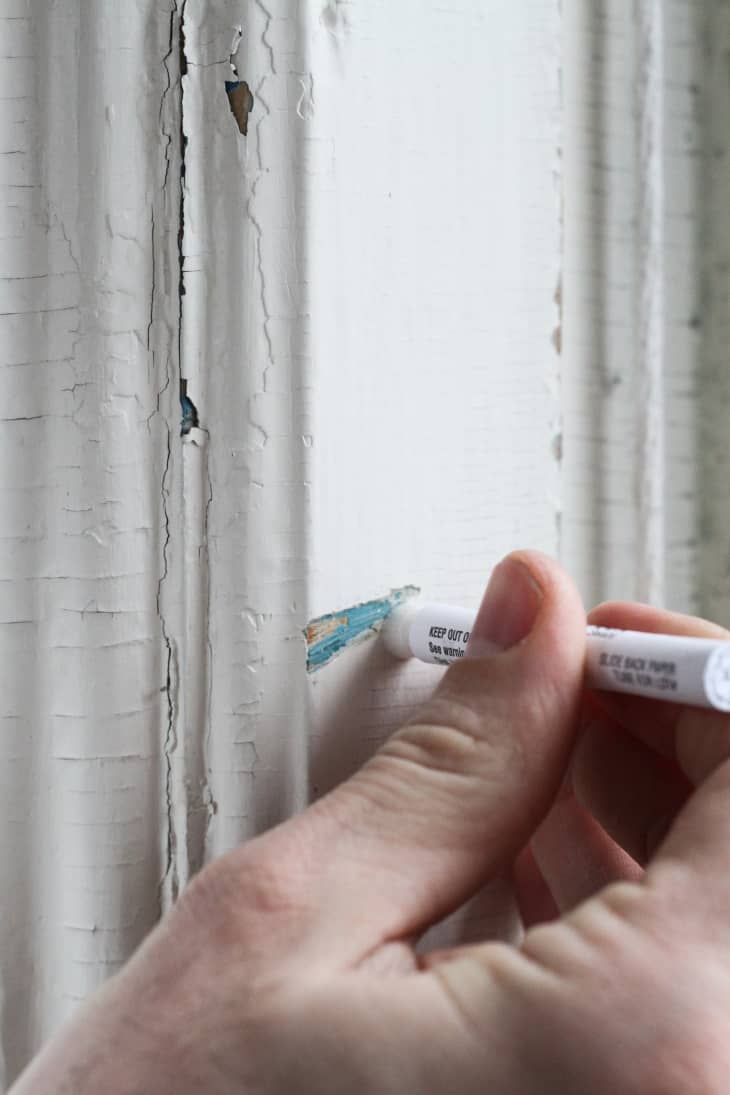
2. Remove the test swabs from the packaging and follow the directions for mixing the chemicals to activate for testing.
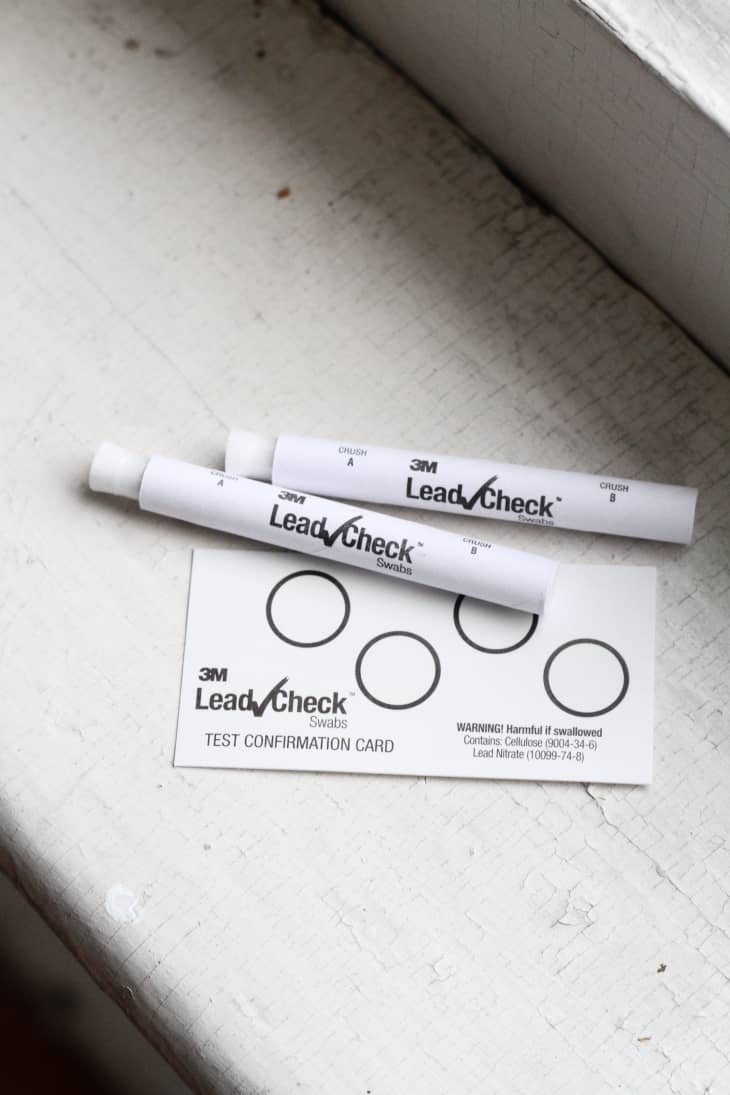
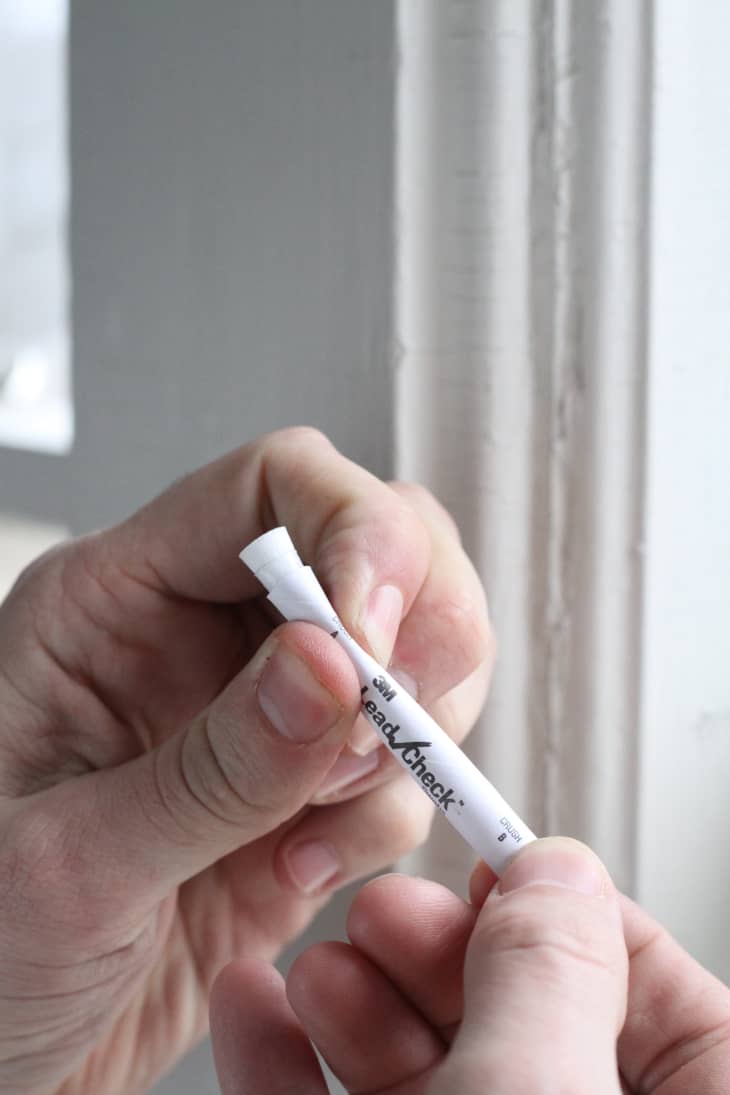
The 3M swabs have an “A” end and “B” end, each of which needs to be crushed to allow the chemicals to mix together. Gently squeeze each end until you hear the glass crush. Shake the vial to mix the chemicals.
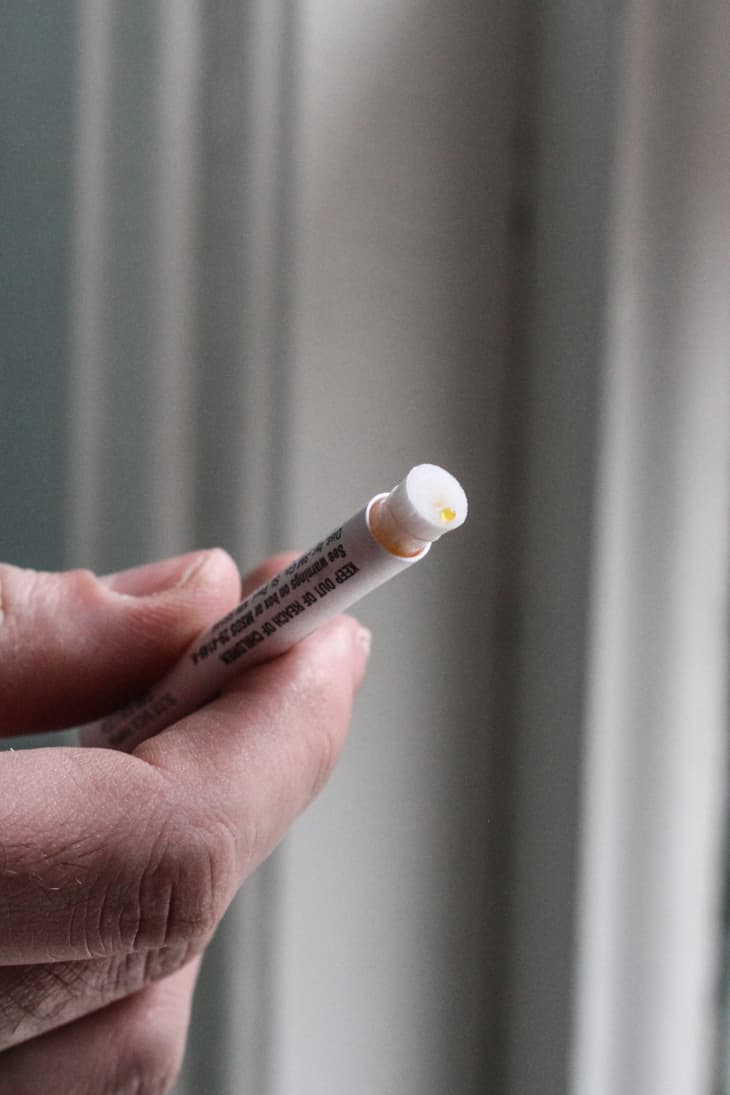
4. Gently squeeze the vial so the chemicals start to seep out of the applicator. The 3M chemicals are yellow, as shown in the photo below.
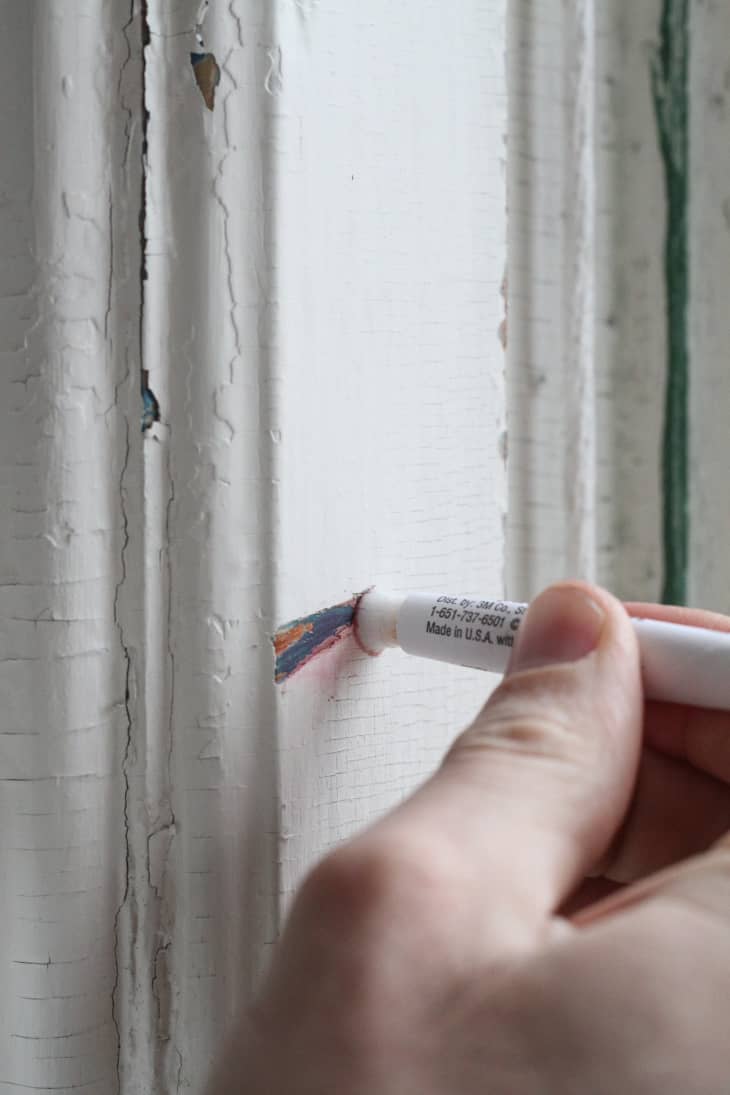
5. Rub the applicator swab along the exposed layers of paint, squeezing the vial to allow more chemicals to flow through the swab as you go.

6. If the swab and/or the chemicals turn red, you’ve got lead paint. If it stays yellow, you do not.
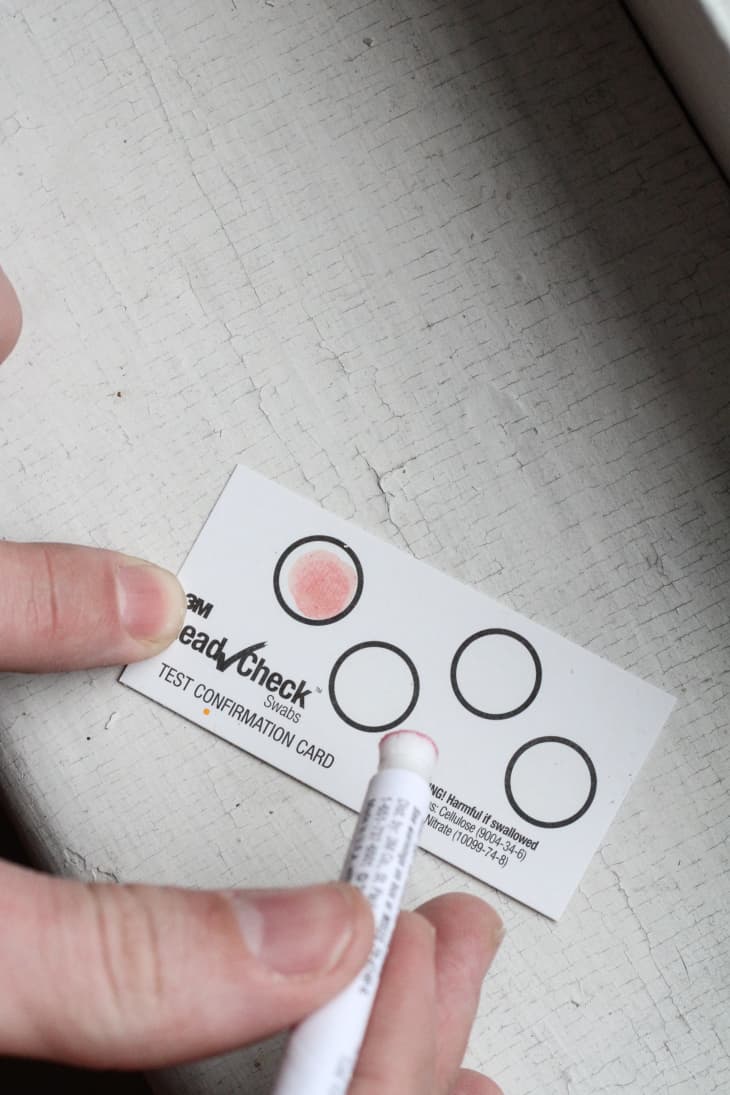
7. After you’ve tested the paint, dab the used swab onto the “test confirmation card” that comes in your kit. Again, if the swab detected any lead in the paint, the dab on the card will turn red.
Good luck!
Once you’ve taken the test, head over to our next post on What To Do When You Discover Lead Paint for guidance and next steps!
Re-edited from a post originally published on 4.30.16 – AL