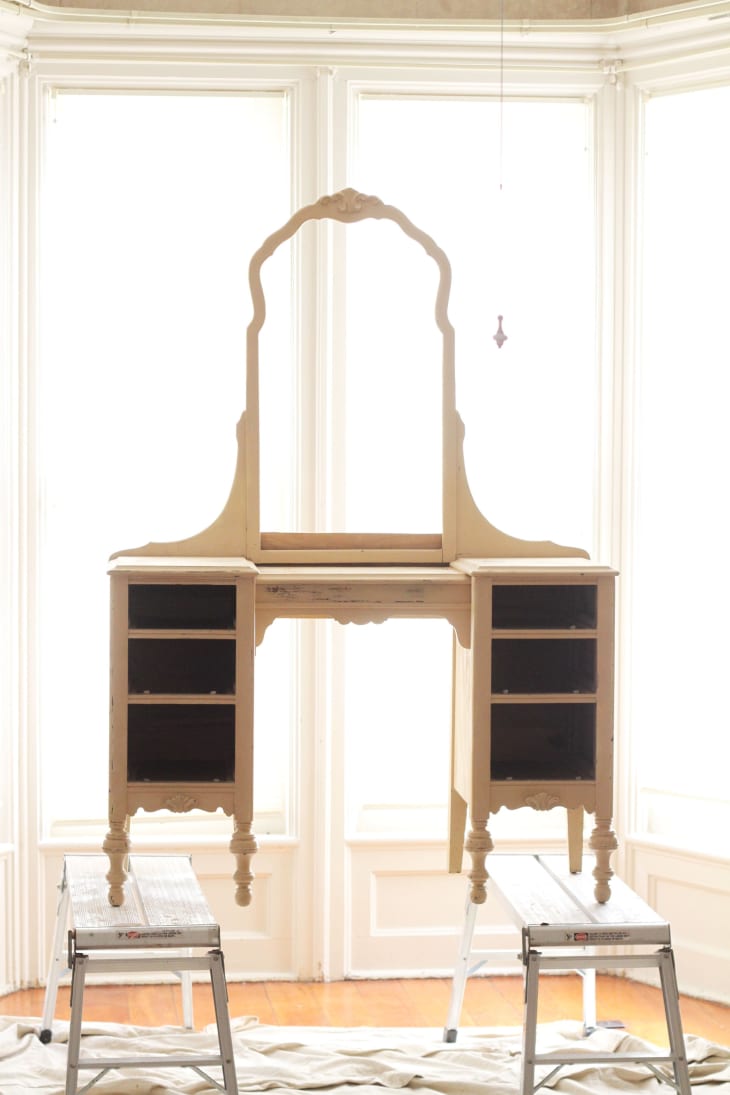
How To Turn a Vintage Vanity Into a Desk

For years, I’ve wanted to get my hands on a vintage vanity and re-work it into a really functional workspace. So when my mom texted me a photo of this little beauty from a yard sale, I knew the time had come!
One of the reasons it has taken me so long to pull the trigger on this project was because all the vanities I was coming across were in really beautiful condition. Since I’m not a fan of natural/warm wood furniture in my home and planned on painting my project, I patiently waited until the perfect imperfect piece came along.
What You Need
Materials
- Interior paint
- Chalkboard paint
- Masonite board or smooth plywood
Tools
- Medium grit sandpaper
- Jigsaw
- Paintbrushes
- Smooth surface paint roller
- Electric sander (optional)
Instructions
- For a really nice, smooth finish, and to be sure your fresh coat of paint will adhere to your vanity, give the old paint a good sanding. Get in close to all the ornate detailing, making sure to rough up all surface areas.
2. Prime and coat your desk with your new paint color.
3. Carefully remove the mirror from the frame and lay it flat on the masonite or plywood. Trace around the mirror, using it as a pattern to cut your new insert for the frame.
4. Use a jigsaw to cut out the chalkboard insert.
5. Coat with chalkboard paint.
6. Set the painted chalkboard backing into the frame and secure with a nail gun, or wood glue.
The total cost breakdown was $30 for the vanity, $10 for the chalkboard paint, and $10 for the white paint. I reused the drawer pulls, and coated the drawers in leftover paint from my walls in the room. While the final product ended up a bit more ornate than what I’m usually drawn to, I’m really happy with it! It fits my needs perfectly right now.
Have a really great DIY project or tutorial that you want to share with others? Let us know! We love checking out what you’re making these days, and learning from our readers. When you’re ready, click here to submit your project and photos.
