
Before and After: A $15 IKEA Find Is the Secret Ingredient to this $170 Glam Dining Room Refresh
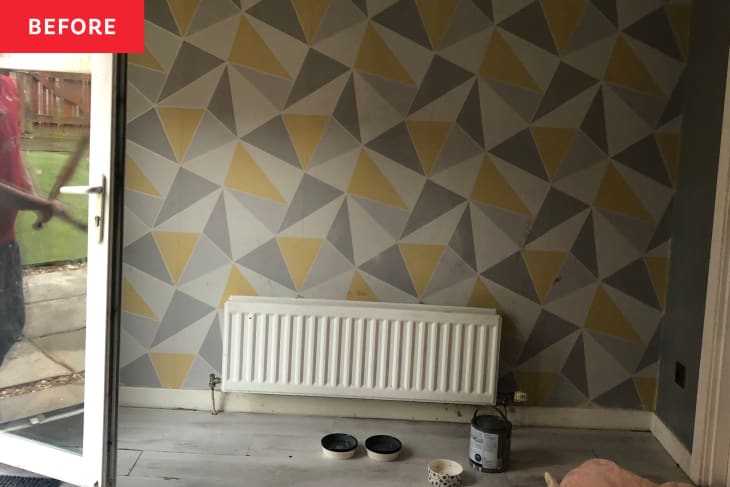
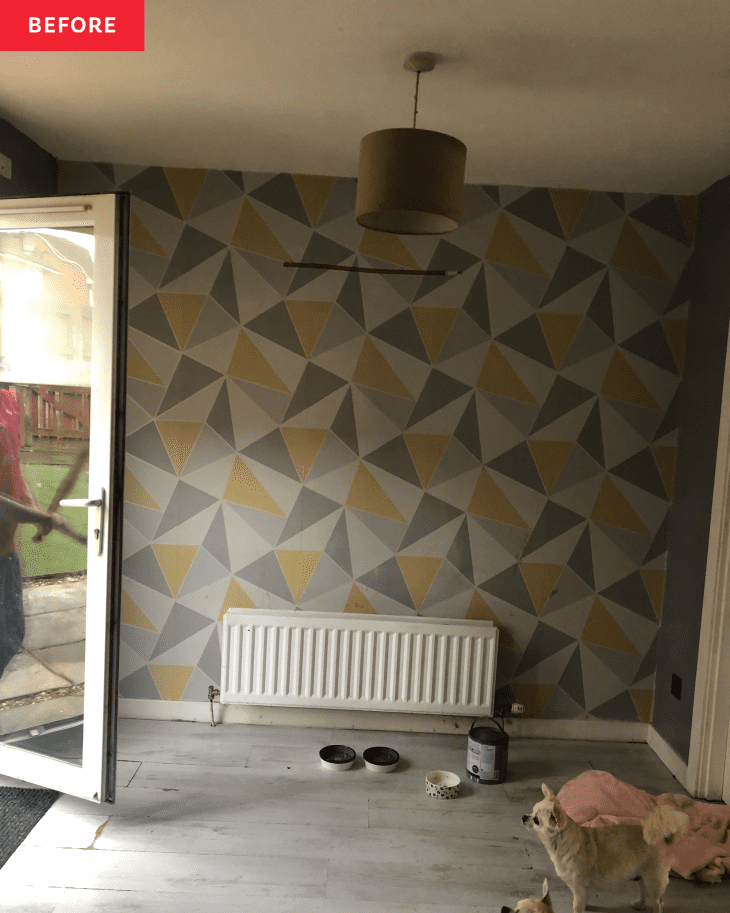
Want to give your dining room a five-star restaurant feel? Give it a luxe-looking light fixture and a glass accent wall, à la Ashley Donelli (@our_gaff_) and her partner, John. They were looking for a way to make their small dining room look and feel larger “and have it be a focal point as [the] house is an open plan,” Ashley explains.
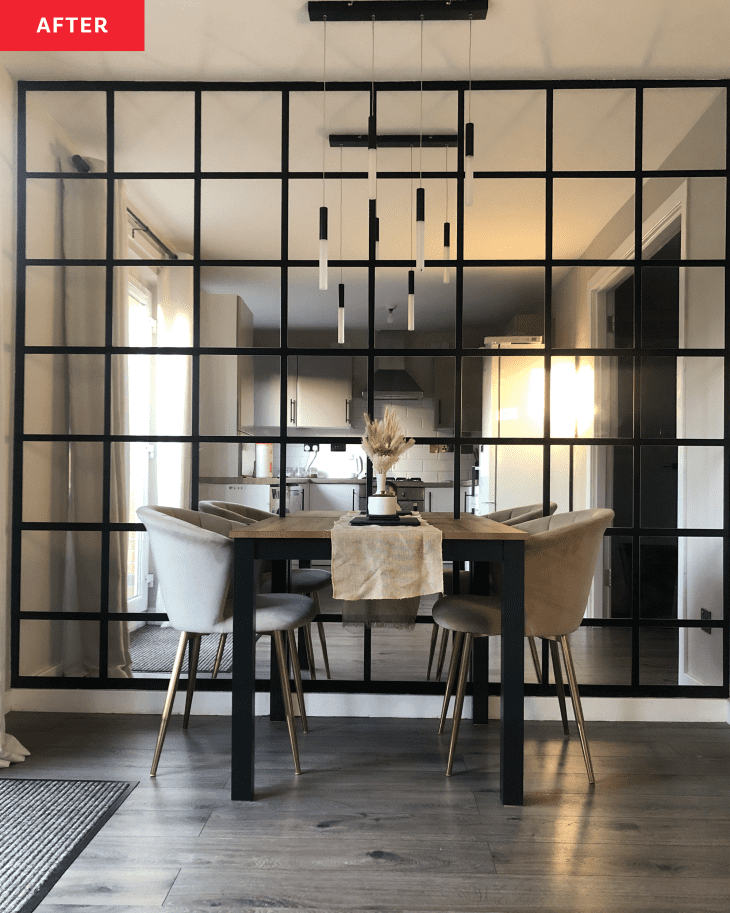
The statement-making solution they settled on: mirrors, of course. They used IKEA LOTS mirrors (similar to BLODLÖNN mirrors in the U.S.) and LONSAS mirrors that come in packs of four for $15 and $2.99 each, respectively, plus some moody, romantic restaurant-inspired black paint to complete the project.
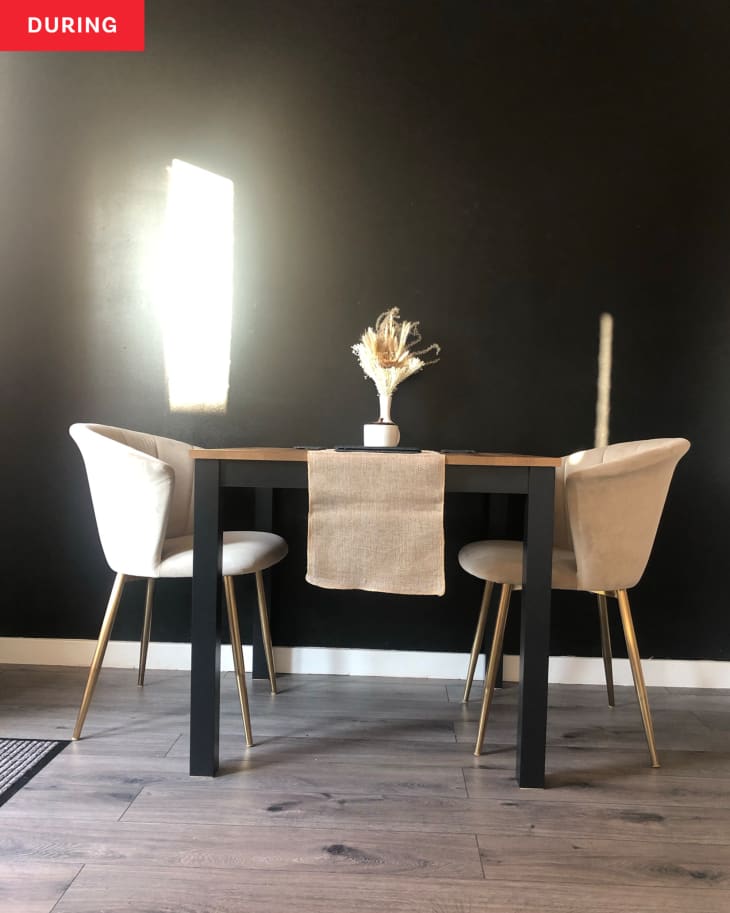
First, the couple removed the radiator from the area, and then they painted the walls black. The wall isn’t perfectly flush, but the black paint helps to disguise imperfections with the wall and the mirror layout, Ashley explains. And with this accent wall plan, it doesn’t have to be perfect. “Don’t overthink it, especially with the mirrors,” Ashley advises.
Ashley chose a basic black paint with a satin finish. “I think it looks good as there’s a slight shine from the wall between the mirrors, but it’s not too much,” Ashley writes on her blog. “I do think matte paint would be totally fine, too, though.”
“Once the wall is painted and dried and you’ve figured out your gaps, the next stage is starting to stick the mirrors to the wall,” Ashley writes on her blog. “This is the stage that we fretted about for so long as we didn’t want it to turn out a mess. In the end, John’s dad and his brother-in-law, Ryan, came and helped us.”
They first tried to figure out the mirror spacing by drawing it, but what worked best was lining up the first row of mirrors on the floor to see how many would fit with even spacing and going from there.
The IKEA mirrors they used had adhesive strips to attach the backs to the walls, and John, John’s dad, and Ryan used a laser level and meter sticks to make sure they lined up. They used 30-centimeter square mirrors for all of the top rows, and then on the bottom they used a pack of rectangular mirrors as the wall didn’t allow for a perfect grid. (Initially, the mirrors kept falling off, but pressing and holding the mirrors in place to allow the adhesive enough time to adhere fixed that issue.)
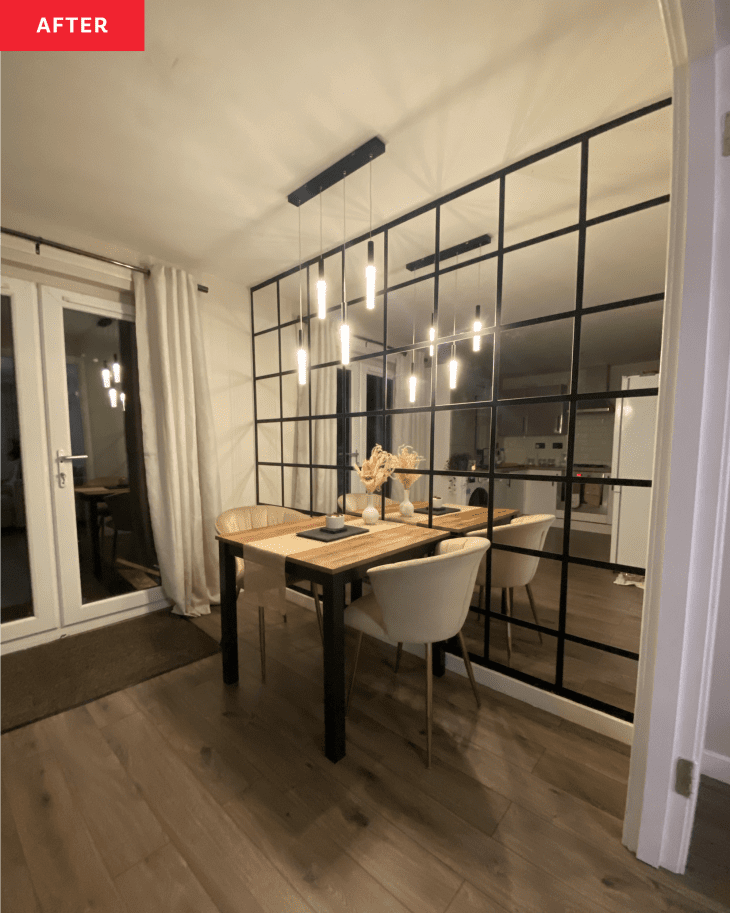
Once the mirror wall was complete, it was time to fill in the rest: a small square dining table, velvet dining chairs, table runner, and a modern chandelier overhead.
Ashley’s other advice for hiding slight imperfections with a DIY mirror wall like hers? Create the wall where there will be furniture up against it, like a dining room table (in her case) or a sofa in a living room. She also recommends doing it on a small wall.
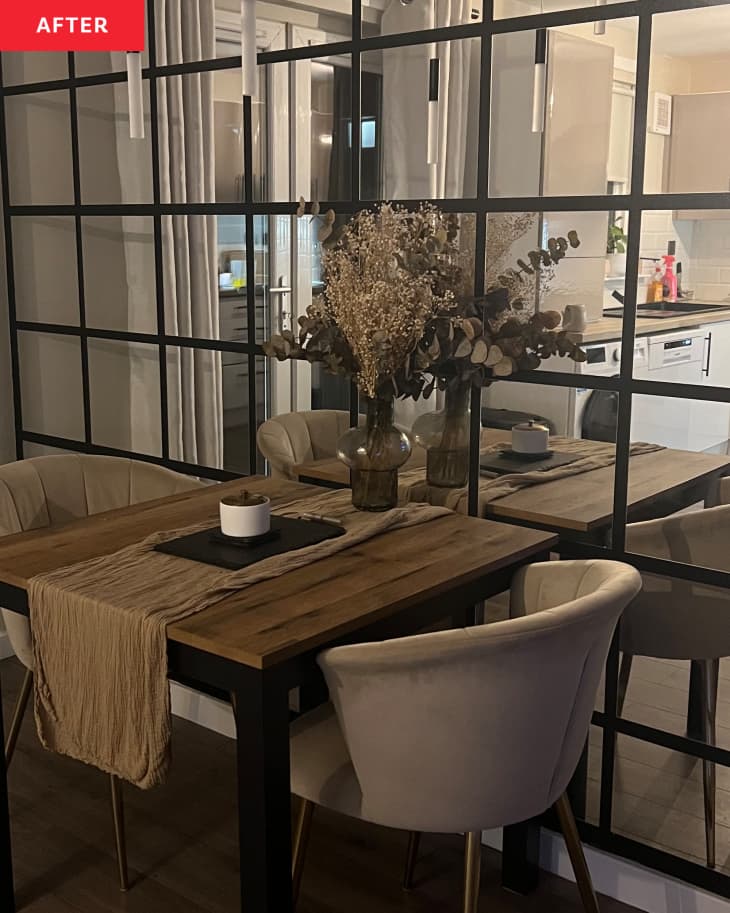
Her small wall revamp certainly created a large impact. She now has a restaurant-inspired space that looks larger (thanks to the mirrors, which add light and reflect the kitchen behind the table) and serves as a central focal point in the home. Not bad for a £150 (or about $170) project!
“It’s a great space now that we love to sit at and enjoy,” Ashley says.
Inspired? Submit your own project here.