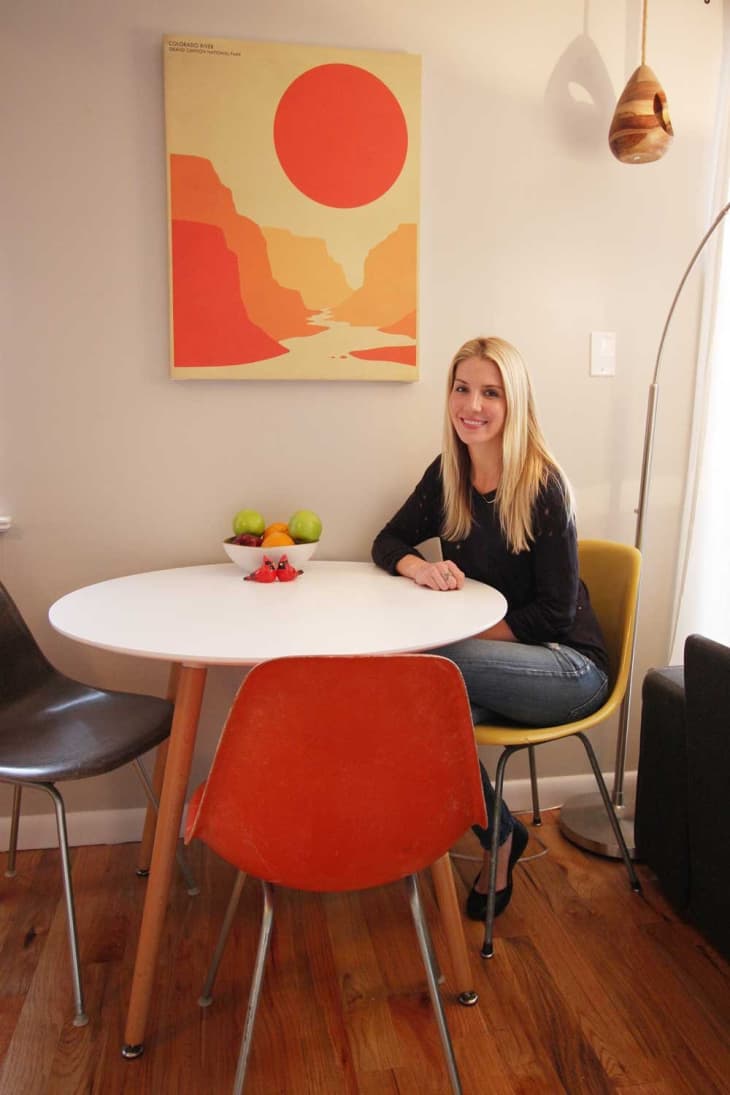
Kay’s Colorful Downtown Studio

Name: Kay Rozynski
Location: Lower East Side, NYC
Size: 300 square feet
Years lived in: Under 1 year; Rent
Location is everything, and Kay’s location is the bustling Lower East Side of Manhattan, home to some of the world’s best places to eat, drink, and be entertained. Her home is a modest 300-square-foot studio, but with her eye for layout and design (she has a leg up as a designer herself), she has partitioned the area into semi-separate living areas to create a warm and welcoming space that feels larger than its square footage would have you believe.
Kay explains:
“I grew up on Long Island and my parents were very strict about doing chores and helping around the house. My dad always had me working on one project or another and I’ve done everything from installing crown moulding to building bed frames with him to repainting the deck, so I am no stranger to DIY. For me, the fun in design is in the process of doing it, and over-thinking things kills the magic. I love starting with one piece I know I have to have and building around that. For this apartment, it was the whale print above my bed.”
The multi-talented Kay is not only a DIY expert and charming, welcoming host but also works as an design assistant for B Interior and has a Bachelor’s in Math and Economics under her belt. Smart woman!
Apartment Therapy Survey:
My Style: Junk Royale, Rustica Modernica. I look to combine colors and patterns that work together to create interest.
Inspiration: The whale print above my bed, 60s/70s, lots of Pinteresting and Googling.
Favorite Element: The Eames chairs! I got them on eBay (authentic) with the shells and bases separate and had to sand them down and remount each one with some bond that took forever to find. It took a few days to set but I absolutely love the way they look.
Biggest Challenge: Finding nightstands that fit the space correctly. I searched high and low and finally ended up getting the unfinished pine Rast dressers from IKEA and painting and staining everything myself. The biggest challenge was actually painting them with almost no outdoor space without dying from the fumes. That was a killer.
What Friends Say: That I have good taste and it looks like I spent way more than I did.
Biggest Embarrassment: The window treatments. I went with the lowest grade IKEA treatments and I hate the way they look. Also the walls- I wish I had chosen a bolder color or used wallpaper.
Proudest DIY: Probably the headboard. I got plywood from Home Depot that I had to cut down with a jigsaw in the apartment, then glued foam on, stapled batting to, and stapled on the fabric. I must have tried 3 or 4 different fabrics before I went with that shimmery silver. I easily could have spent less buying an actual ready-made headboard, but I was too committed at a certain point.
Biggest Indulgence: Actually the bedding- if you only have a little to splurge make sure it’s on a good mattress, topper, and pillows. I layered the bed with an egg crate topper and then a quality down topper, and spent a lot on the pillows as well- but it is well worth it at night!
Best Advice: Change out all of your light switches to dimmers and put dimmers on your lamps. Cheap and easy fix from Home Depot. Lighting is everything and it transforms your place in the evening. Also- when you’re on a budget like I was, get on Craigslist. Figure out what you want and search for it there because you will save a lot.
Dream Sources: 1stdibs, Restoration Hardware, and hiring Kelly Wearstler. I love antiques! Especially the ones I can’t afford. 🙂
Resources
PAINT & COLORS
ENTRY
LIVING ROOM
DINING ROOM
KITCHEN
BEDROOM
BATHROOM
Send us your own:
→ Share your home with Apartment Therapy: House Tour Submission Form
→ Are you a designer/architect/decorator? Share your residential project: Professional Submission Form.
→ And see all of our past house tours here
Updated daily with fresh tours full of photos for you to pin & enjoy!
