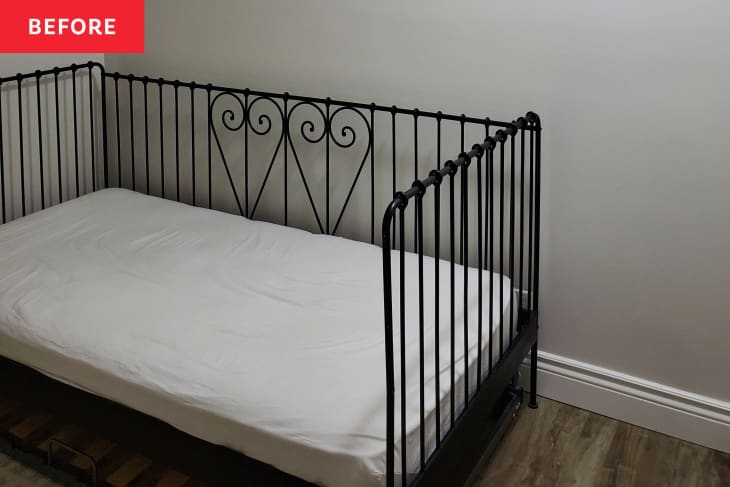
Before and After: A $400 DIY Bunkbed Plus Out-of-This-World Decor Transform a Bland Kids’ Bedroom

Neutral walls paired with white trim is a safe bet for many homeowners and renters. Colors like white, gray, and beige go with almost any decor, and are a great way to show off colorful furniture, accessories, and artwork. But for some homeowners and renters, all-over neutral colors can be too much of a good thing.
DIYer and woodworker Nada Taha (@onefortyfour_) thought the grayish white walls in her sons’ room weren’t quite a match for the boys’ vibrancy, especially as a background for the plain furniture. “This kid’s room was pretty boring for my boys’ huge imagination,” she says.
So Nada got to work making it a more colorful, playful space — not to mention a more comfortable one that maximizes every square inch with smart new bunkbeds. “It was initially my oldest child’s idea to build ‘bunker beds,’ as he calls them,” Nada says, adding that she partly build the new bed frame out of necessity.
“Now that I am expecting a third, my kids have to share a room, and it was the only way to fit two twin size beds in here,” she explains. “I worked on this build for eight weeks during the One Room Challenge on my days off.” Because the room is small and only has one window, Nada had to be strategic about the placement and specs of the bunk bed.
“I bumped out the build away from the window casing and added vertical supports to hold the top bunk to make it look floating on the window side,” she says. “I was super nervous to start the build at first because I wanted to ensure their safety and make sure it was sturdy. It was easier than I expected, and I’m so glad I challenged myself to do this!”
Nada built the bed out of 2x4s and hardboard. The railings are pine stained with Minwax’s Select Walnut, and the bed frame is painted a timeless greige (Benjamin Moore’s Revere Pewter). But unlike its past iteration, now the room itself is far from colorless. (Peep the planetary wallpaper behind the bunk beds, an Etsy find.)
“I am proud that I am able to give my children a space they love and a space to make memories,” Nada says. “I love everything about it.” The rest of the room is the perfect equation of practical plus fun, too, with a new rug, new bedding, a basket for toy storage, a dresser for clothing, and wooden wall art showing a map of the world.
But the star of the show, of course, is that built-from-scratch bunkbed, which Nada spent many hours on in her garage. “I can’t believe how professional and clean looking the bunks are,” Nada says. Her lumber and paint cost was just under $400 for something that would cost her double or triple from a branded furniture store.
“It’s an affordable and budget-friendly project if you choose the right lumber material,” Nada says. Her best advice for those considering building their own furniture or taking on a similar project? “Just start!” Choosing a beginner DIY, like one of these simple wood projects, is a great way to ease into the craft. Before you know it, you’ll be able to pull off large builds like Nada’s.
This project was completed for the Fall 2022 One Room Challenge, in partnership with Apartment Therapy. See even more of the One Room Challenge before and afters here.
Inspired? Submit your own project here.
