IKEA Cabinets Get a Cozy DIY Twist in This Gorgeous Kitchen Makeover

At first glance, it might be a challenge to imagine your home’s kitchen anywhere other than where it is. But when Bob and Anne-Laure Lievense moved into their 300-year-old house in the Netherlands, they knew immediately that the current setup wasn’t doing the space any justice.
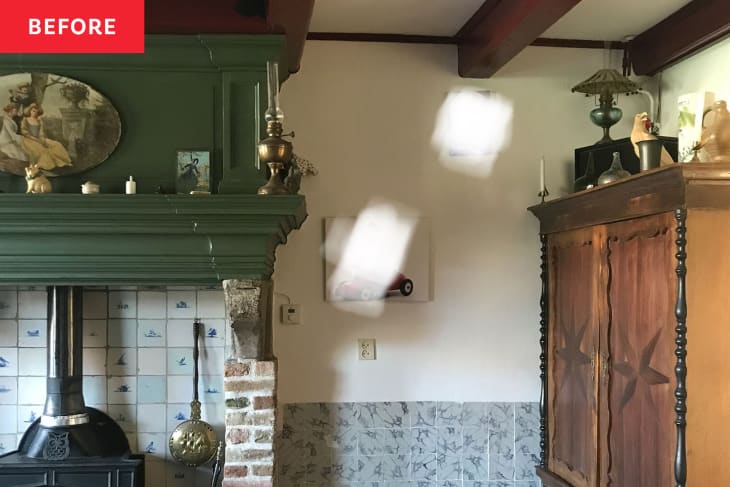
“It was very dark (a north-facing room) and cold (literally, the cellar is underneath the kitchen),” Anne-Laure said. “There was a big dark green wall, the beamed ceiling was painted oxblood red and white, and the walls were white.” And the couple was ready for a new look.
They decided that the living room, with its huge windows, was a much better space for their kitchen. It had a massive fireplace with a grand mantel and checkerboard terracotta floor. Anne-Laure wanted a cozy, classic kitchen, and Bob was looking for some contemporary flair. “The main wish was lots of storage, lots of worktops, a big stove, and a big table that is the center of the home,” she said.
Anne-Laure and Bob didn’t have a set budget for the project but put money from their previous home’s sale towards the transformation. Luckily, they found ways to cut costs — like doing most of the updates themselves and buying secondhand items to furnish their home.
How They Remodeled Their Living Room into Their Kitchen
First up, the couple installed the mandatory basics like insulation, electricity, and plumbing. In the meantime, Anne-Laure painted the ceiling and the wooden accent wall in a coral-y red, Farrow & Ball’s Loggia. They didn’t want to remove the fireplace, which she noted “dominated the room.” Instead, they decided to place their secondhand stove underneath the mantel — which then became the perfect storage shelves, too.
Next, they designed their new kitchen cabinets using IKEA’s online planning program. The IKEA cabinet bases worked fine, but Anne-Laure wanted to create custom cabinet fronts. Using medium-density fiberboard wood as the kitchen cabinet front base, they took mosaic wood floor tiles and glued them on one at a time, sanded them, and varnished them.
The last step of this phase of the kitchen project was creating the countertops. Anne-Laure had always dreamed of having marble counters, but it wasn’t exactly in their current budget. Thinking outside the box, Bob — who works for a company specializing in microcements — created DIY faux marble countertops.
One year later (and with a child on the way!), this phase of the kitchen renovation is finally complete — and it’s gorgeous. “It turned out exactly how we dreamed it would be! It’s big, it’s cozy, it can house a lot of people,” Anne-Laure says. “It’s the center of our home, and we spend a lot of time there. I love cooking, and the kitchen itself is a dream to cook in: a big stove, two ovens, lots of workspace, and a good layout.”
Their kitchen is just one example of how they’ve put their DIY skills to good use. See more of their stunning home in the full house tour on Apartment Therapy.
This post originally appeared on The Kitchn. See it there: Before & After: This “Very Dark, Cold” Living Room Transformed into a Bright, Airy Kitchen — Fireplace and All
