Before and After: 4 DIY Projects Totaling $450 Give a Bare Bedroom a Scandi-Industrial Makeover

Faux Roman clay walls are often paired with vintage, old-world-style furnishings, but they also make incredible backdrops for industrial or minimalist style — almost like a cement wall.
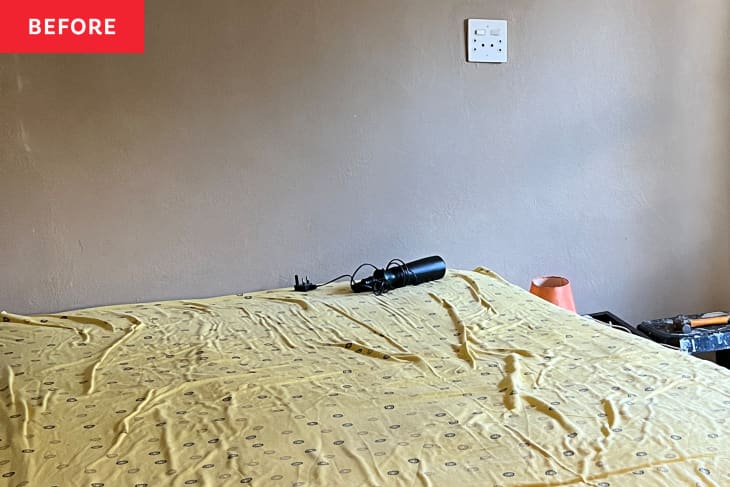
DIYer and woodworker Ndandu Khavhadi’s (@justamomwithadrill) new guest bedroom walls are a blend of the three styles, with a cool “suede” look that brings instant style. But before the redo, those walls were peeling as a result of water damage from a leaking roof, Ndandu explains.
Beyond that, though, “everything was just plain and not inviting,” Ndandu says of the before. “I wanted our guests feel at home, comfortable and welcome. Our desire is for them to enjoy the space. I wanted every detail to be intentional.”
The peeling walls were a prime starting point for Ndandu’s planned makeover. There, she repaired the water damage, painted the walls, and then hand-brushed on her Roman Clay look. Ndandu used Fired Earth’s Suedette paint — a South African brand — in the color Fresh Flannel for the job, making small strokes in an x shape with her brush to give a bit of variation on the wall. She had to move quickly to get a mostly-even but still handcrafted look. “Paint each coat in one go,” she advises anyone else who’s looking to hop on this trendy finish. “Don’t take long rests in between (like complete a coat the following day). It will leave a very obvious line and you’d have to start again.”
Ndandu also recommends starting with a base color on the wall that’s fairly close to your top coat color. Once the walls were remedied (and beautified!), Ndandu turned her attention to furniture.
“The bed needed a headboard, so I built a minimalistic one using pine strips and finished it off with a light stain,” she says. “I added some pedestals on the side for our guests to put things like their phones or books, or that cup of coffee. I made sure I sealed these properly to avoid staining.”
The next thing Ndandu built was the dressing table in the corner. It’s mounted to the wall for a floating effect, and it has a drawer “for bare necessities,” Ndandu says. She stained and sealed that as well. To complete the cute little vanity setup in the corner, Ndandu added a ’60s vintage chair, which she also sanded, stained, and sealed. Then she added the arch mirror and the swing-arm light. “What I love about it is that it can be used as a bedside lamp and a dressing table lamp,” Ndandu says. “The best!” The final touch is a bench she made with reclaimed wood.
Ndandu’s final look, she says, is warm, cozy, modern, and much more functional. And she’s proud of how just roughly $450 worth of DIYs have made the room feel much more complete. “I loved that I kept it simple,” she says. “The only limitation was the size of the room. However, it helped me to think about each and every item I’m adding and whether it adds value.”
Inspired? Submit your own project here.
