Before and After: This Blank Wall Becomes a Triple Threat

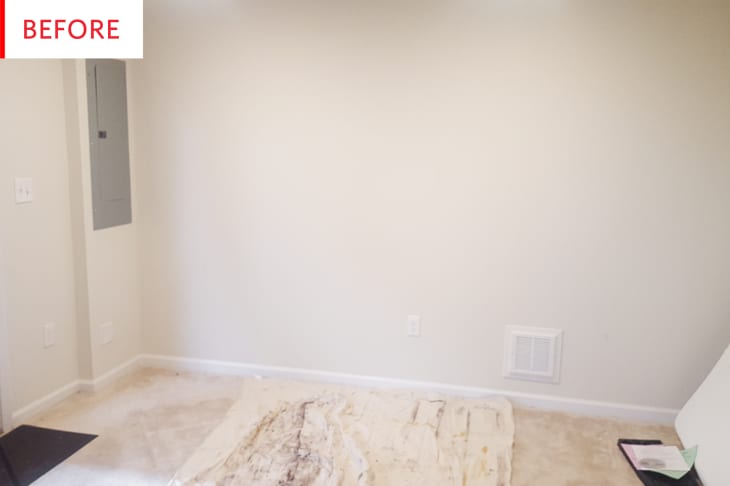
This blank wall in a home office is about to become its own room, thanks to just $600 and a bit of hard work. The room before is pale and pleasantly beige—and the now is anything but.
Let’s pause a minute before admiring the finished product to learn a little more about this space:
Before we started working on this room, it was just an office space for my husband. He had his desk and a bookshelf down here, as well as a brown recliner that we’d already sold by the time I took this before picture. This side of the room was really underused.
We wanted to turn this space into something that could function for guests. When we had our daughter, our guest crash space turned into her nursery. We live in a two-bedroom home with this space as a bonus “den” space. My husband uses it as an office, but we thought the underused side of the room would be perfect for a Murphy bed (especially since one set of grandparents visits from out of town). We also decided to make it a nice little play space for our daughter since everything would be anchored to the walls and there would be no stairs nearby.
The office is about to become a triple threat!
The black paint is appropriately serious for an office, but also a bit edgy and glam. The white Murphy bed structure, bedding, and trim pop so fantastically against the dark background, which sets the painting off so well. I also appreciate the way the size and proportions echo those of the headboard; it’s an unusual arrangement that really works.
Brittany Goldwyn Merth of By Brittany Goldwyn—and husband Mike—have so smartly created a guest room without simply plonking a bed down into an office. It’s hard enough to work from home without the temptation of a napping bed mere feet from the desk. I have a foldout sofa in my home office, and while I feel super lucky to have both, I like the way this Murphy bed creates the feel of its own room.
This is a during shot, showing the plywood and the iron for the iron-on veneer tape. Here’s what it took to complete the entire project:
This took a few weeks. We did it all ourselves and spent about $600 total. We did not bring in any outside help, unless you count grandparents babysitting our 8-month-old baby so we could power through work! We didn’t hit any surprises—just a few slightly difficult points where we really had to put our heads together to come up with a solution.
Cheers to all the grandparents and other childcare providers—paid or volunteer—that make such fabulous projects possible!
Now that Brittany and Mike have successfully created their first Murphy bed, they have a bit of advice to share:
Don’t wing it. Come up with a solid plan and invest in a hardware kit with a piston system. If it comes with a plan, read through the instructions, and then read through them again before getting started. If I did this over again, I’d prime and paint everything before assembling it. Painting around the Murphy bed hardware was a huge pain.
If any of you are interested in making your own Murphy bed, here are the materials Brittany and Mike used:
- Murphy bed hardware kit
- Plywood
- Iron-on veneer tape
- Molding primer paint
- Skill saw
- Finish nailer
- Orbital sander
- Memory foam mattress
With the Murphy bed folded up, we can see that this looks like a perfectly businesslike piece of office furniture. It would look right at-home in almost any office, and the open shelves add office-appropriate ornamentation while also serving helpfully as a nightstand.
I love everything about this space. I modeled it after a Murphy bed/built-in shelf combo I saw on a major retailer’s website for about $1,800. And it looks nearly exactly the same.
It’s so great to hear that Brittany loves this space now so much. I really like every aspect of it, and the fact that it was done for 1/3 of the price of a ready-made Murphy bed is a feat.
Thank you, Brittany Goldwyn Merth!
