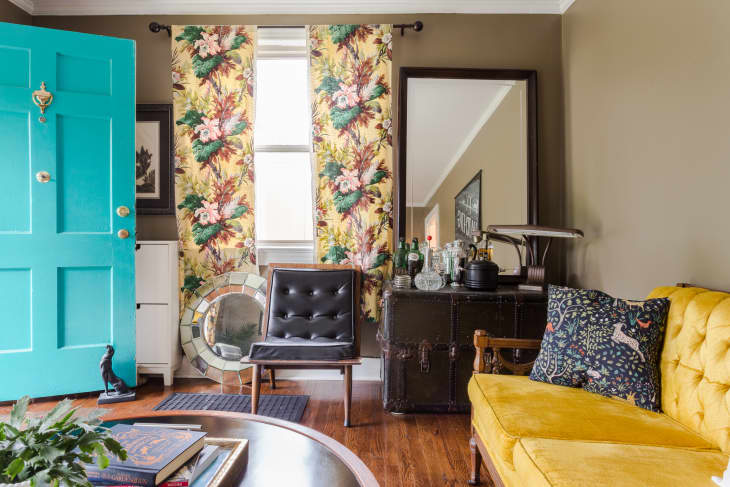
I Gave My Rental’s Plain Doors Expensive-Looking Architectural Charm for Just $5

As a renter, I’ve yet to live in a place with gorgeous high-end architectural features. And I’m not exactly paying those gorgeous, high-end prices, so it makes sense! But that doesn’t mean I don’t want those details—actually I want them bad. I’m always trying a cost-effective design hack here or an update there, to glam up the look of our flat in a way that won’t rob us of our security deposit. One thing I’ve been meaning to get to for forever is our boring old hollow-core doors. I loved the idea of adding trim, but wasn’t sure I could do it in a way that was renter-friendly and removable.
I started thinking through the process: First, I’d need to measure the doors, then find an inexpensive trim that I liked and decide on the design. This would only work if I could actually unearth my mitre box and saw from storage, cut perfect 45° angles, and then, of course, find a way to get the trim to actually stick to the door in a way that looked permanent but was removable once we moved. A tall order!
In an effort to make the cheap hollow-core doors look as much like the original three remaining doors in our 1920s apartment, I wanted to place the trim in approximately the same spot. Although the trim on the original doors is quite a bit different, I was able to get the general look and feel by mimicking the same framed shape as the original doors with the new trim.
After totaling my measurements, I masked up and headed to the hardware store where I found a bunch of trims I liked—but none that I was willing to pay tons of money for. I wanted to spend less than double digits on each door. This sounds totally bonkers, but it’s possible! With my goal of spending next to nothing in mind, I ended up choosing ¾-inch primed shoe moulding that came in at a whopping 35 cents per foot. It wasn’t the prettiest option, but it was cheap and I was happy enough with it.
Once home, I grabbed a pencil and picked up my level and tape measure. With the door shut, I marked out the outer lines of where the frame would go to use as a guide once all the pieces were cut.
I made my cuts and taped the trim to the doors over the pencil lines to check for fit. The trim was sort of flimsy and didn’t keep its shape well ( at $.35/foot you can’t really expect too much!) so taping it to the door was necessary to check for fit, and to see how the size of the frame looked on the door.
My angle cuts weren’t perfect, but they weren’t bad either. I left the trim frame taped to the door for a few days while I decided whether or not I wanted to mess with filling in the corner gaps with caulk. I realized this meant I’d have to sand and repaint the door. While I would have liked to, I didn’t know the exact paint color—so it would have meant repainting the whole door and the outer trim, baseboard, and wainscoting as well, so I decided against it. The primed trim is actually really close in color to the door, so to help the colors blend even better I opted to just wipe everything down really well with a Magic Eraser.
If I’d been doing this project in a home I owned, I’d use a nail gun but I needed something temporary since we don’t own our place. I’d originally considered using Command strips, but then tossed the idea because I assumed they were too thick and would cause too much of a gap between the back of the trim and the door. But I couldn’t think of any other way to get the door to temporarily stick to the door—so I tried them anyway and was, yet again, seriously impressed.
I pulled up one piece of tape at a time and stealthy slid the strips under and stuck them to the door, then pressed the trim to the door for the recommended amount of time and moved on to another piece of tape, then added another strip. I’ve used Command strips on so many projects in our apartment, like hanging easily removable, renter-friendly board and batten! Unlike the board and batten where I used Command’s picture hanging strips that are thick like Velcro, I was able to get away with the much thinner poster strips. Yes, there is a slight gap between the trim and door, but it’s really not noticeable unless you stick your nose right up against it.
Coming in at a whopping $5.01 for trim and Command Strips, I’m really happy with how they turned out! Next up, I need to talk to the landlord about replacing those door handles, which will go even further to make my plain, cheap doors look like a million bucks.
