
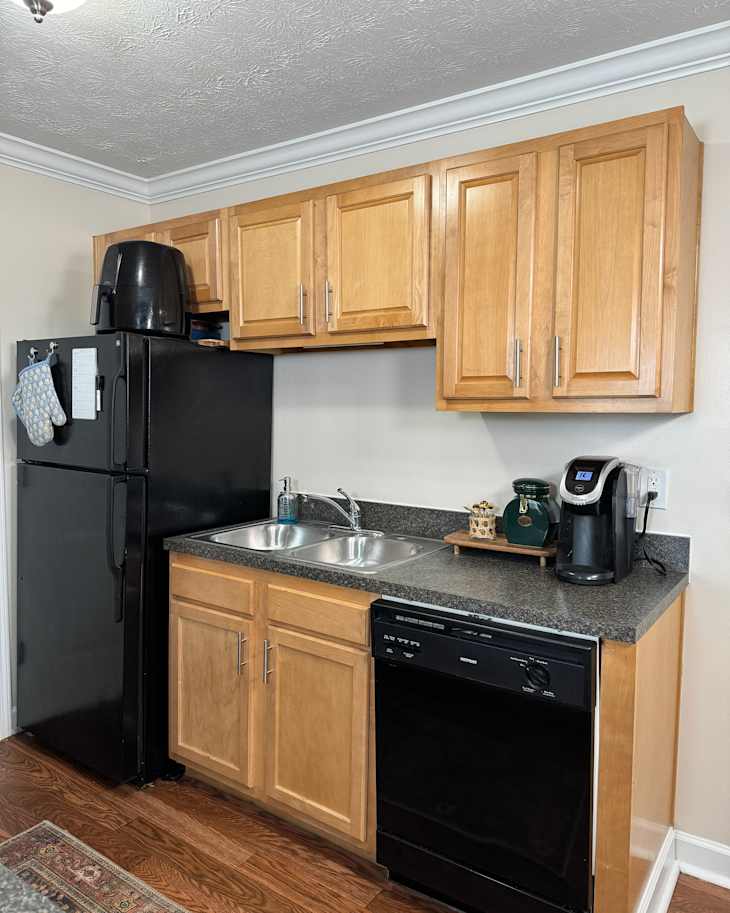
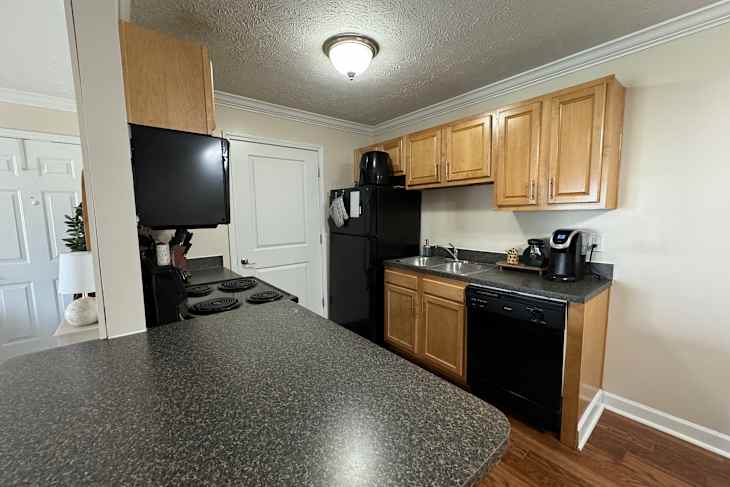
A $300 No-Demo Kitchen Update That Finally Makes Yellow-Toned Cabinets Work
If you’re a renter wondering where you should spend your budget on decorating your apartment, take Alli’s (@actuallyalliDIY) advice: “I like to try to save as much money as possible on the removable renovations,” she says. “I tend to invest more money into the decor items because those items can move with me and be used in future spaces.”
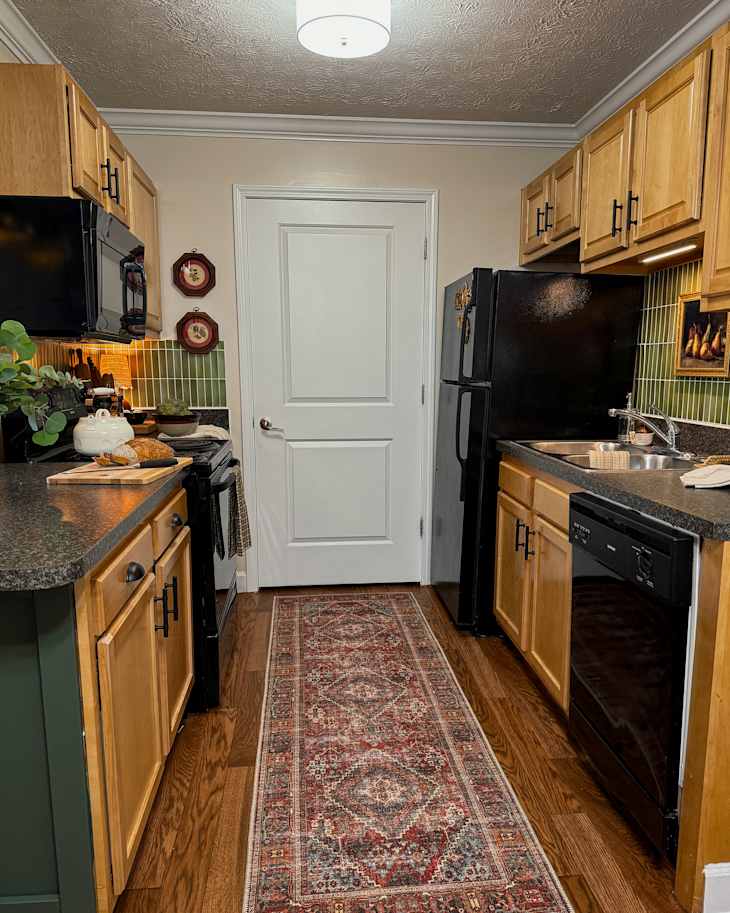
In other words, save money on items that are fixes for your specific rental, and splurge here and there on items you can bring with you to your next place. That’s what Alli did in her rental kitchen makeover, where a new runner, peel-and-stick tile, hardware, and decor transform the room.
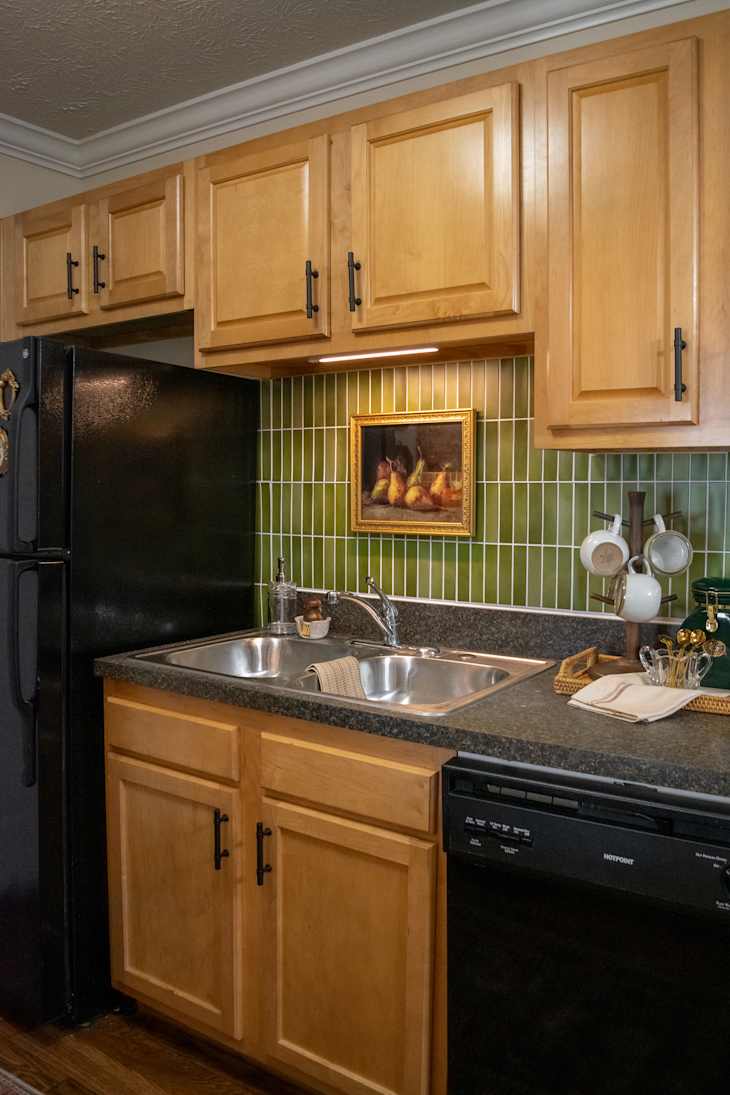
The peel-and-stick tile only cost $30.
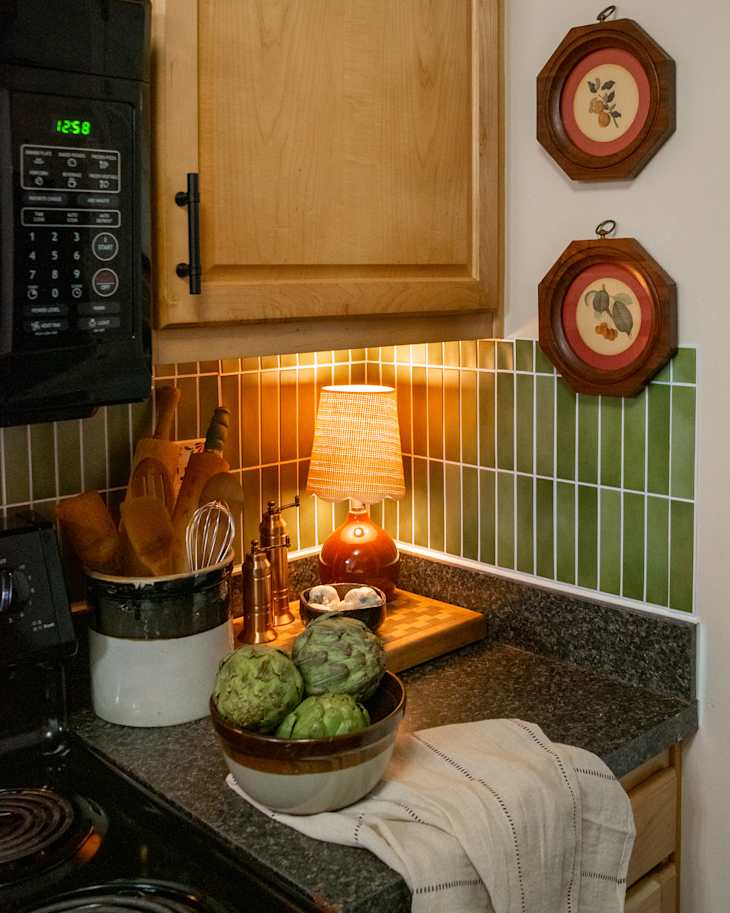
“I compromised on the tiles I originally picked out for a more budget-friendly option, which saved me around $100,” Alli says. She covered her apartment’s existing beige walls with contact paper, then green peel-and-stick tiles.
“The tiles definitely helped me determine the entire direction because I wanted to make sure they tied in the gold-colored cabinets and the dark countertop,” Alli says, adding that her pick from Amazon helps “blend the outdated elements together and make them feel more intentional.”
“I was nervous to use them because I have seen people apply them and then have issues removing the tiles at move-out,” Alli says. “I decided to first apply removable vinyl shelf liner (similar to peel-and-stick wallpaper) to the wall first, then apply the tiles over top. I feel much more confident that the tiles will come down now.”
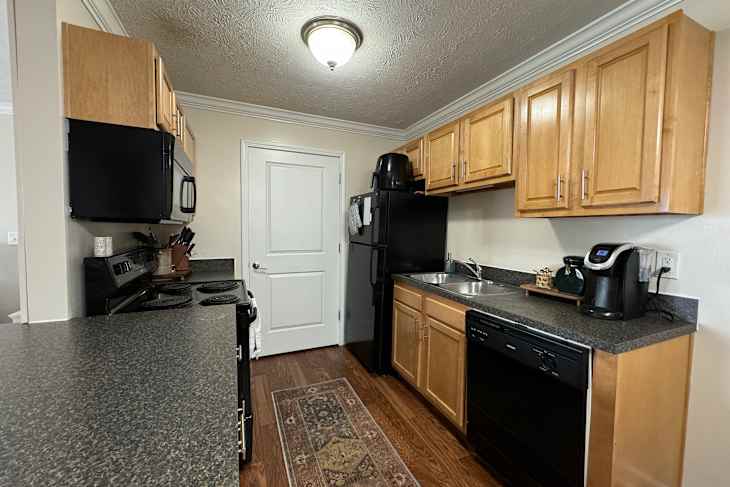
The light fixture solution is also renter-friendly.
Although she broke one shade in the process of trying to come up with a renter-friendly fix for her kitchen’s “boob light” flush mount, Alli is proud of installing the cover she ended up with from Amazon.
“That worked 100 times better, and I wish I would have gone with that shade originally,” she says. She also added pendant lighting — the lamps were originally black and she covered them in Rub n’ Buff — above the counter seating, and she might add contact paper to the countertops someday.
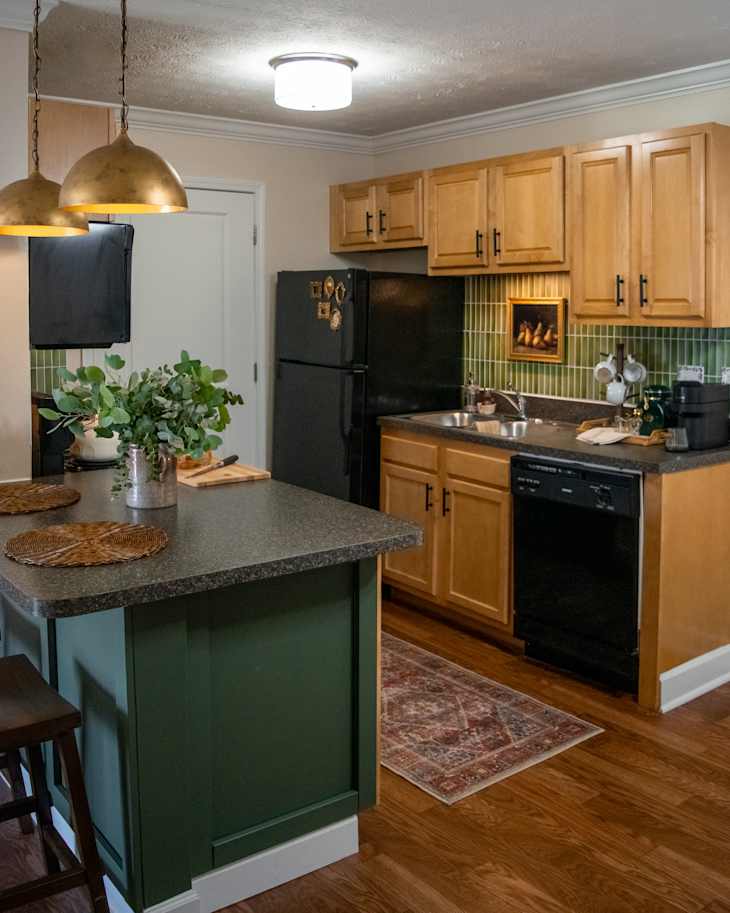
The island got a removable upgrade.
Alli covered her kitchen island in contact paper, added trim using command strips, and then primed and painted over the contact paper and trim. She used Valspar’s Flora to tie in the green tiles.
Decor swaps tie everything together.
Alli sourced some accessories secondhand, and she scoured the internet for deals. She added a new runner, new cabinet pulls and drawer handles, a lamp, artwork, and new linens.
“This room turned out better than I expected,” Alli says. “I made a few small changes, but they had a big impact.” Her favorite part? The green peel-and-stick tiles. “They bring so much personality into the space,” she says.
Inspired? Submit your own project here.