Before and After: A $110 Closet Makeover Filled with Smart, Renter-Friendly DIYs

It’s pretty easy to ignore closet interiors—after all, with the door closed, who’s going to see what’s inside? But a disorganized closet space can quickly turn into a black hole of clothes, coats, and accessories.
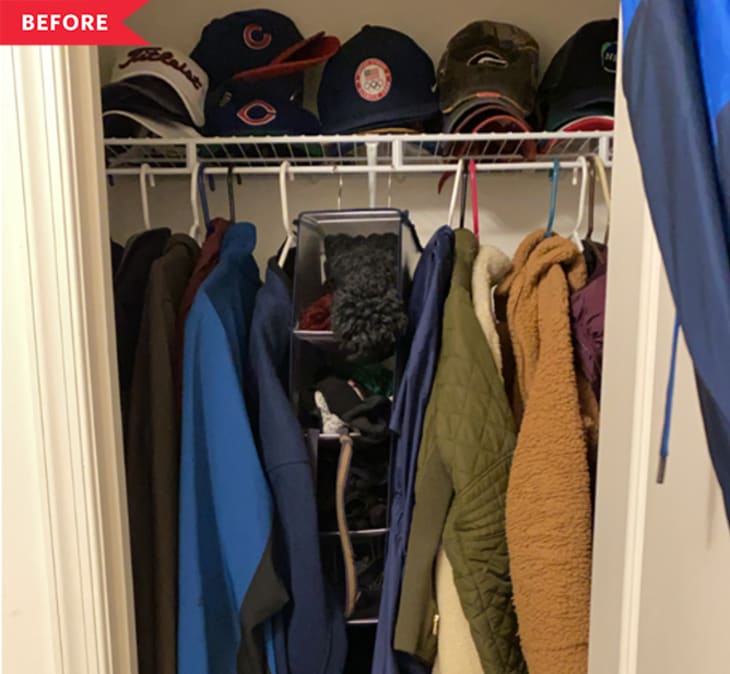
That was the problem at hand over at the home of Ashley LeDuc, who blogs at LeDuc Lane. “Our coat closet before was not functional at all,” Ashley says. “Living in an apartment, the closet is small as is and it was over stuffed with jackets, hats, winter wear all year round, and shoes. The organization systems we did have were poorly used or not super accessible which meant our shoes would pile up by the door instead of going in the closet where they belong.”
Ashley wanted to turn the mess of a closet into something that would work for the whole family. “I had been itching to upgrade the space for awhile because of our shoes piling up at the door instead of being put in the closet but the final straw was when my husband and I started going back into the office part time,” Ashley says. “We were bringing work bags and computers back and forth every day and we didn’t have a drop zone for them.” It was time for a change!
Ashley started by emptying the closet and creating a decorative accent on the back wall using washi tape. She used about three rolls of half-inch black washi tape for the job.
Because she rents, Ashley kept the old wire shelf in place, but used a clever trick to make it look like a custom wood one. To fake the look, she cut a foam board to size and covered it with white contact paper; attaching the foam to the front of the wire shelving gives the illusion of a new hefty wood shelf (without risking her deposit).
New shelves on the bottom of the closet, which Ashley made herself, are the perfect place to drop bags. “The hardest project for this makeover from creating the shoe organizer, mainly because I had never worked with melamine board before,” Ashley says. “The finishing touch was adding the veneer edge banding to the front make it look sleek and finished.”
Ashley wanted big bins beneath them to hold everyone’s shoes. “I had been searching for some large baskets that would hold our shoes but was struggling to find ones we loved that also weren’t incredible expensive,” she says. So instead of buying off-the-rack, she made her own jute-covered baskets using plastic bins. After spray painting them tan, she hot-glued natural jute all the way around the outside. “It was a super simple but time consuming project,” she says.
Finally, Ashley added a new coat rod, which she made with a 1 3/8-inch wood dowel. Once she stained it in a warm wood finish, she installed it using coat rod brackets.
The total cost for this little redo was just $110—and every aspect is totally renter-friendly. “Everything I did in this closet makeover can be taken with us whenever we move (except for the washi tape which was $3 a roll),” Ashley says. “And now I have a more functional space that makes my small apartment feel cleaner, more organized, and more spacious!”
And for anyone else who’s feeling stuck in the current state of their rental, Ashley has some sage advice: “Often I think as renters we get stuck in this mindset that it is a “temporary” space, so we don’t invest in making it pretty or functional, but just because it’s temporary doesn’t mean you can’t enjoy it and have it work for you,” she says. Hear, hear!
Inspired? Submit your own project here.
