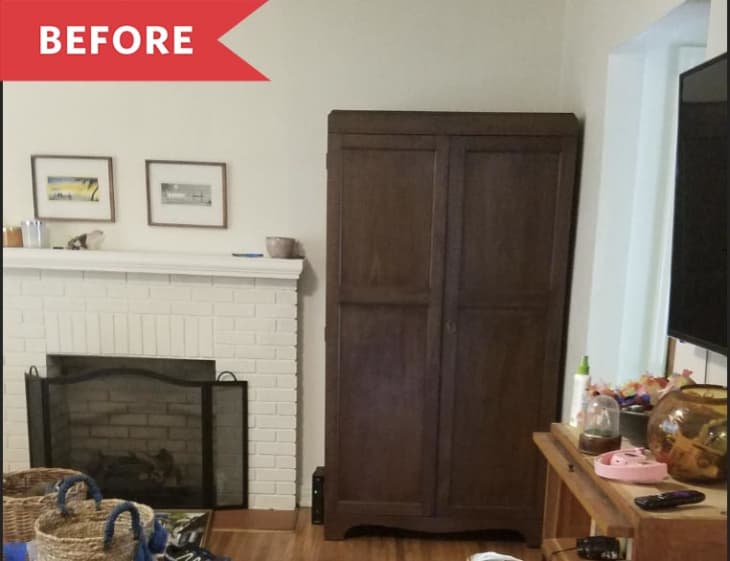
Before and After: A Clever $152 Refresh Breathes New Life into a Drab Secondhand Wardrobe

Is your dream piece of furniture out of your current budget? Don’t lose hope yet. With a little elbow grease and creative thinking, even the plainest budget or pre-owned item can feel fresh, new, and glam.
Katie, a busy mom living with kids and a dog, can attest. She was able to completely transform a drab, dark wooden wardrobe she purchased secondhand into a cute and functional piece for her living room.
Katie needed somewhere to store shoes, so she picked up the wardrobe in question for $100 on Facebook Marketplace. “It was a nice wardrobe as it was,” she remembers, but against the crisp, white walls of her living room, it “just looked like a dark brown, hulking mass.” She set out to lighten it up with some simple, budget-friendly DIYs.
Initially, Katie envisioned breaking up the wardrobe’s dark wood with cane, but the material was too expensive. “This is a stopgap until I can tear out this wall and build custom storage way down the road,” she says.
Her backup plan? Raffia cloth, which she found online for $4 per foot. Katie took out the wardrobe’s doors, popped out the panels, and sanded the outside with clear polyurethane sanding between coats. For the inside, she painted the shelves with “some leftover white paint mixed with calcium carbonate to make a chalk paint.”
After the sanding and painting was completed, Katie used spray adhesive to glue the raffia cloth to the wardrobe’s door panels. She then reinserted the panels into the doors with wood glue and put the whole piece together. All in all, she spent $152 on the entire project, including the price of the wardrobe itself.
Although this DIY is a temporary fix, Katie loves having a closed, aesthetically pleasing storage option. “It’s still too big for the space,” she says, “but function is winning in a house with dogs and kids.”
If you attempt a similar project, Katie recommends adhering the raffia cloth directly to the piece of furniture with polyurethane. But she’s just proud it’s finally done. “We’re busy around here.”
Inspired? Submit your own project here.
