
How to Totally Nail the Funky Furniture Trend You’re Seeing Everywhere
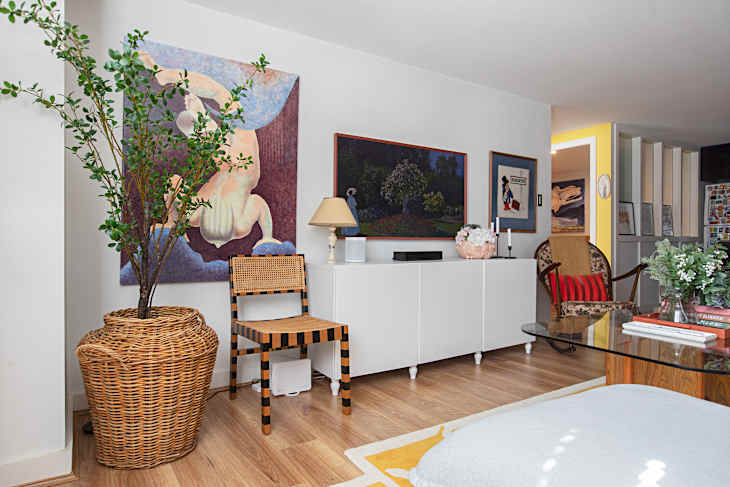
Last summer may have been bona fide Stripe Girl Summer, with stripes showing up everywhere from window treatments and upholstery, to bedding and wallpaper. Over the course of the year, the trend trickled over to furniture, as you can see in these striped wood shelves, this entryway statement piece, and these chairs.
I’ve always loved the look of striped wood, but I wasn’t sure of the best way to DIY the style. Would it look best if I used paint, or if I used stain? And should I choose just one or use two?

If you’ve been interested in striped furniture too, I’ve got good news: I did some experimenting to help get to the bottom of these questions. I grabbed some super-sticky painters tape, some medium and dark stain options, and a wildcard can of paint to test a few striped looks out for you. Here are my findings.

My Best Tip Before Starting: Get Good Tape
The key to great stripes is getting really clean lines, which you can’t do without tape. I used ScotchBlue painters tape for my testing, and it did not disappoint! Just be sure to really press the edges down before adding your stain so it doesn’t seep through.


Test 1: Dark Stain and Raw Wood
For my first test, I used Minwax’s Dark Walnut 2716 paired with the light raw wood of this cutting board. I used an old rag to apply each stain. (Old T-shirts are fantastic for staining projects.) I dipped the rag into the stain and applied quick, even coats going with the grain and let it sit for a minute or two, then wiped away any excess. After the first application dried, I did a second coat. Making sure my tape was firmly sealed to the board was crucial to getting the high-contrast striped look I was after. The pairing of the raw wood and the walnut stain is really striking.
This option has a beautiful graphic quality, while still allowing some of the woodgrain to come through the finish. I recommend this route if you’re going for a big visual impact while still feeling a little bit natural.

Test 2: Dark Brown Acrylic Paint and Raw Wood
If you’re looking for a similar look and want to work with slightly more forgiving supplies, you could also go with a brown acrylic paint instead of stain. For this test, I used Rust-Oleum’s Kona Brown Gloss general-purpose paint with raw wood. The contrast and visual effect are similar to the dark stain/raw wood pairing, but with an even bolder finish, as the painted lines pop a little more.
To get the look, I applied three coats of the brown paint to create a finish that’s completely opaque with a nice gloss. The first coat goes on a very purple plum color, but darkens as it dries, as well as with additional coats. I actually prefer this finish over the walnut stain, but it definitely veers away from the “natural” look. (You could, of course, go with any color acrylic if you want to depart from a 100% wood look all together.)

Test 3: Mid-Toned Stain and Raw Wood
For my medium-toned test, I used Minwax’s Gunstock 7045. Warm, oak-colored stains are a little more subdued than darker wood tones, so they’re great for more relaxed decor styles — but they can give a little bit of a ’90s kitchen cabinet vibe if you’re not careful. I preferred the more wine-toned stain colors to this color combo.
The oak stain against the raw wood does contrast, but with much less oomph than the darker walnut stain. I could see this combo being really pretty in a room design that is going for a “serene” look, but perhaps in a less graphic pattern.

Test 4: Mid-Toned Stain and Dark Stain
This combination is a great example of what your wood floors might look like with a darker stain overlay. A mix of a lighter, warm stain and a dark walnut is a really fun way to get contrast while still keeping things on the natural-looking side. It feels more robust, and less sparse than the medium/light was with raw wood, and gives a nod to the antique wood inlay.
Again, if you do this option, you’ll want to make sure your painter’s tape is fully sealed and that you let one stain fully dry before moving onto the next, as the stains can bleed into one another.

One Big Piece of Advice: Start Small
Mostly, my advice if you’re going to stain a big piece of furniture is to start small, like I did here. I used some fun wood crafting pieces from Plaid, but you could use any wood piece that has a similar color to the larger piece you’re wanting to paint, whether that’s a picture frame, wooden spoon, or the inside of a drawer.
You’ll get a sense of how much stain you want to use, how thick your coat should be, and which colors you like best. Happy striped summer 2.0!