
Before and After: Thrift Finds and DIYs Turn an Empty Kitchen Corner into a Stylish Prep Space for $1,000
There’s maybe nothing more frustrating than an awkward, wasted corner in a home. Thankfully, Apartment Therapy has plenty of solutions for giving those corners a new sense of purpose. Shelves, seating, storage, artwork, and cool lamps can work wonders in a once-wasted space.
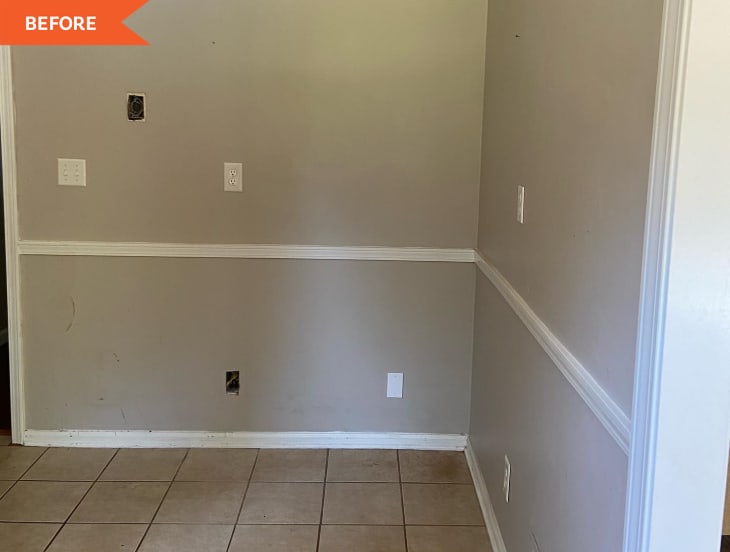
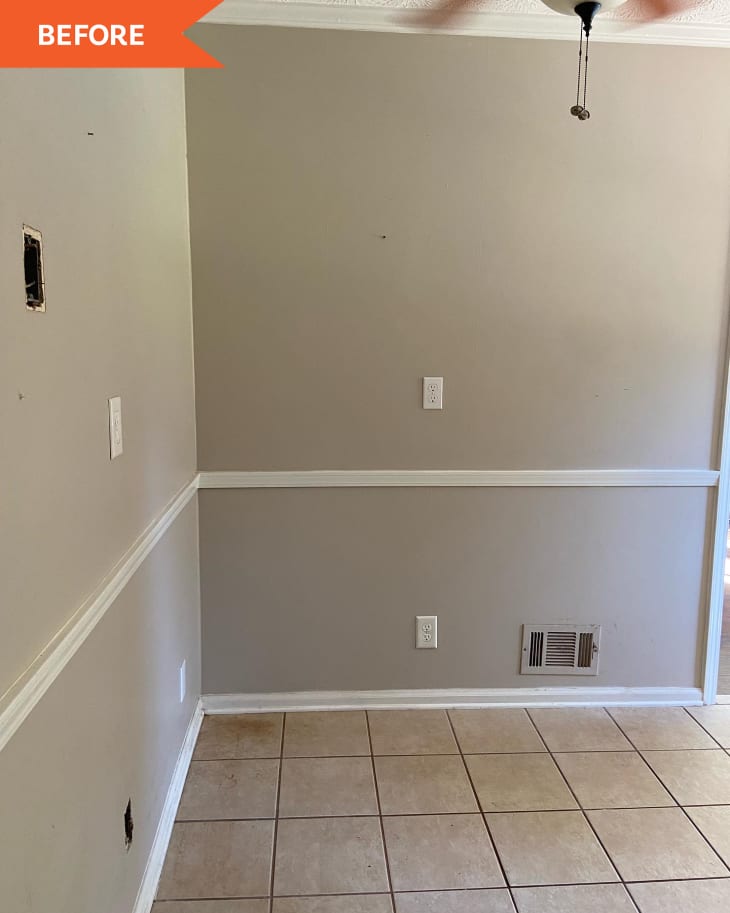
In a kitchen, making use of an empty corner is a little trickier, but the solutions are similar: Added storage and shelving — plus some beautiful accessories — took this “blank, wasted space” in Lauren Dastrup (@laurenshandmadehome)’s kitchen from just “two walls and an ugly ceiling fan” to a beautiful extension of the kitchen.
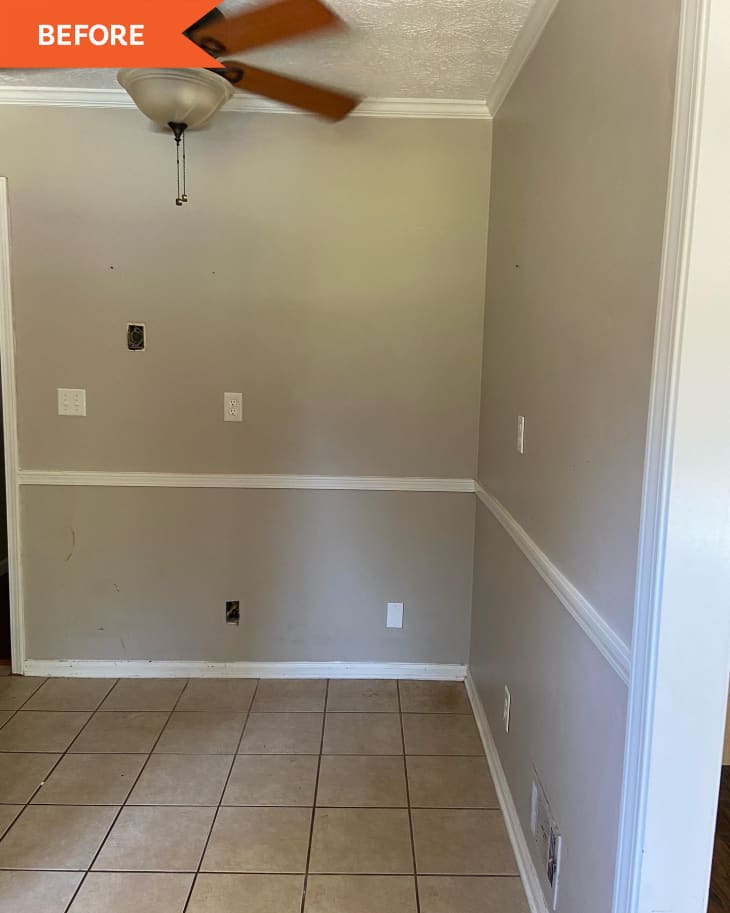
“When we moved into this house, we knew immediately we didn’t need the breakfast nook,” Lauren explains. “There is a dining room right next to the kitchen. Our 1988 kitchen also had no pantry, so I knew right away I needed to extend our kitchen into the breakfast nook by adding storage of some kind.”
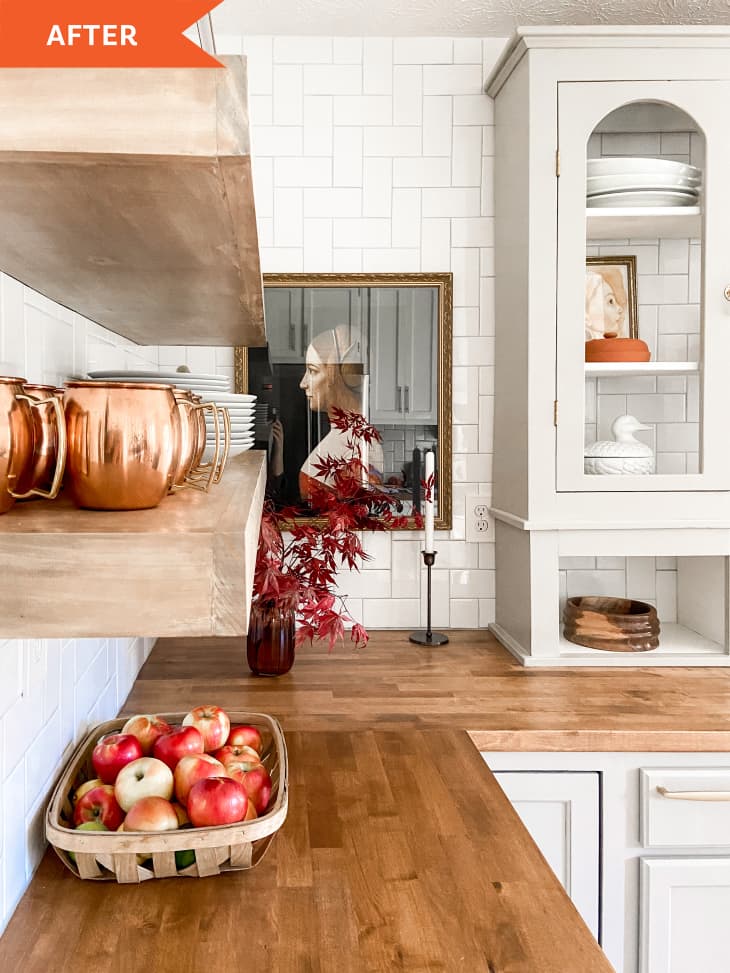
In an approximately $1,000 project, Lauren did just that. She started by breaking up the existing tan tile in the corner where her cabinets (thrifted) and hutch (found for $20 on Facebook Marketplace) would go. She used a hammer at first, and then a hammer drill borrowed from her brother-in law.
“Then I had to move the vent forward so we could keep airflow,” Lauren says. “I was so nervous about that part!” She removed the existing register cover and used a toe duct to reroute airflow through the bottom of the cabinetry.
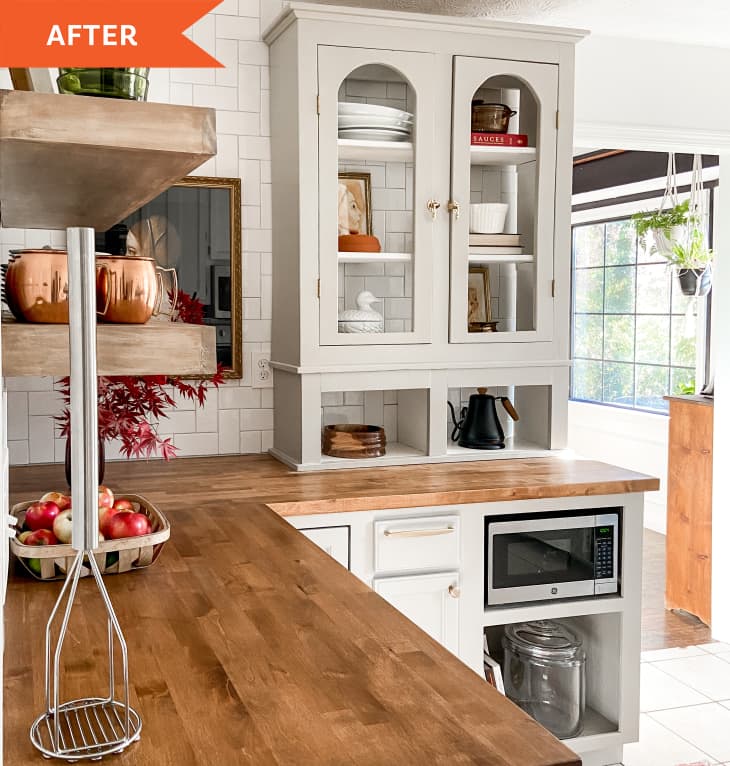
Next came customizing the once-brown and dated cabinetry and hutch. Lauren used a jigsaw to cut arches into the existing hutch doors and added two appliance garages beneath the hutch so it would stretch almost all the way to the ceiling. She also built a custom cabinet to hold her microwave. “I was tired of having a huge microwave blocking my view of my range on the other side of the kitchen,” she says. “So I took some plywood, copied the depth and heigh measurements of my thrifted cabinets, and figured it out as I went.” She painted the cabinets a khaki color, Benjamin Moore’s Pashmina.
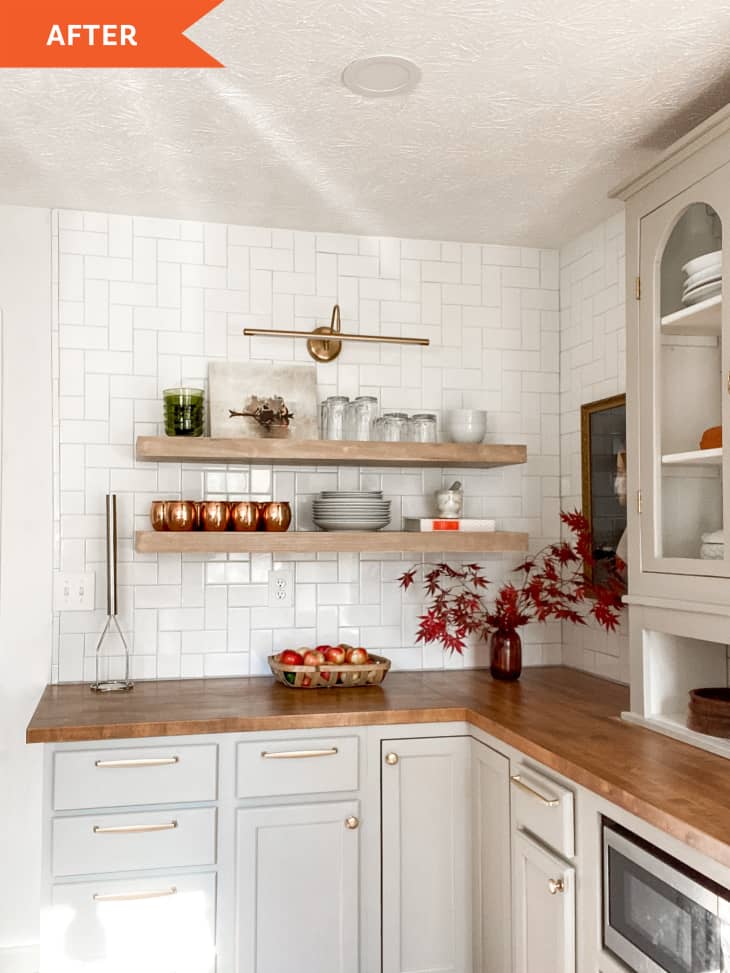
After the cabinets came the installation of the butcherblock countertops and lighting. “My brother-in-law came and installed can lights for me,” Lauren says. “And he installed a junction box so I could add in my picture light later.”
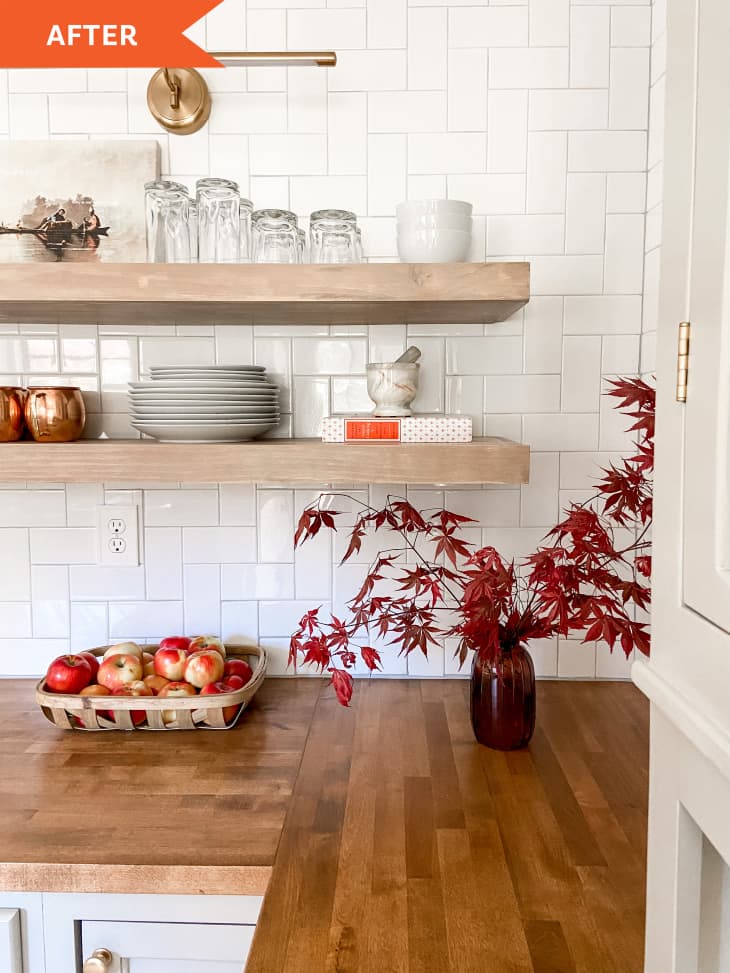
Next, Lauren built the floating shelves, which were trickier to install than she thought. “I was so close to the finish line, and these shelves gave me so much grief!” she recalls. Her first two attempts at hanging floating shelves weren’t sturdy enough, so she had to cut holes in her drywall to mount some brackets directly to the studs. Then, when she tried to build the frame for her shelves, her wood was slightly twisted — “just enough that nothing was straight,” Lauren says. “I built them three times before I got it right.”
After getting everything level and flush, the stain color wasn’t quite right — looking a little purple in the light — so Lauren had to put some extra time into finishing that, too. But she’s proud of her perseverance and attention to detail. “I’m proud that I… took the time to do things the right way,” she says. “I’m not naturally a ‘details’ person, but I’ve learned they make all the difference. I still WANT to take short cuts, but I push through for a better result.”
Lauren tiled around her shelf brackets before attaching the wood frames for the floating shelves; for her backsplash, she went with a white subway tile laid in a vertical herringbone pattern. After the tile and shelves were complete, she accessorized with a rug, dishes, and artwork. “I love that it shows my personality!” Lauren says of the complete look.
She also loves the added storage — there are less-than-sightly kitchen supplies tucked away in the cabinets in addition to the pretty dishes on display. “I love that I have a junk drawer!” she says. “I only had two drawers before I added these… I love that I can bake in that corner with both of my kids at the same time, which I couldn’t do before because of limited counter space.”
Her DIY work — including the cabinet and shelving install as well as vintage brass hardware upcycling — saved her tons of money in the long run and was definitely worth it, she says.
“I love that I was able to do it on a very slim budget,” Lauren says. “I literally cried when I was done, and I’m not a crier! It was so much work, and every second of it was worth it.”
Inspired? Submit your own project here.