
Smart & Simple: The Best Way to Sew on a Button

Save some dough by taking care of loose or missing buttons yourself; there’s no need to pay the dry cleaner to put them back on for you. All you need is a sewing kit and five minutes of concentration to do it RIGHT, so they’ll stay put and work well. And if you think you already know how to do this, you might want to read up on it anyway, unless you already know about the toothpick trick, and the proper direction to stitch your buttons…
What You Need
Materials
- Thread
- Button
Tools
- Needle
- Scissors
Instructions
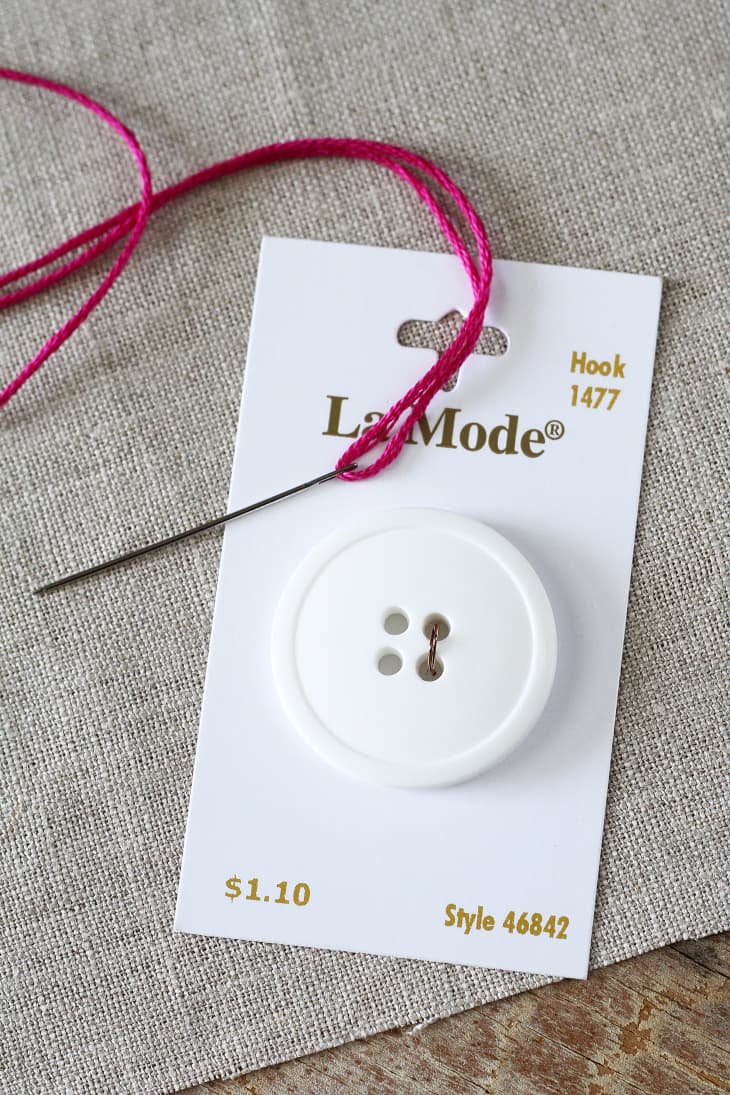
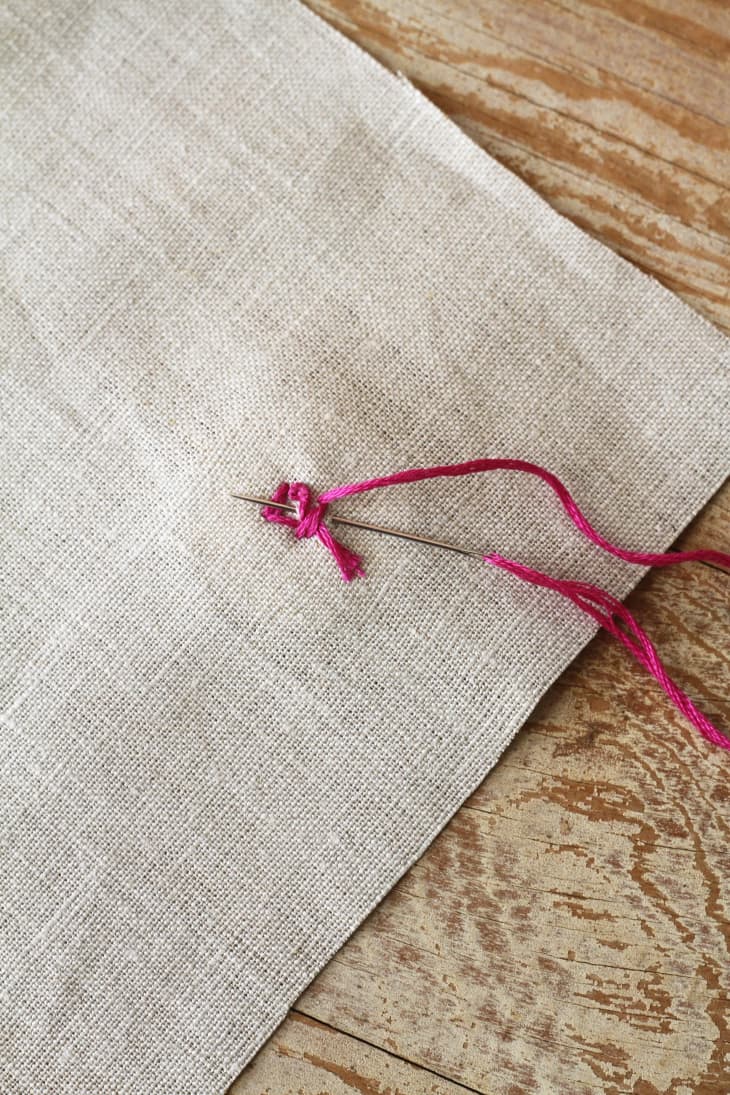
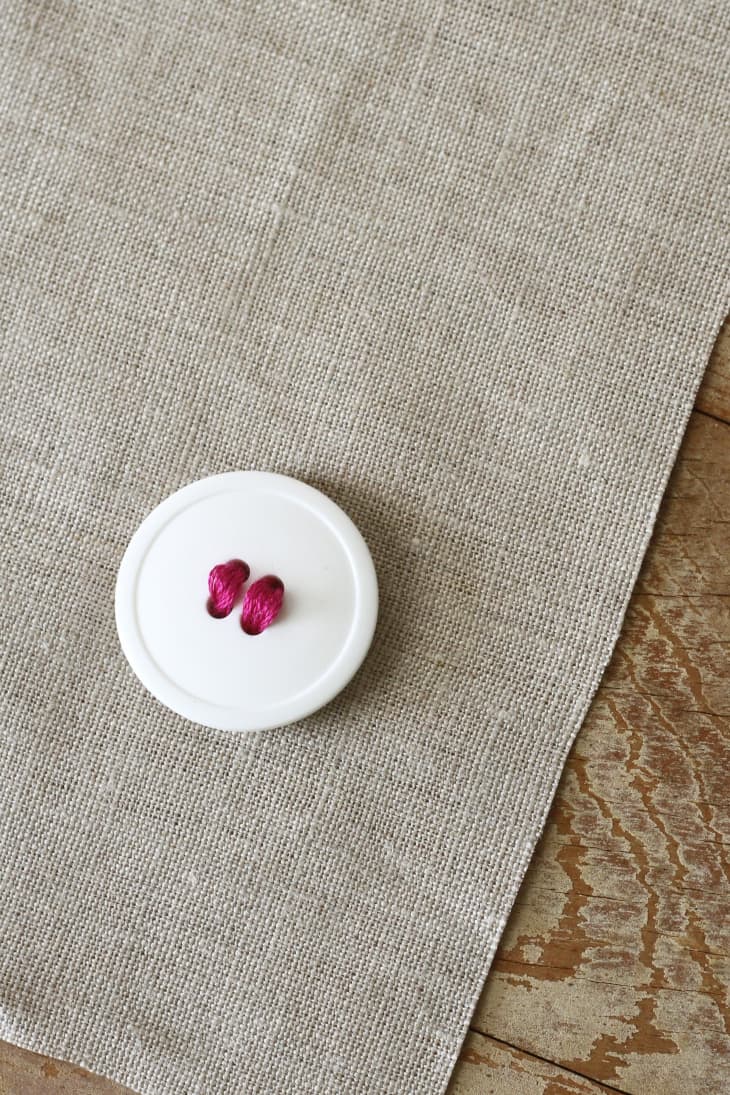
1. Gather your supplies: I used hot pink embroidery thread for the photo tutorial, but, of course, you’ll want to select a thread color that blends in with your button. Thread the needle and tie a knot at the end of the tail.
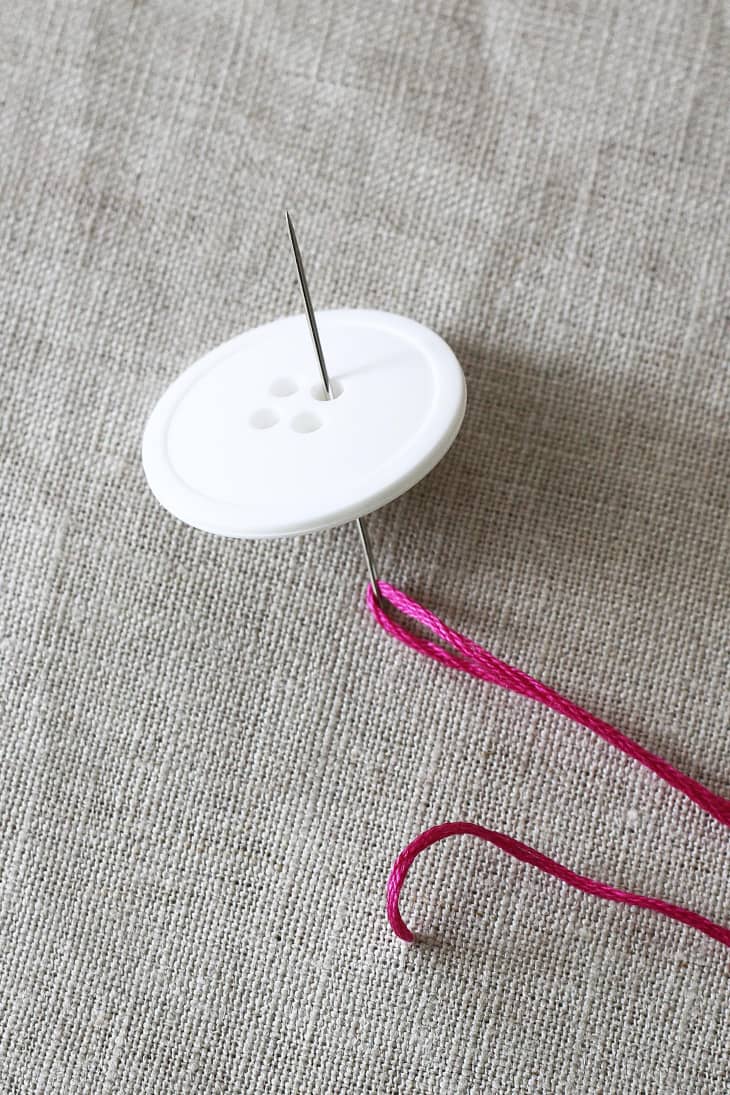
2. Send the needle up from the backside of the fabric through one hole. Pull the thread all the way through so the knot at the end of the tail is touching the backside of the fabric.

3. To insure your button sits properly, it’s important to allow for a bit of space between the button and the back of the fabric. For thick fabric, lay a toothpick or matchstick across the button so that the four holes are divided into two sides. When sewing buttons onto thinner fabric, allow a bit of slack when sewing the stitches.
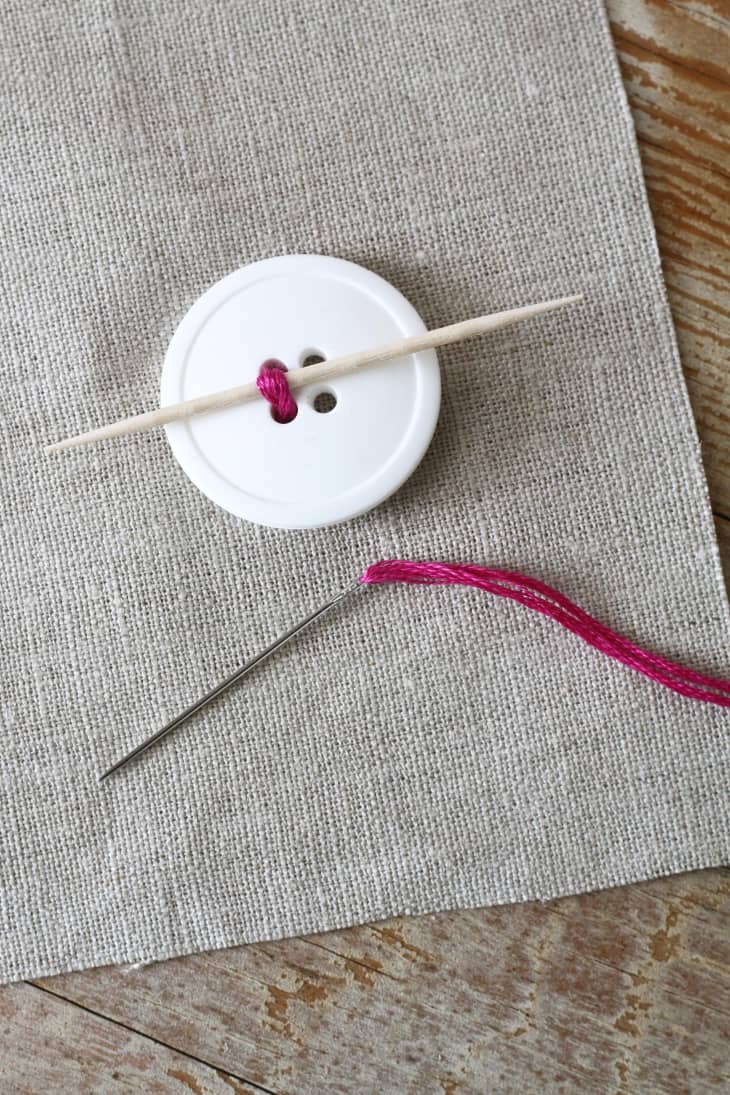
4. Hold the toothpick in place with your thumb while you send the needle over the top, and back down through the hole directly on the other side of the toothpick.
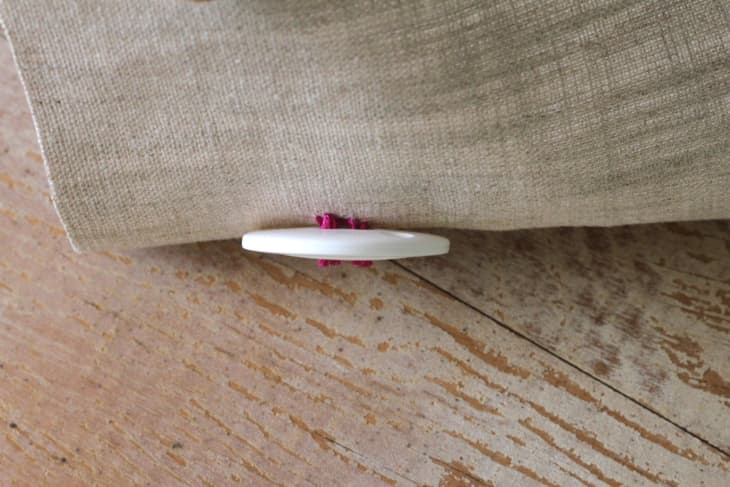
It’s best to sew four hole buttons in two straight lines, as opposed to sewing across to form an X. When sewn in an X shape, thread is more likely to wear through in the center where it comes in contact, leaving you more buttons to sew back on later.
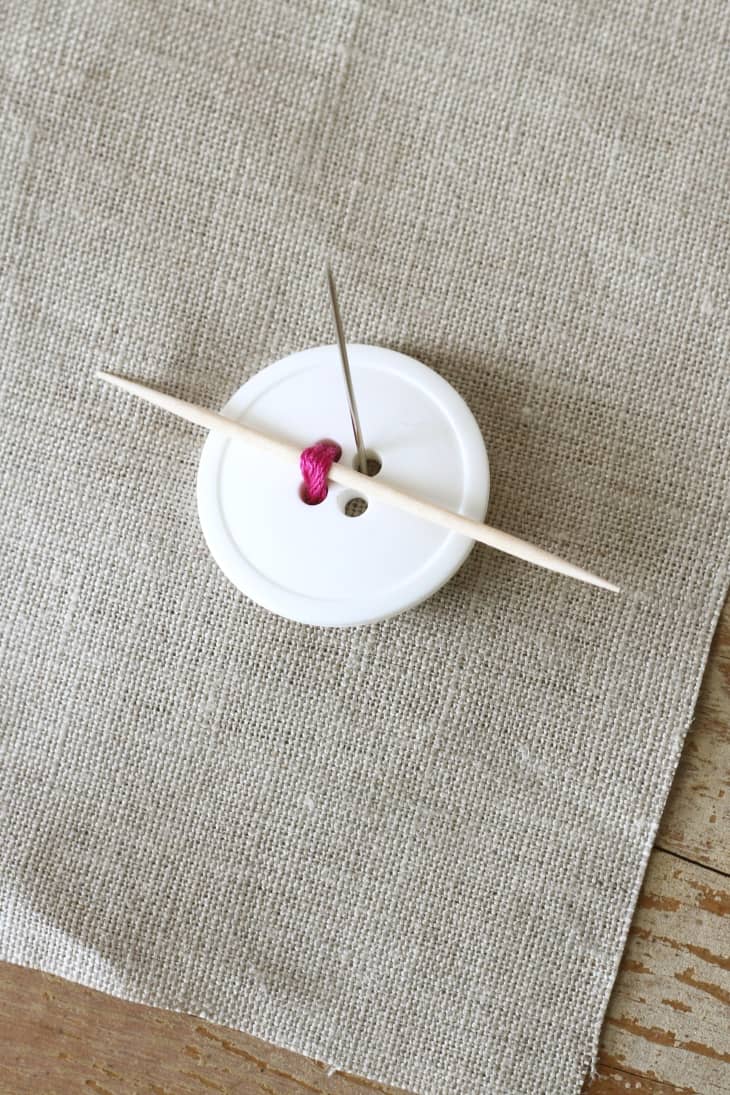
5. Repeat this step 3-5 times, circling around the toothpick in and back out of the holes.

6. End with the needle on the backside of the fabric.
8. Flip your fabric over to the backside and make 2-3 tiny stitches into the fabric to secure the button.
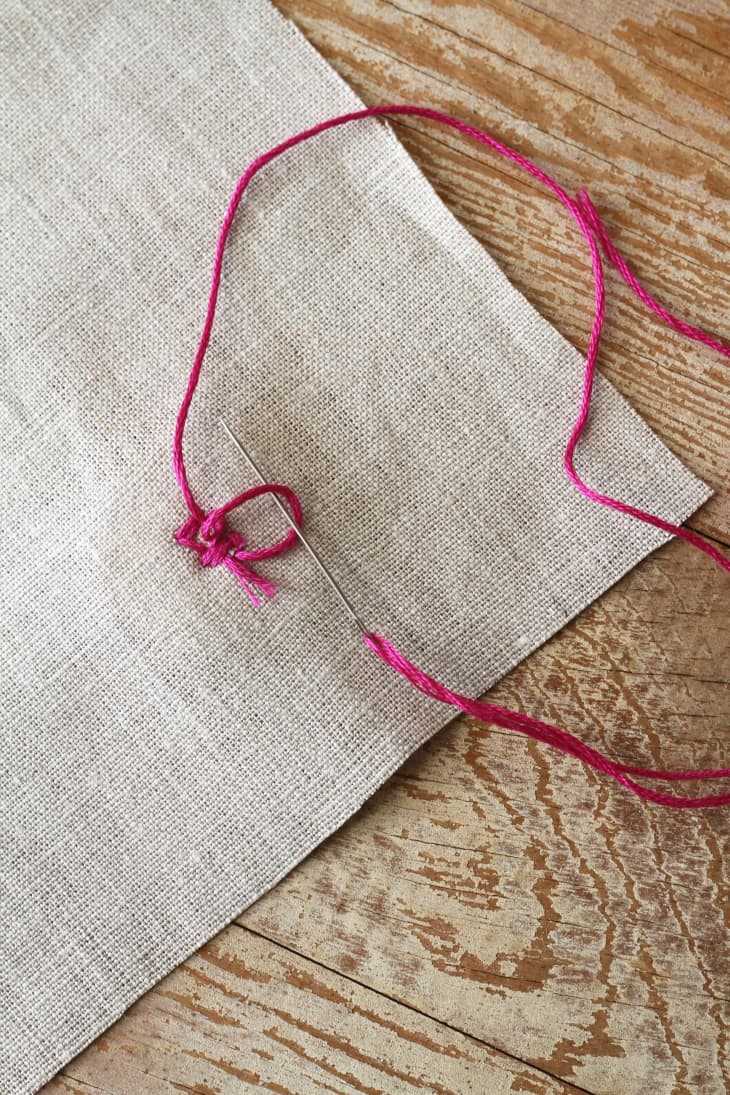
9. Tie off the thread by sending the needle through the loop of the last stitch.
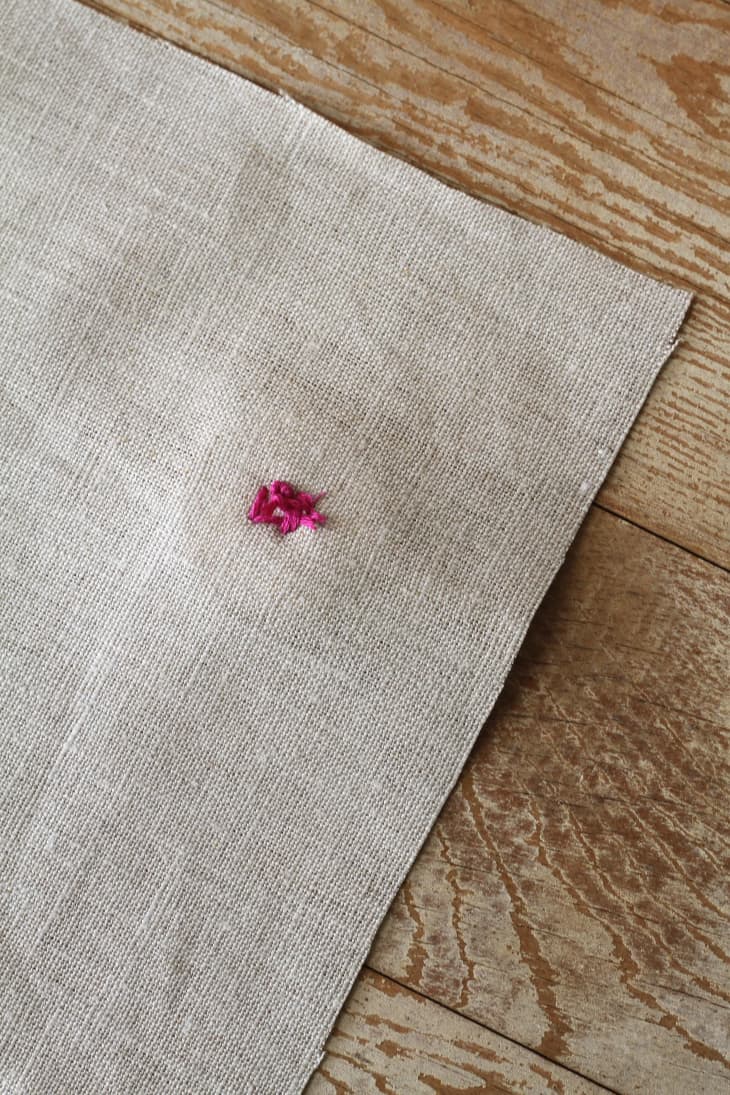
10. Trim the tail of the thread and you’re all set!
Have a really great DIY project or tutorial that you want to share with others? Let us know! We love checking out what you’re making these days, and learning from our readers. When you’re ready, click here to submit your project and photos.